
New Kitten, Steak and Headliner
Posted in Sabbatical
It’s been a few days since my last update – we’ve been so busy with the trailer and honestly I’ve been so exhausted every night, I haven’t had the energy to post. But, I’ve found some tonight.
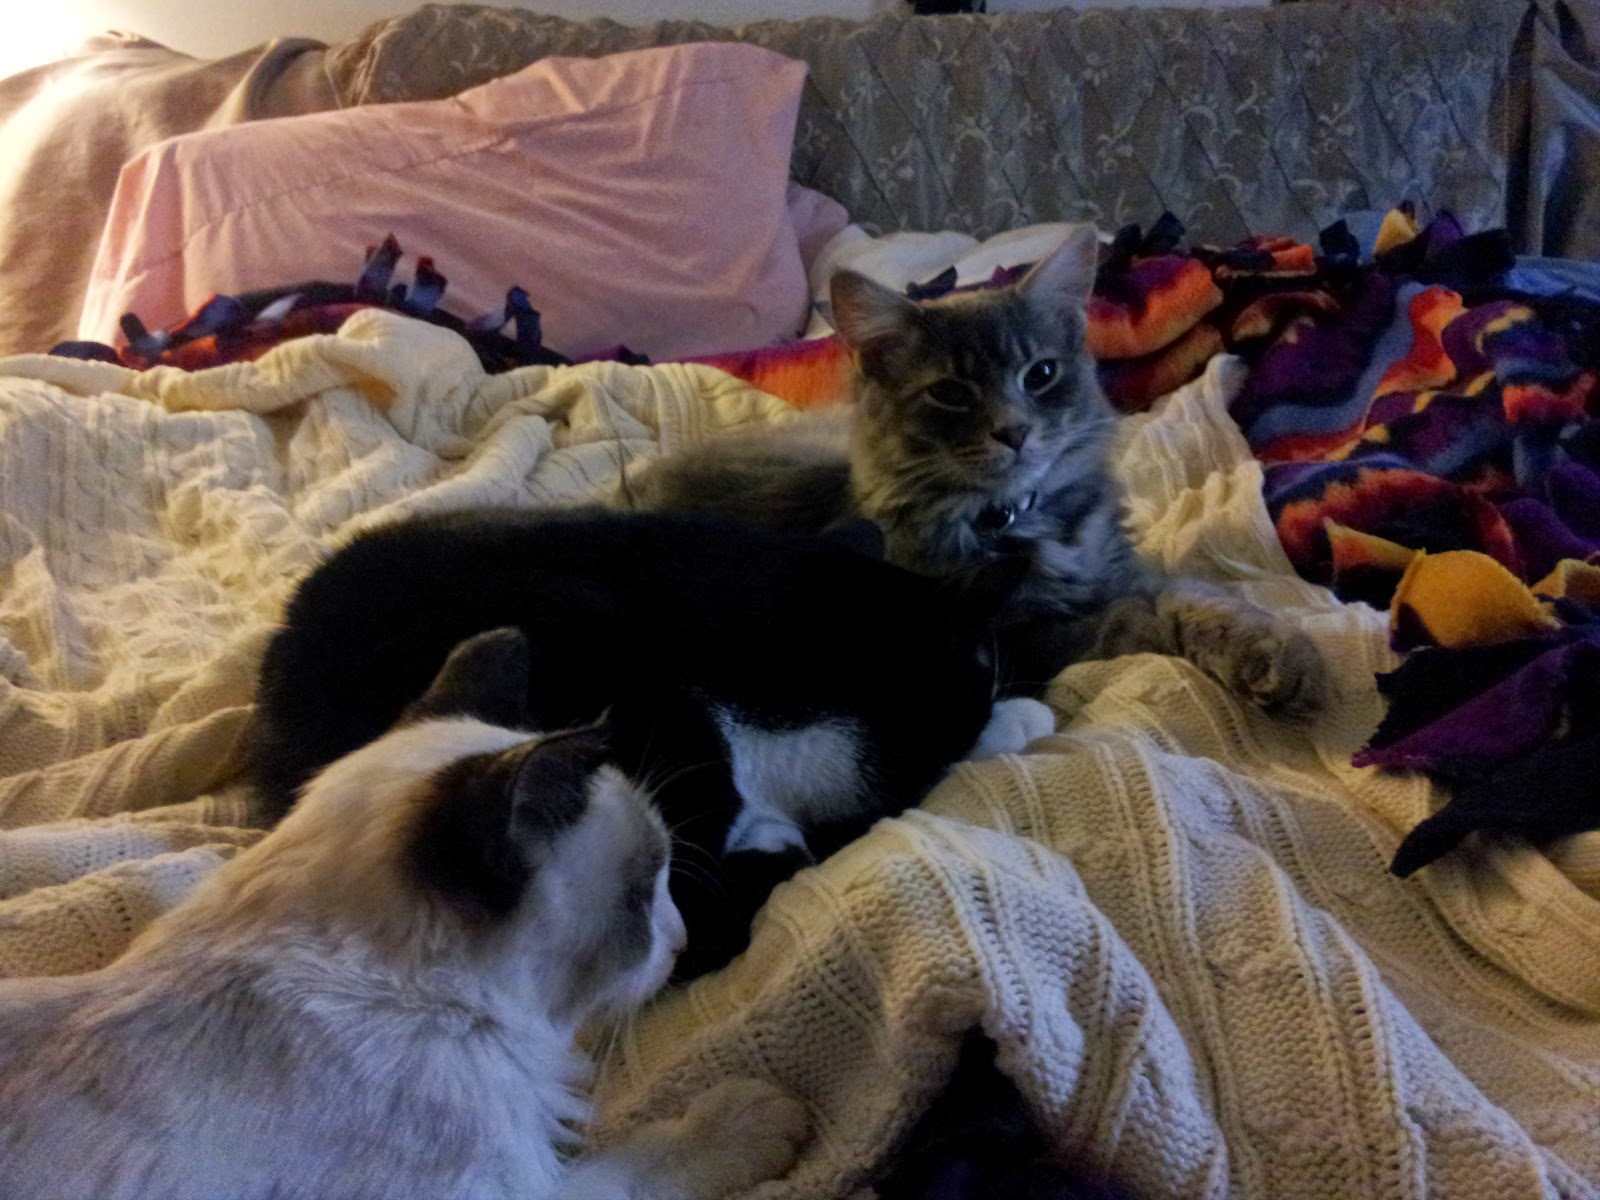
First, as you may have heard from other social media, I’ve adopted a new kitten from my dad’s brood and will be taking her home to Ohio with the rest of my kids. Her name is Tupelo, she’s probably 3-4 months old and is a Siamese mix. Integrating her didn’t immediately go as smooth as I expected since Simon (8 months) was quite jealous but by putting Statler (1 yr.) in the middle, they’ve learned to accept each other.
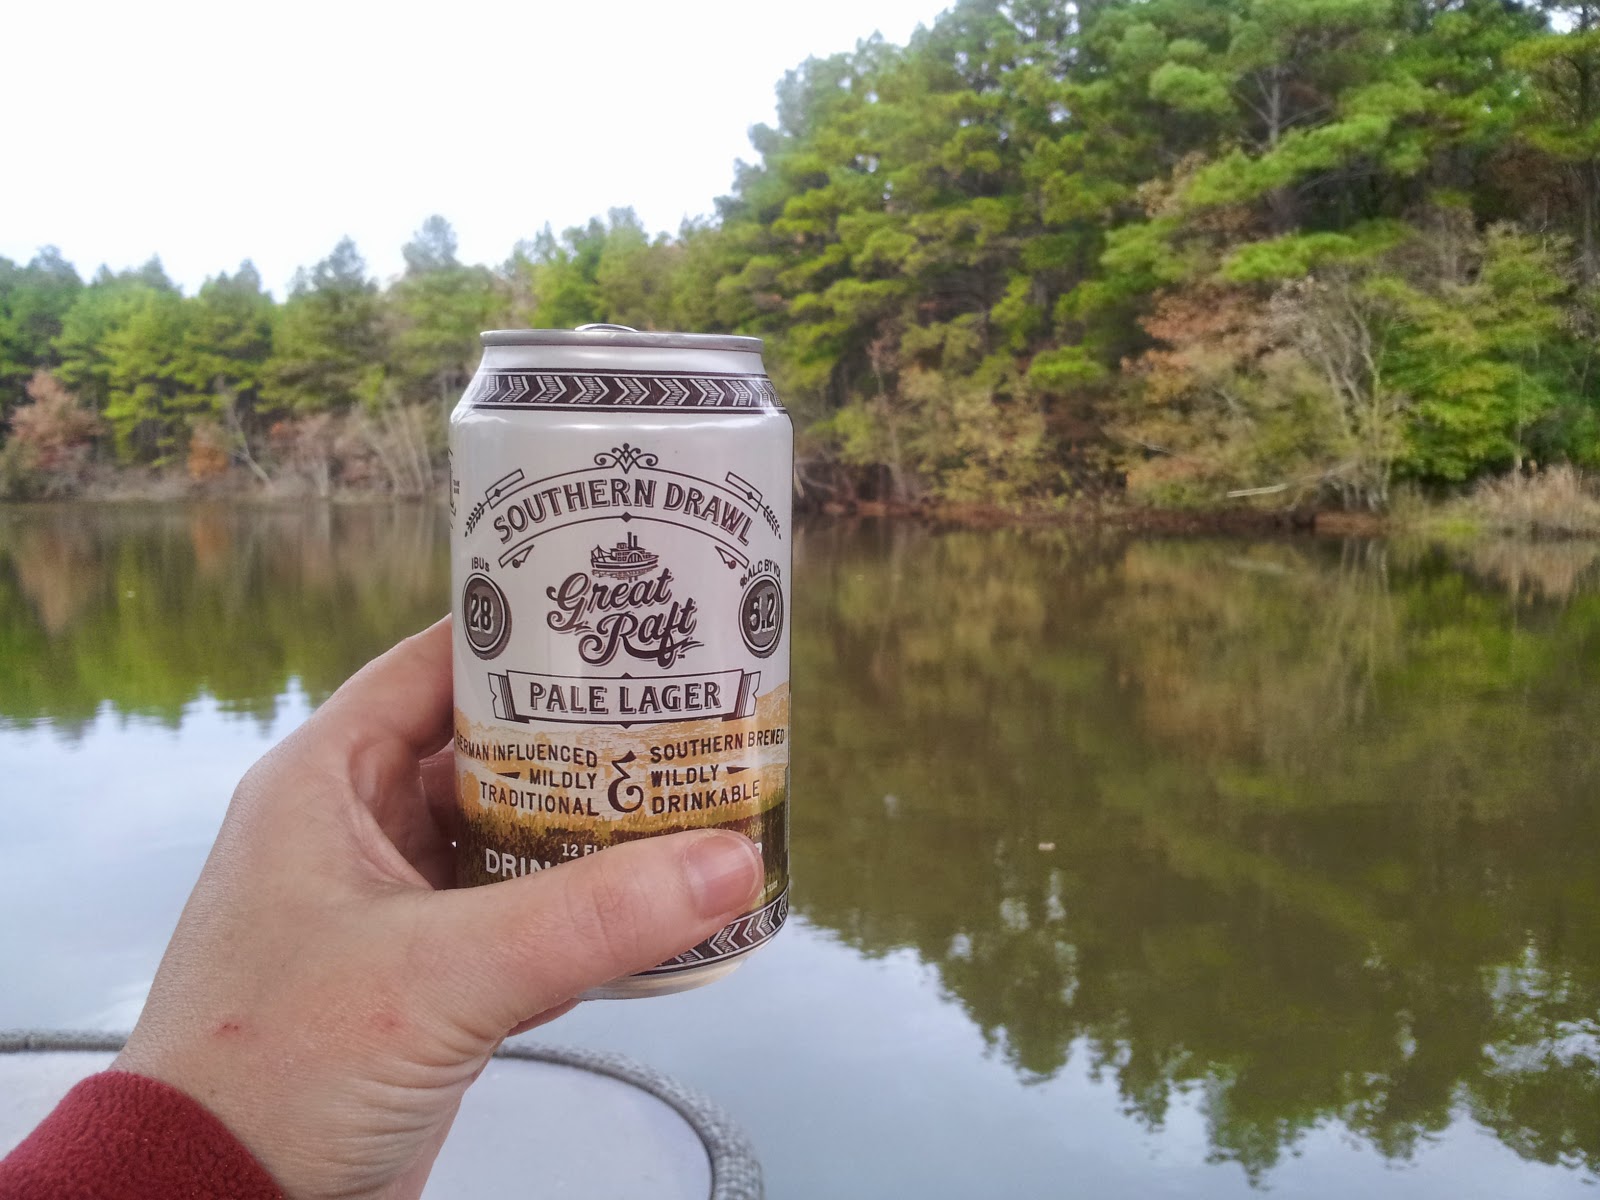
I haven’t done any fishing yet – which is a shame since there’s a nice lake bordering my dad’s property. I have enjoyed a few tasty local-ish brews on the dock though.
Friday night we also visited one of my dad’s favorite restaurants – the Mohawk Tavern where we enjoyed amazingly delicious raw oysters, Rib Eyes and seafood. (No food photo because it was in my belly so fast!) It looks like a hole in the wall place but it’s actually really good, if you’re ever in the Monroe, LA area.

Saturday morning we were set to start on the headliner and wiring but I realized that the 2.5″ long 12v socket outlets I bought were certainly not going to sit properly in the 3/4″ ply walls – even with 1/2″ insulation and 5mm luan over them. So, we used a newly purchase piece of “amazingly beautiful birch” (1/2″) to construct some small outlet boxes for the cabin and galley. The remainder of the birch will be for cabinet doors.
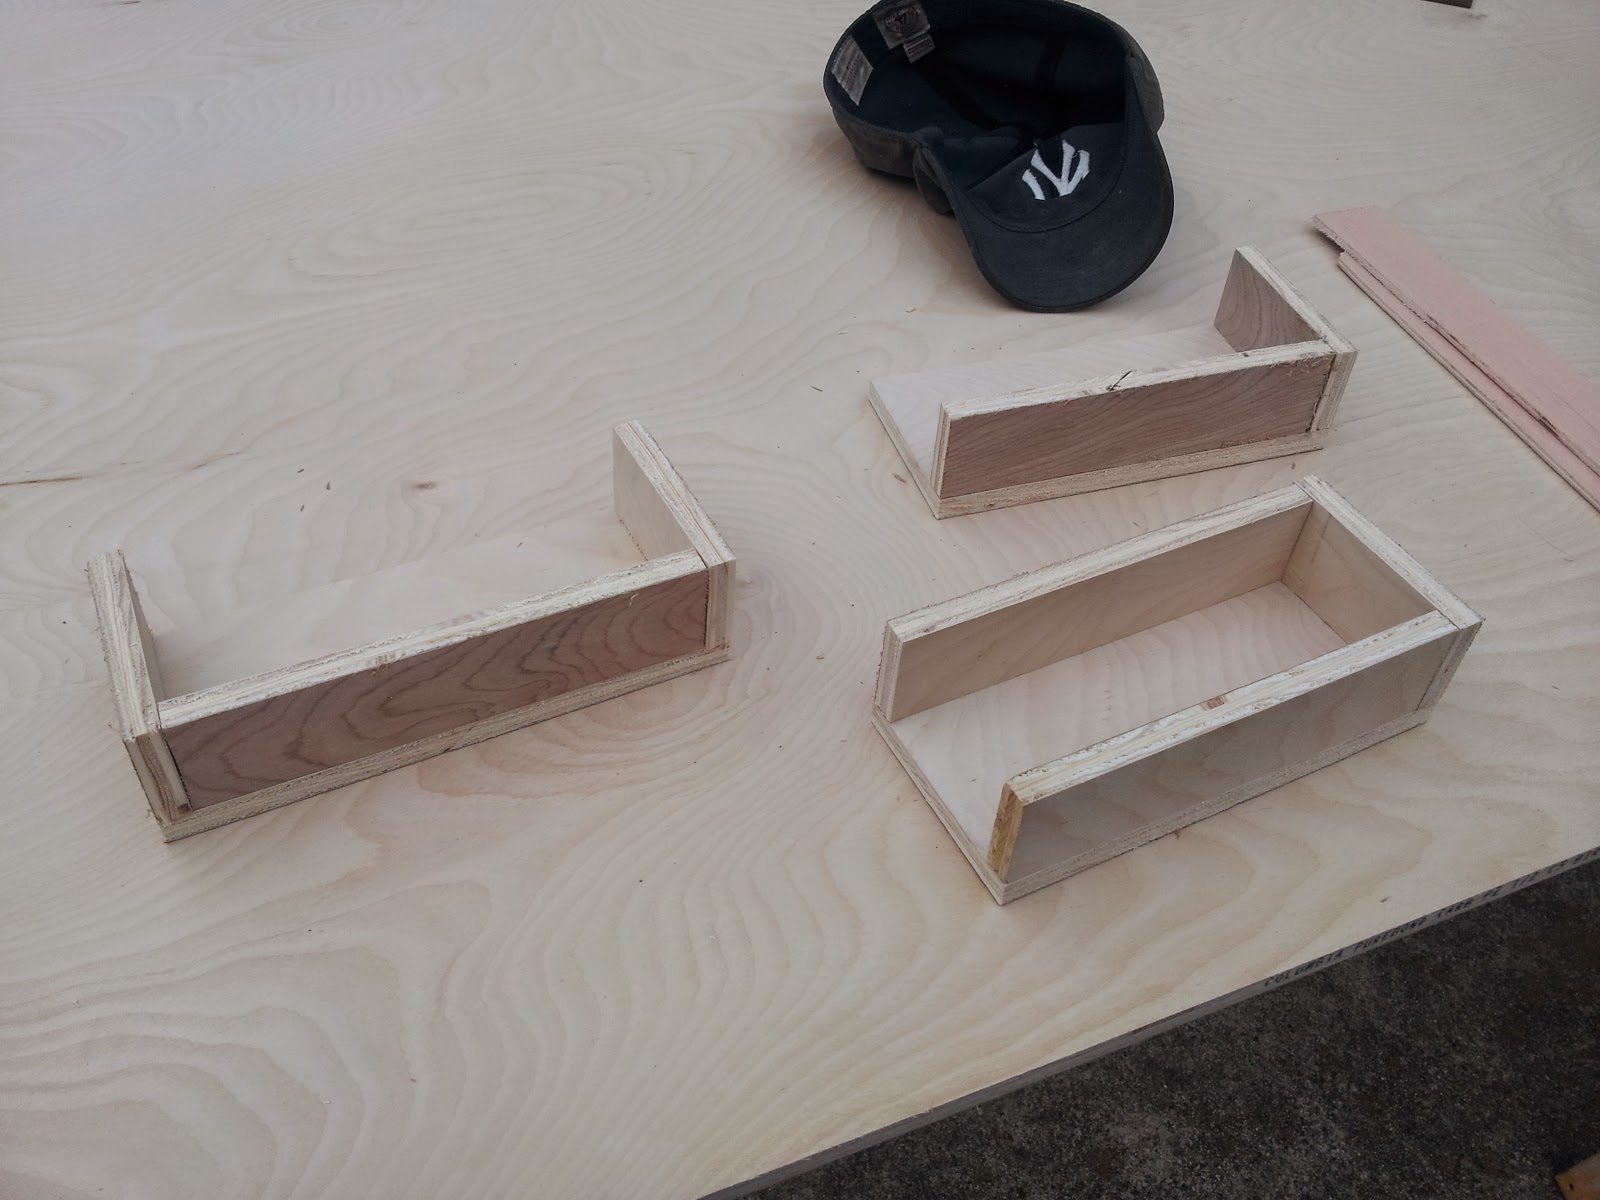
Saturday morning we were set to start on the headliner and wiring but I realized that the 2.5″ long 12v socket outlets I bought were certainly not going to sit properly in the 3/4″ ply walls – even with 1/2″ insulation and 5mm luan over them. So, we used a newly purchase piece of “amazingly beautiful birch” (1/2″) to construct some small outlet boxes for the cabin and galley. The remainder of the birch will be for cabinet doors.

We’d originally planned to insert it – mark the 14.5″x 14.5″ square for the vent fan – then remove it to make a nice easy cut with the jig saw before reinstalling. However, once we managed to jam the damned thing in there, we decided to just leave it and cut the square in place (as originally suggested in the plans).
Of course, my measurements were a bit off – the 21″ piece should’ve been about 16.25″ so we ended up trimming it anyway but in an easier way than removing it entirely.
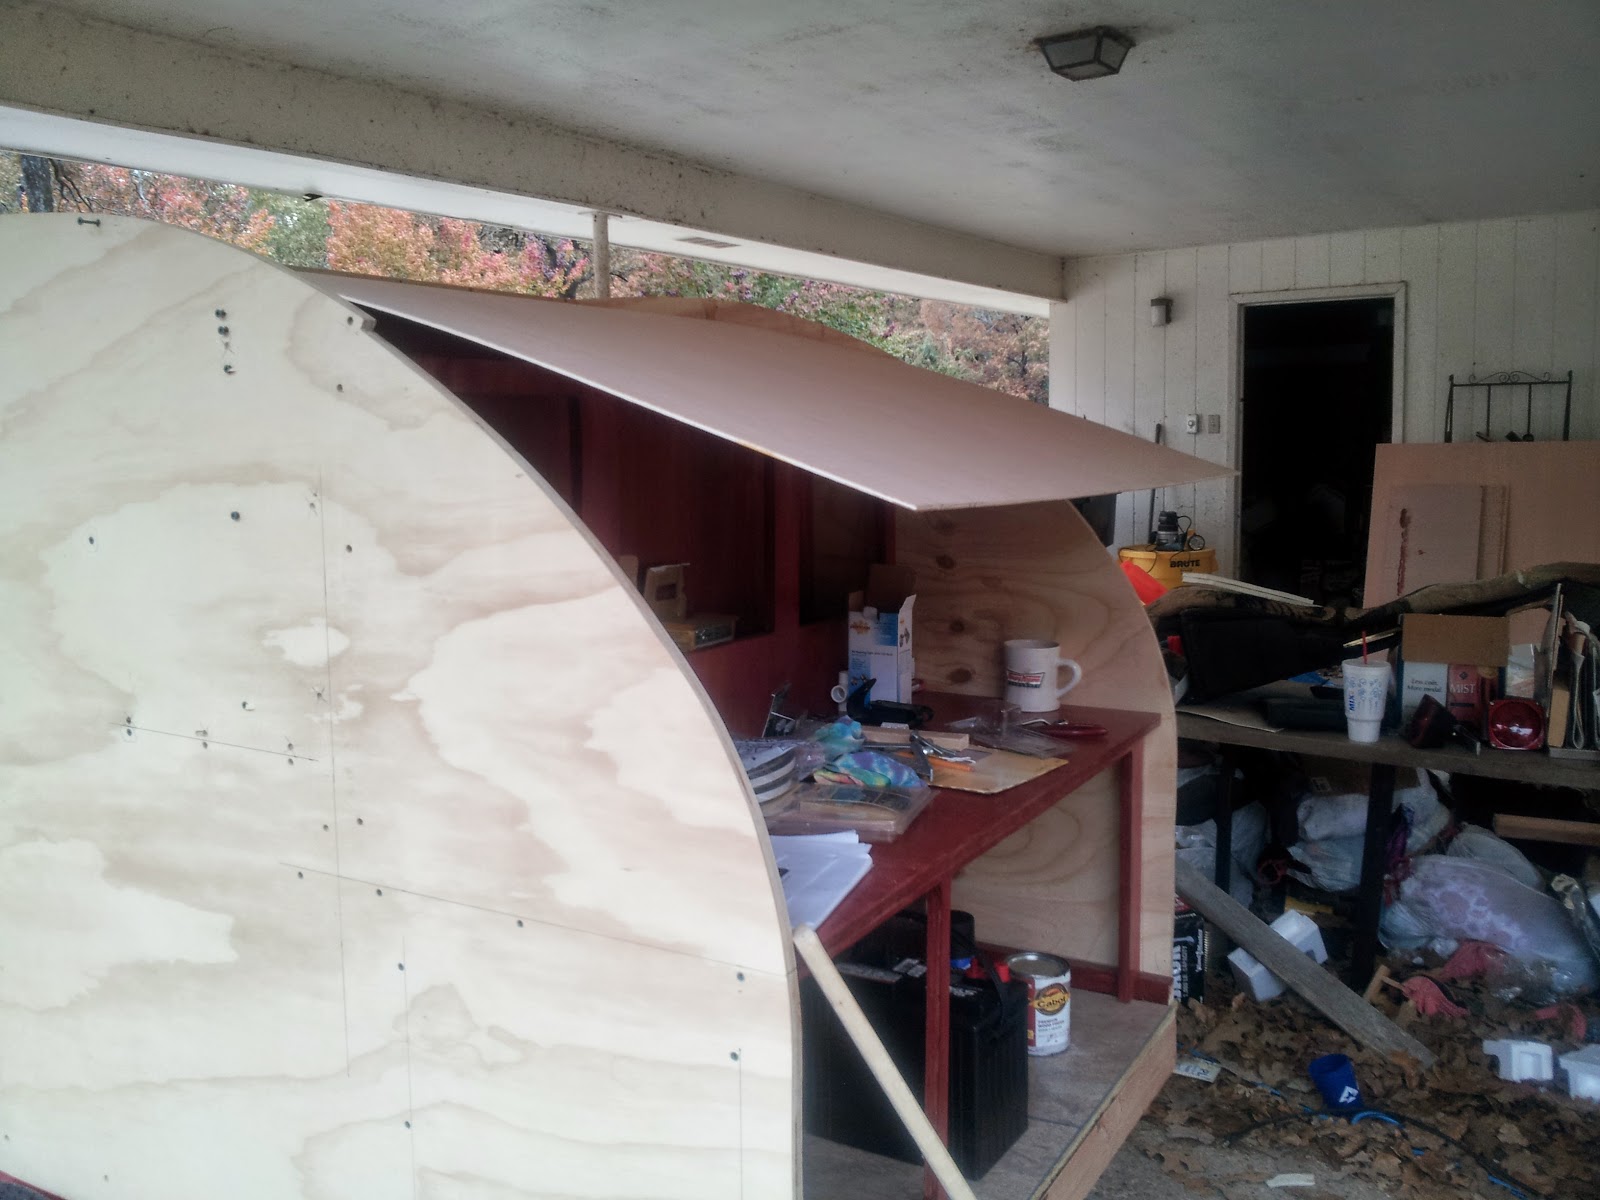
So far, the headliner install has been the most difficult and frustrating portion of the build. I walked away several times but eventually we got it done. It was late and pretty dark but here’s what it looked like after the install.

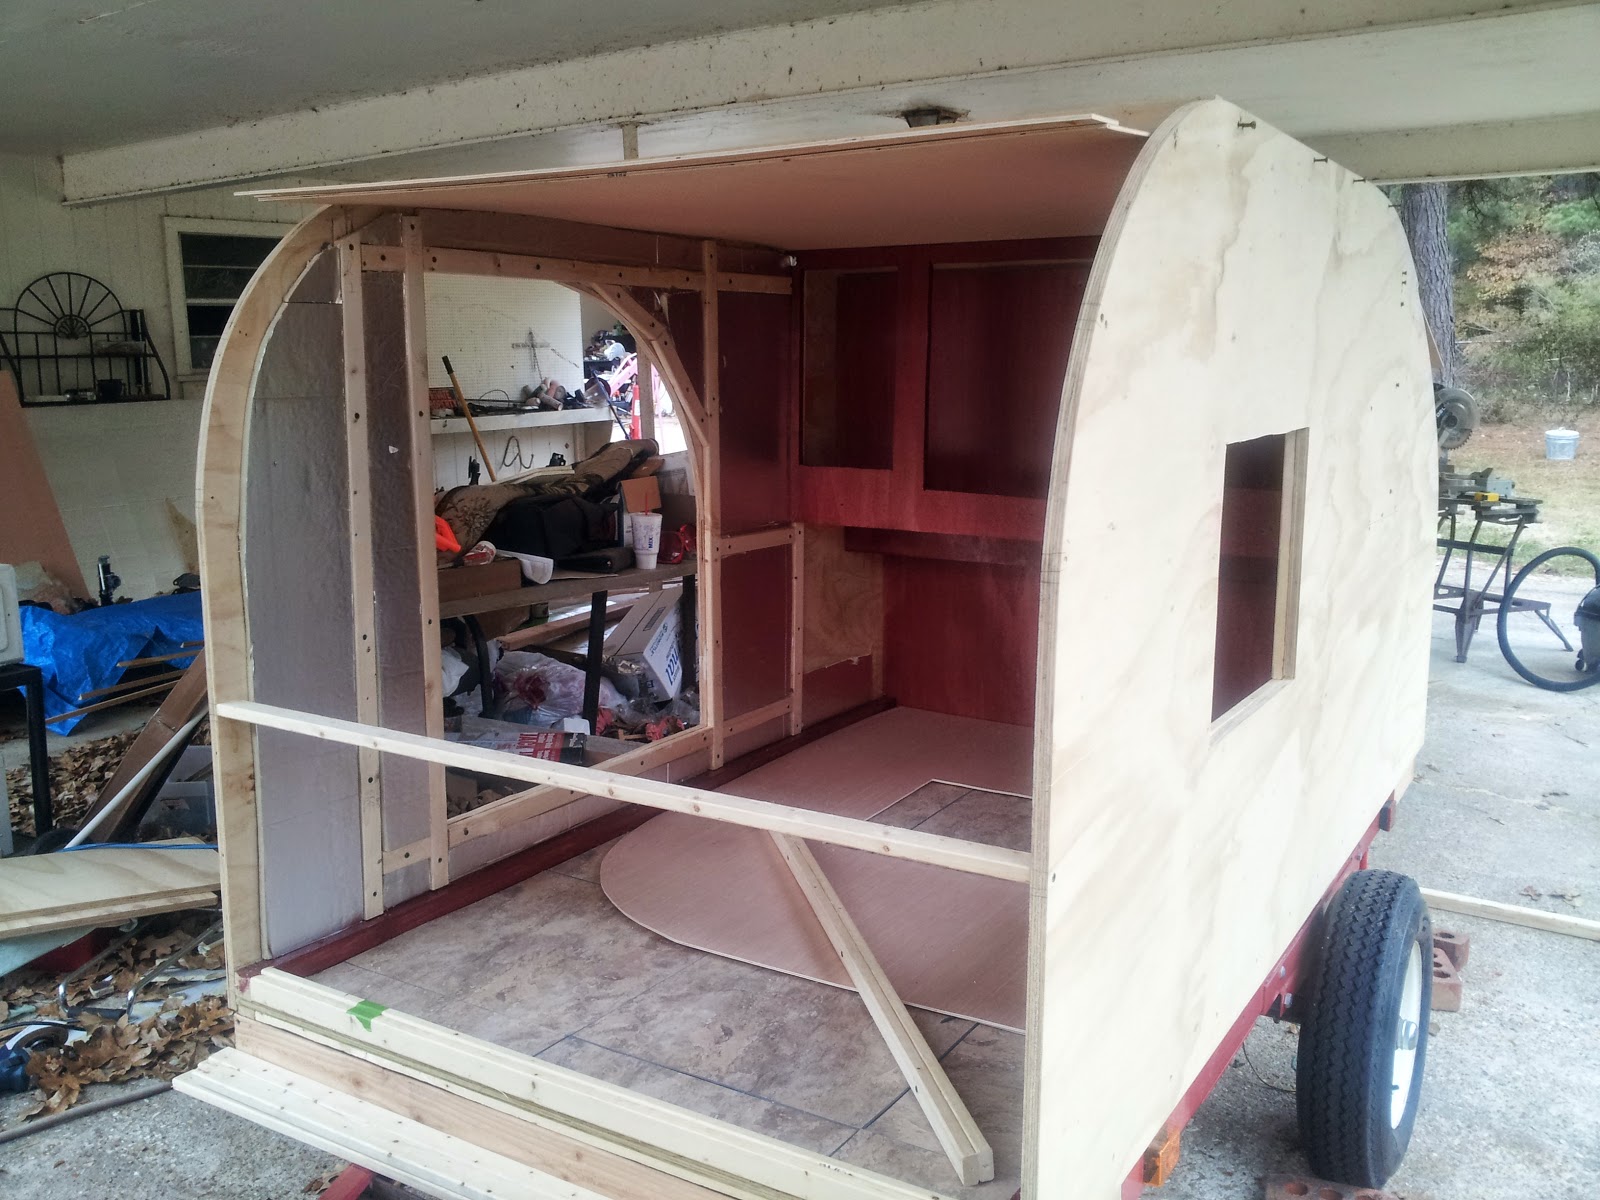
Another view from inside the cabin after installing the headliner.

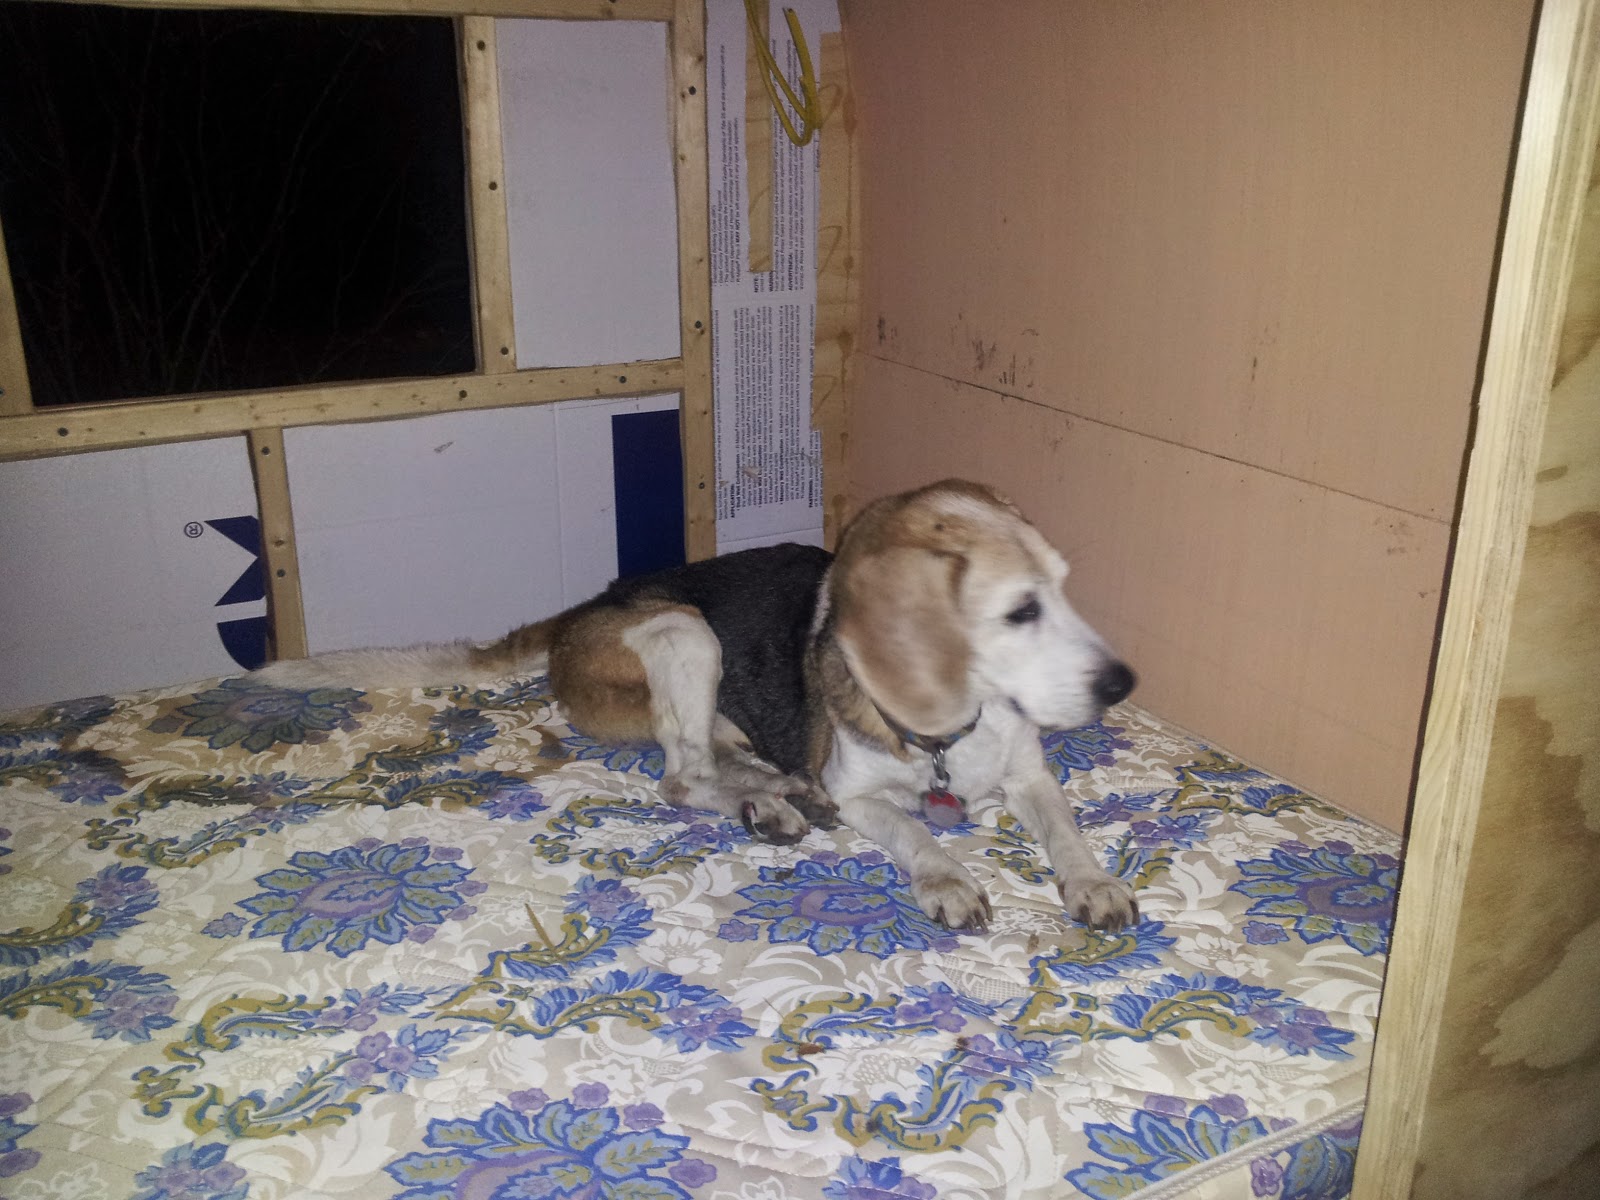
We decided to call it a night but I took Amos back out for a nightcap and a test run on the mattress (which was also inserted Saturday before we finalized the headliner). He and I both almost fell asleep, we were so exhausted.
Another view of the interior of the cabin with headliner in the morning.

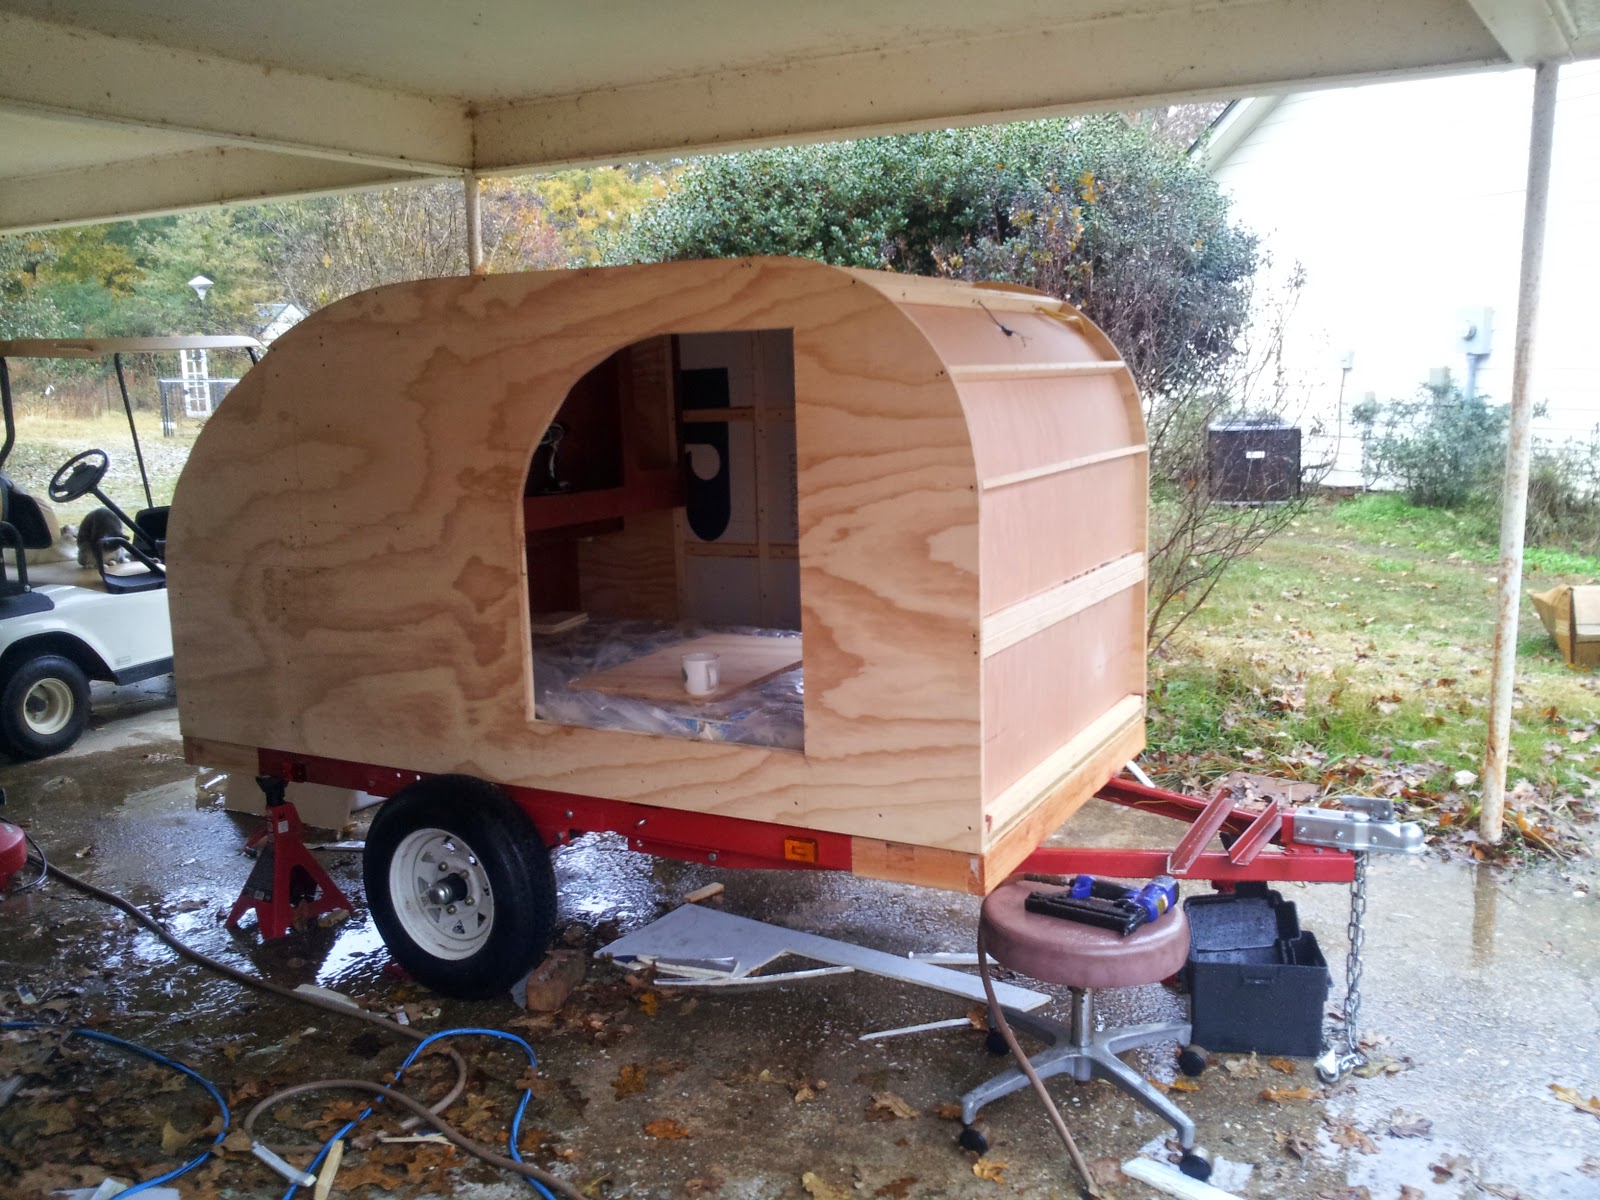
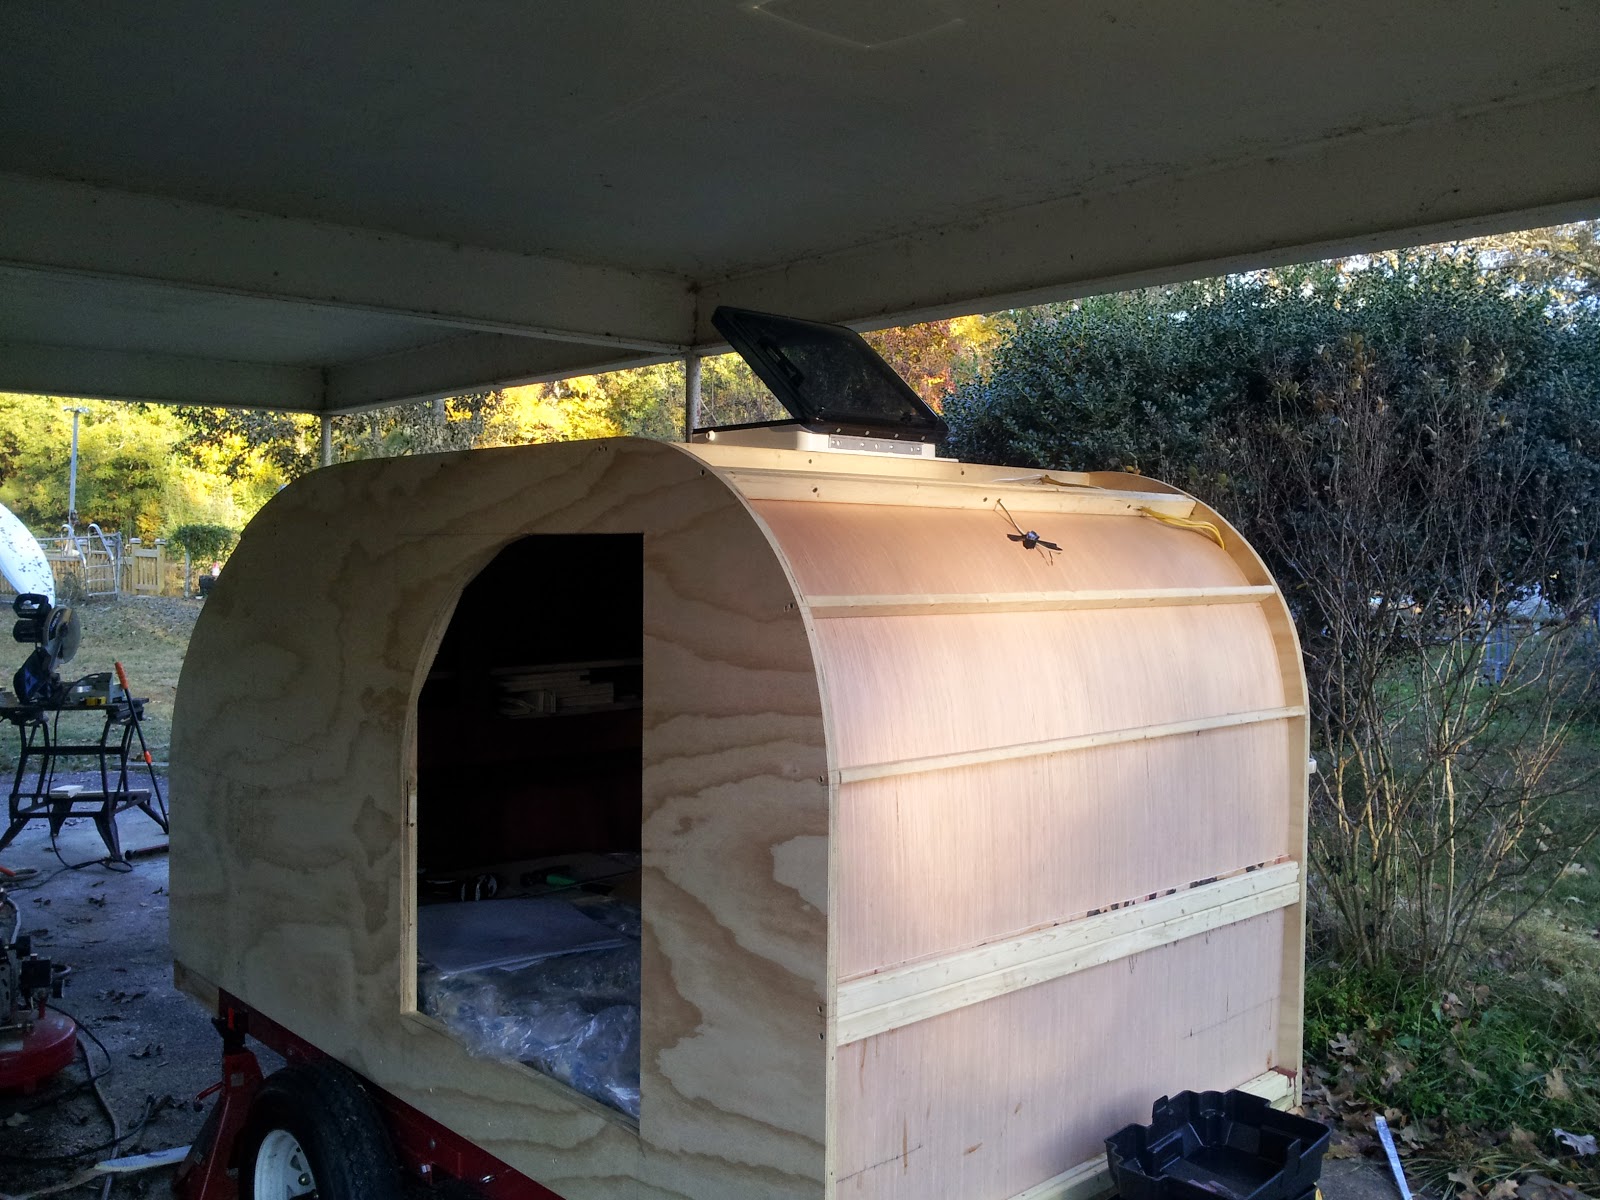
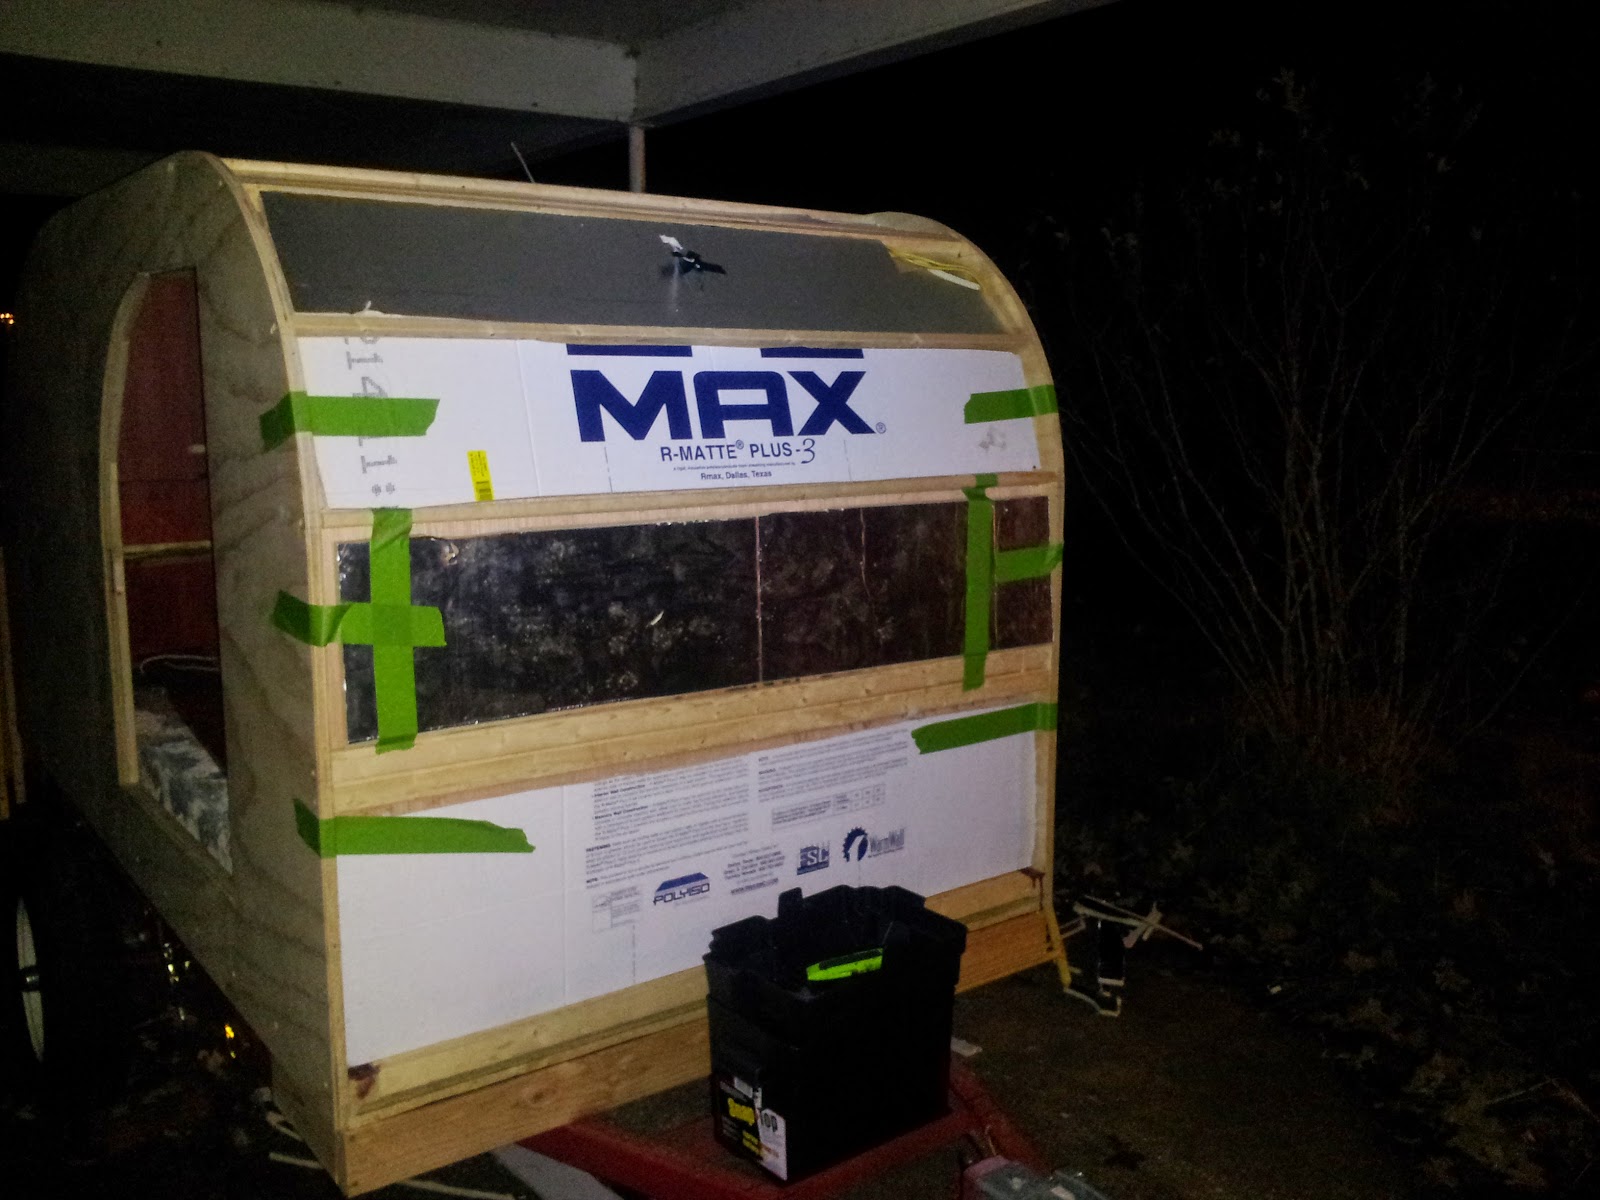
It was very rainy Sunday morning – time for some additional photos, some review of the plans and a bit of shopping. Here’s the trailer with headliner installed.
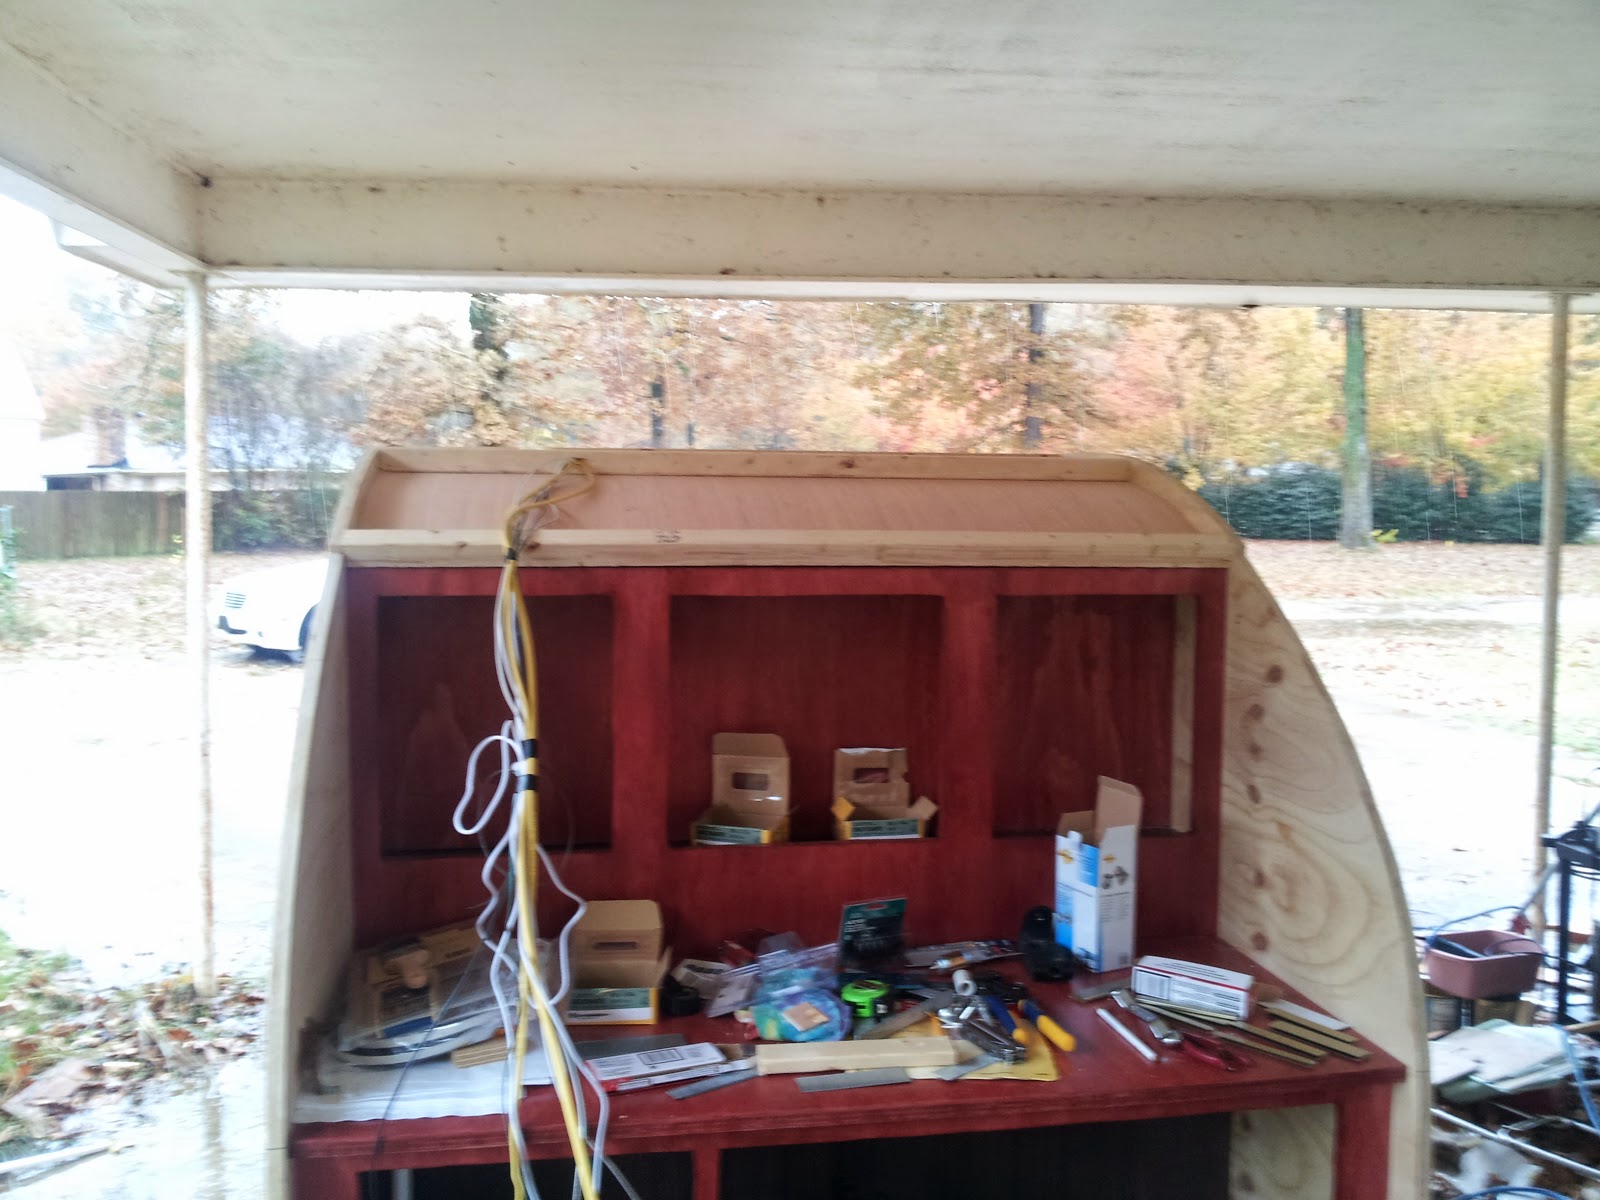
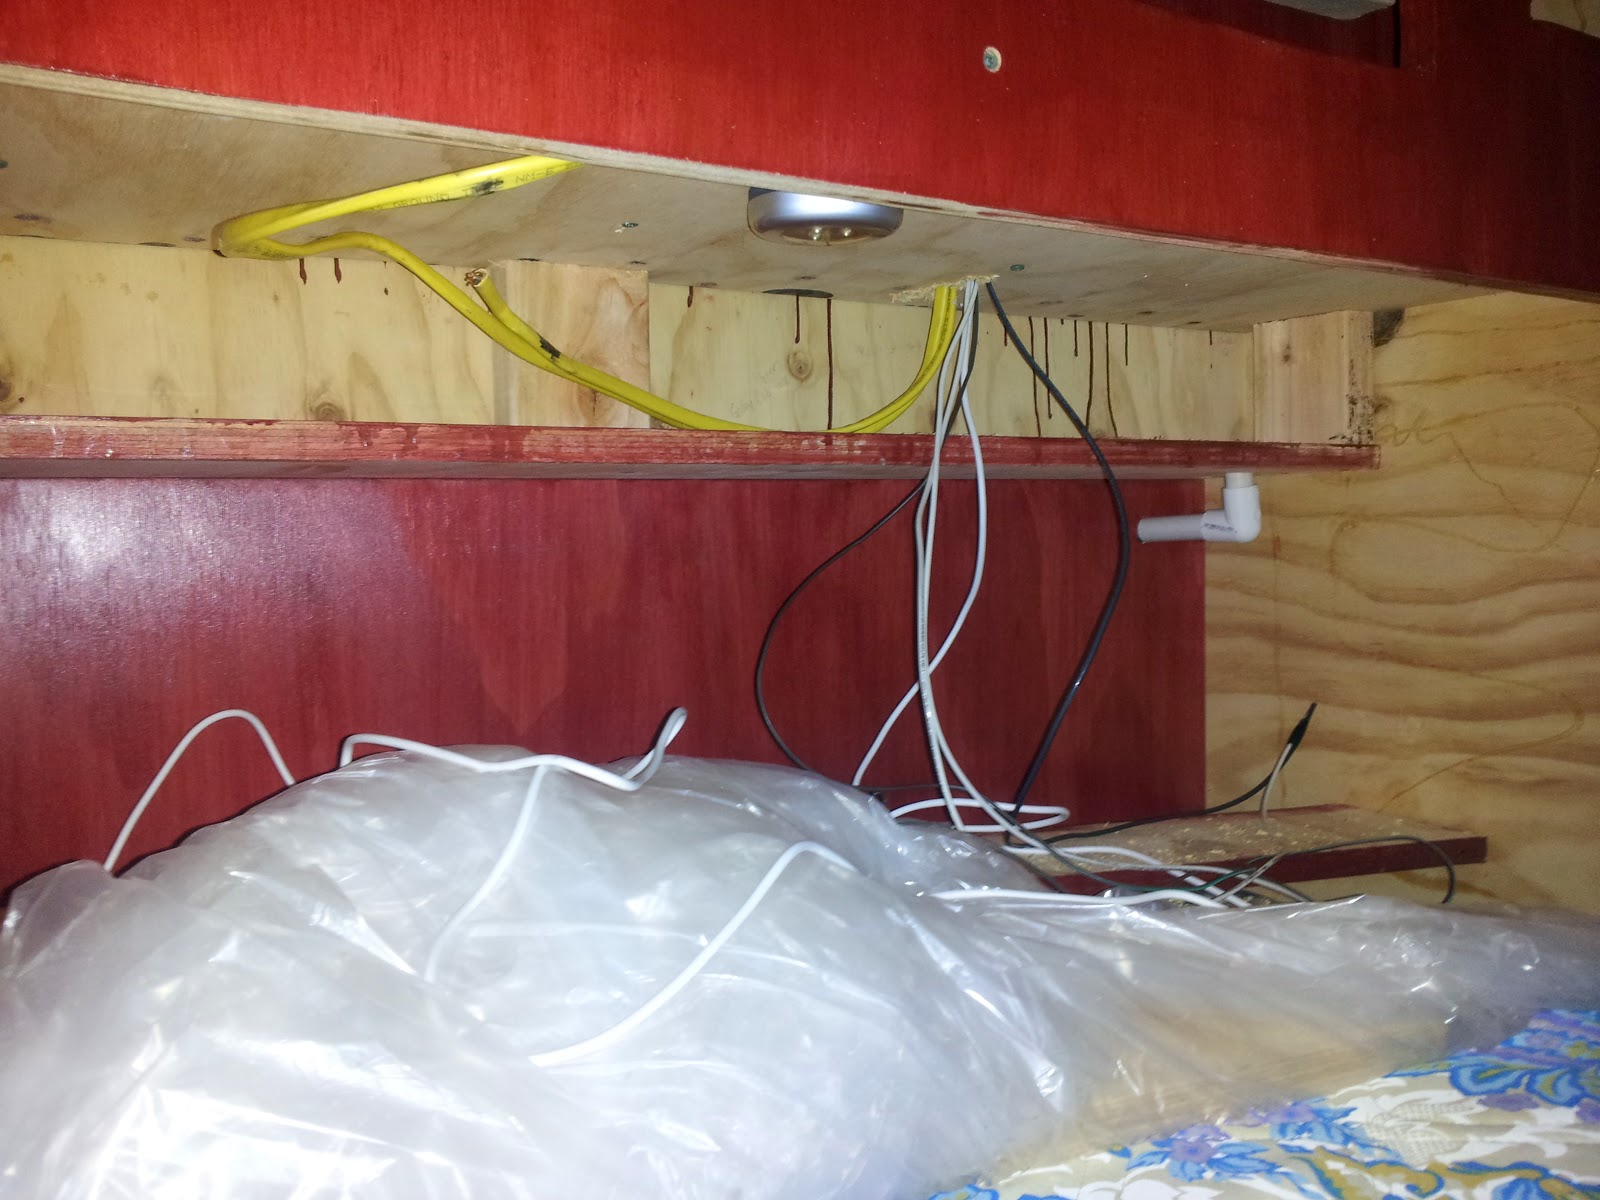
Along with installing the headliner on Saturday – I also ran a good bit of the wiring for the cabin – at least the portions that will be up front and needed to be routed above the headliner and back into the galley to get to the raceway. The bundle below includes 2 strands of Romex (aka “pain the the butt stiff wire with casing”) for the bedside light and 12v socket, along with wire for the front running light, vent fan and solar panel.
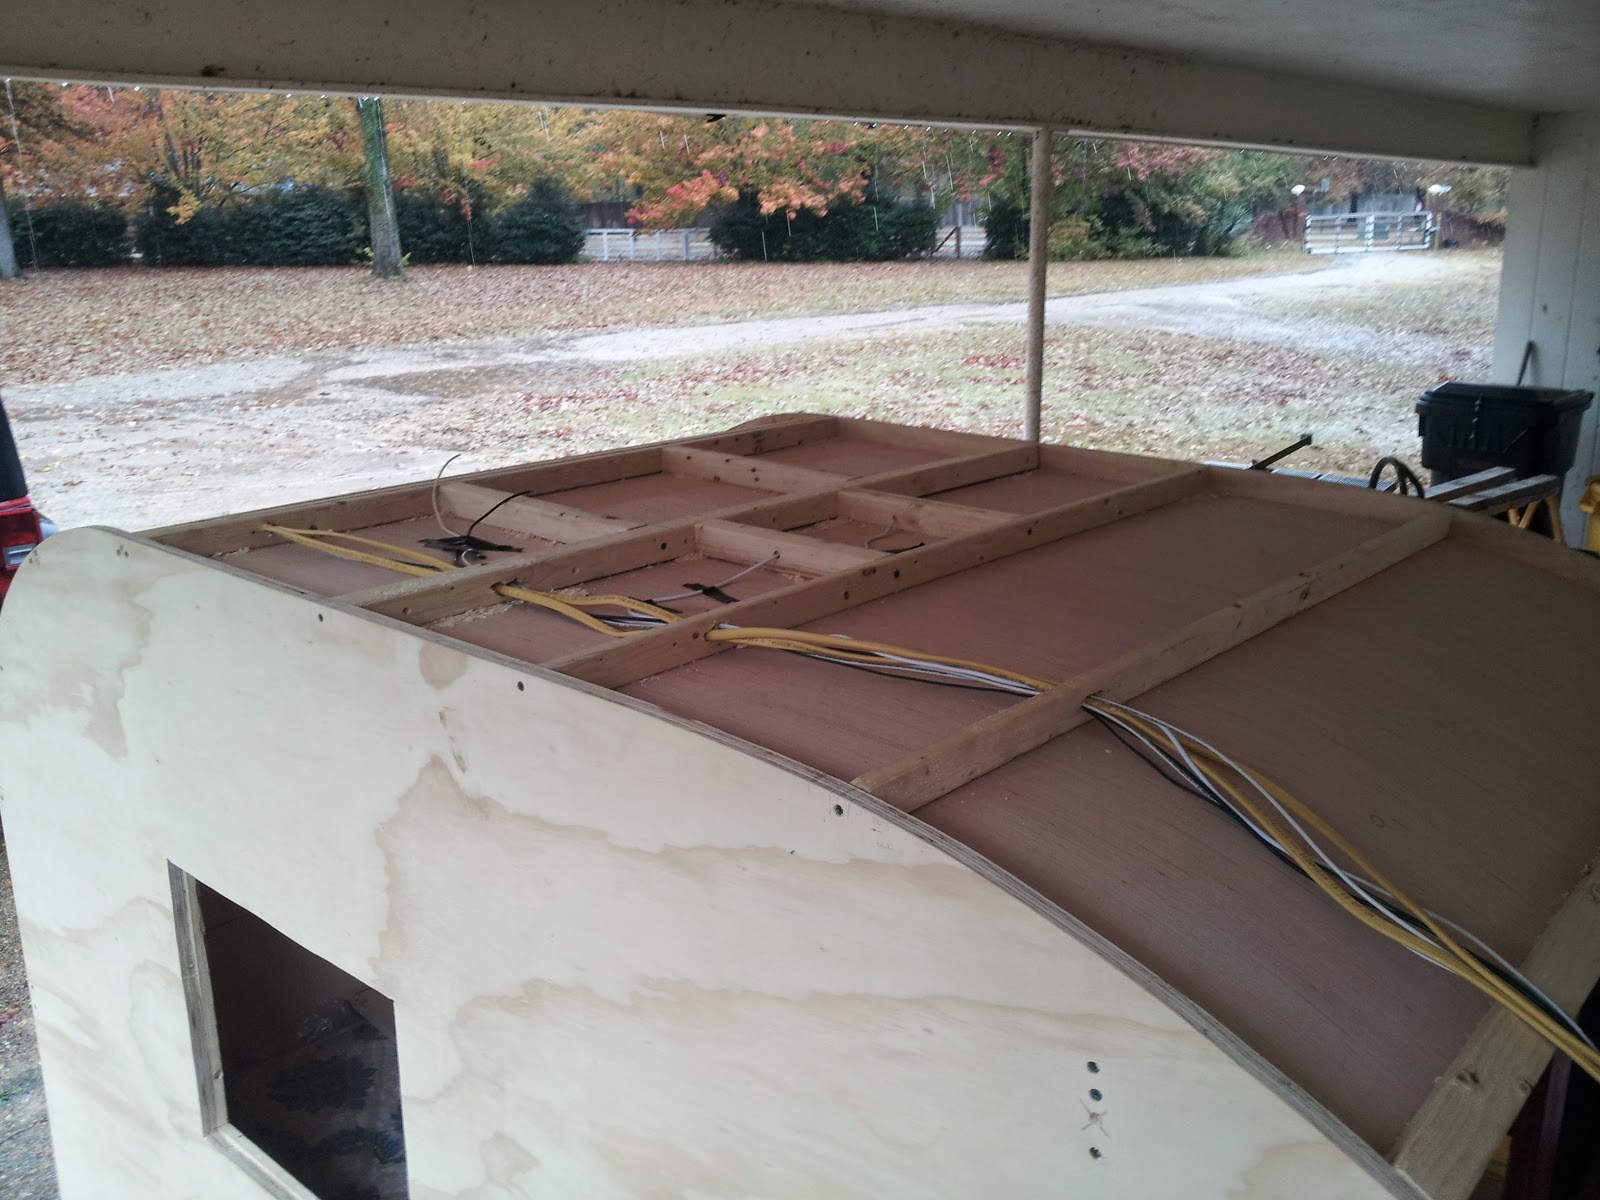
The photo below shows the wiring for the aforementioned pieces from above – routed through the roof support spars and out and/or down to the appropriate locations.
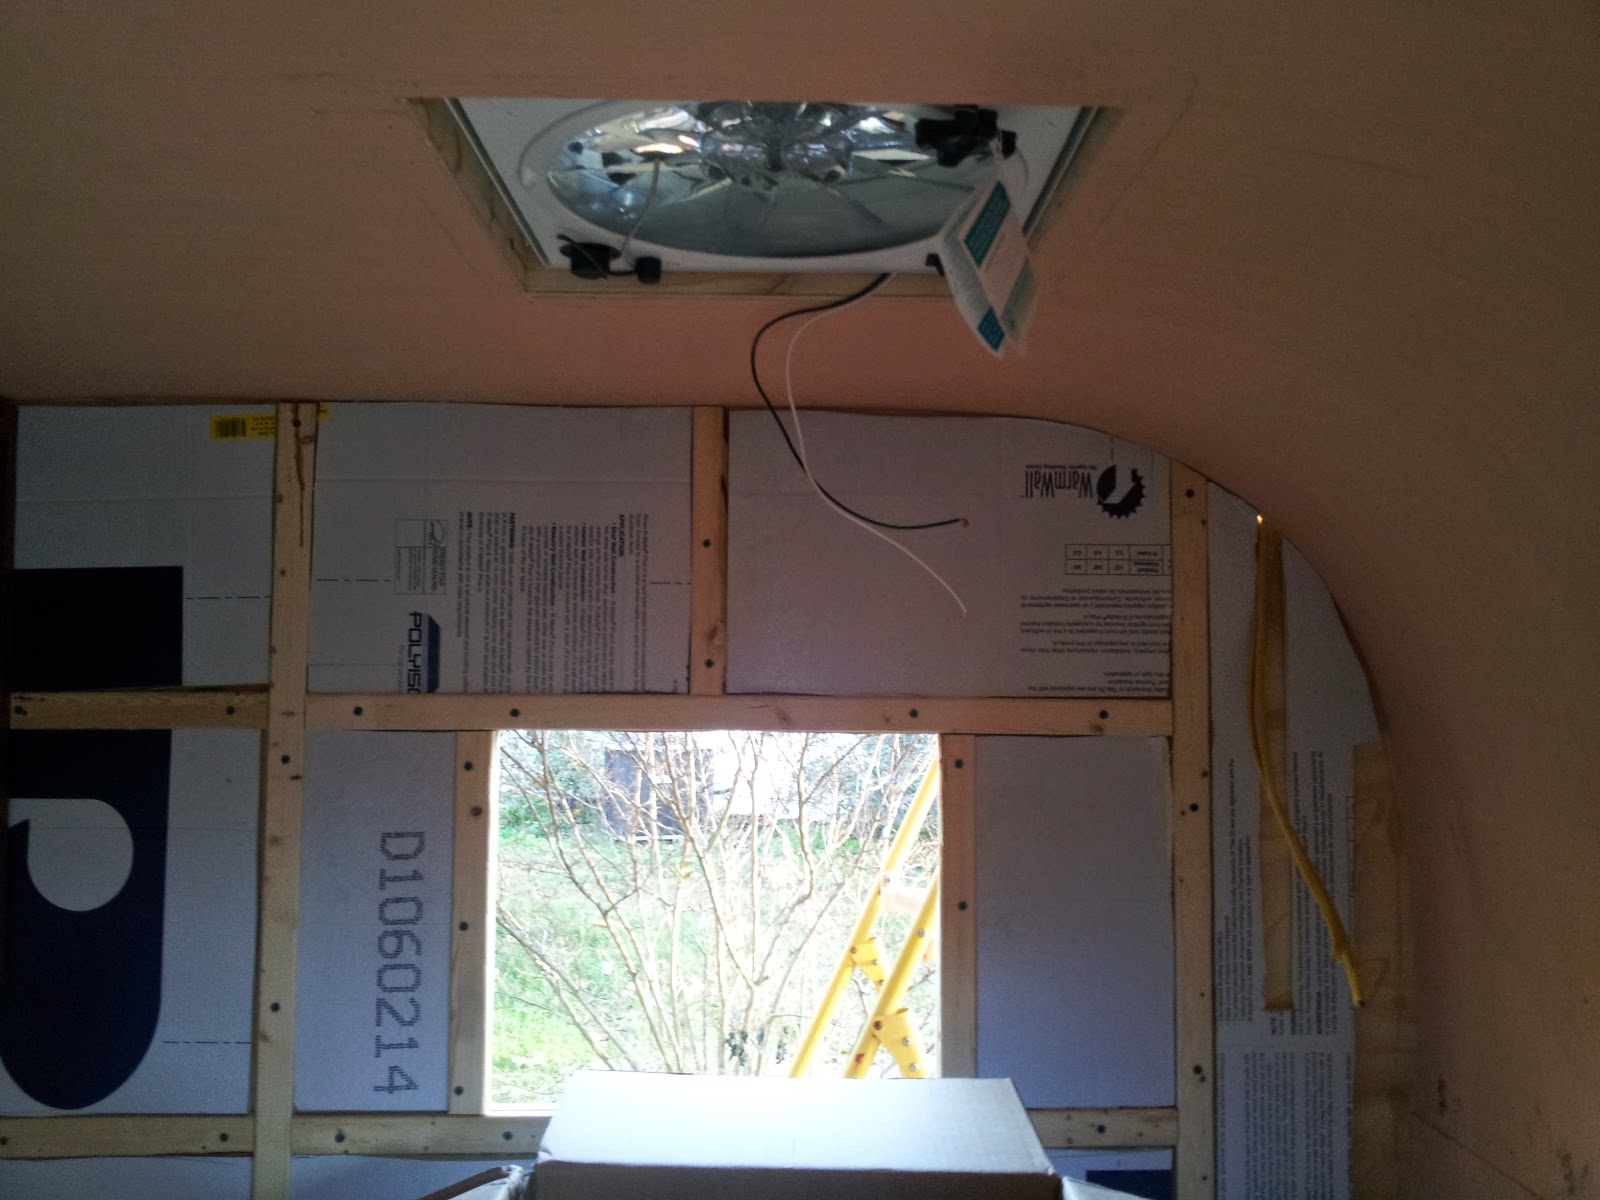
So – since we decided not to try and remove the headliner, I had the pleasure of laying on my back and using the jig saw above my head to cut out a 14.5″ x 14.5″ square in the luan for the vent fan. It was fairly easy to mark – using a drilled hole in each corner from above but I ended up with saw dust in all sorts of interesting places. Then, I installed the vent fan temporarily just to make sure it fit okay. And I opened it just because.
The vent fan from the interior of the cabin. It will be permanently installed and wired up soon.
Sunday afternoon/evening – after more big box home improvement shopping, we also ran PVC conduit behind the galley cabinets to get all of that wiring down into the raceway. We used 2 3/4″ pipes and the third will be used to get the necessary wiring from the raceway into the hatch for the tail lights, rear running light and license plate light.

I’m waiting to receive a nice fuse box that I ordered online to complete the wiring but for now, here’s the mess of wires down from the headliner into the raceway.
Finally, I installed the insulation in between the roof spars – attached with glue and temporarily held in place with tape.
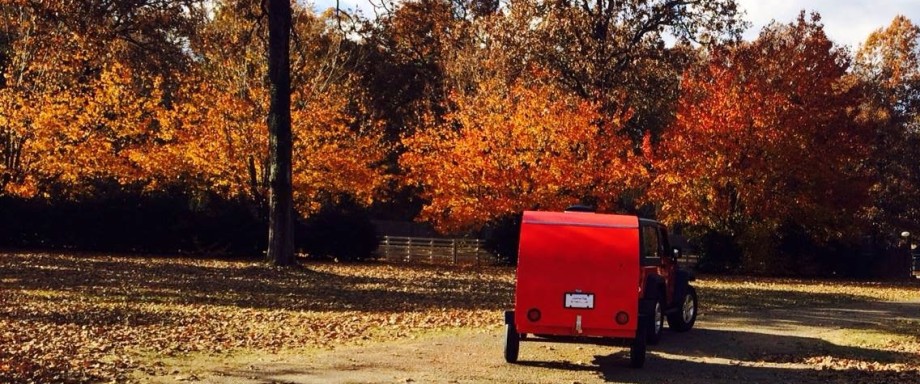
Oh – we also got a battery and battery box on Friday. Originally we’d planned to install it in the galley next to the cooler because the tongue was pretty short but after some consideration on the weight of the galley (aka we put the battery back there and the whole trailer tilted backwards), Dad constructed some rails out of angle iron and we’re going to install it up front after all. It’s dropped down a bit to make sure that the Jeep’s tailgate will open fully.
Next up – installing the roof panels, building and wiring the hatch and painting the exterior. I also need to complete the interior finishing for which the plans have changed slightly to allow for more storage. Hoping to finish up on Tuesday or Wednesday before heading home to Ohio.