
The Semi-Finale
Wow. Time flies when you’re busting your butt day and night to get a teardrop done. I’ve actually been home in Ohio for 3 days, back at work and back to reality, but I know I neglected posting for the past bit and wanted to update this to get everyone (that hasn’t already seen it) up to speed with the progress.
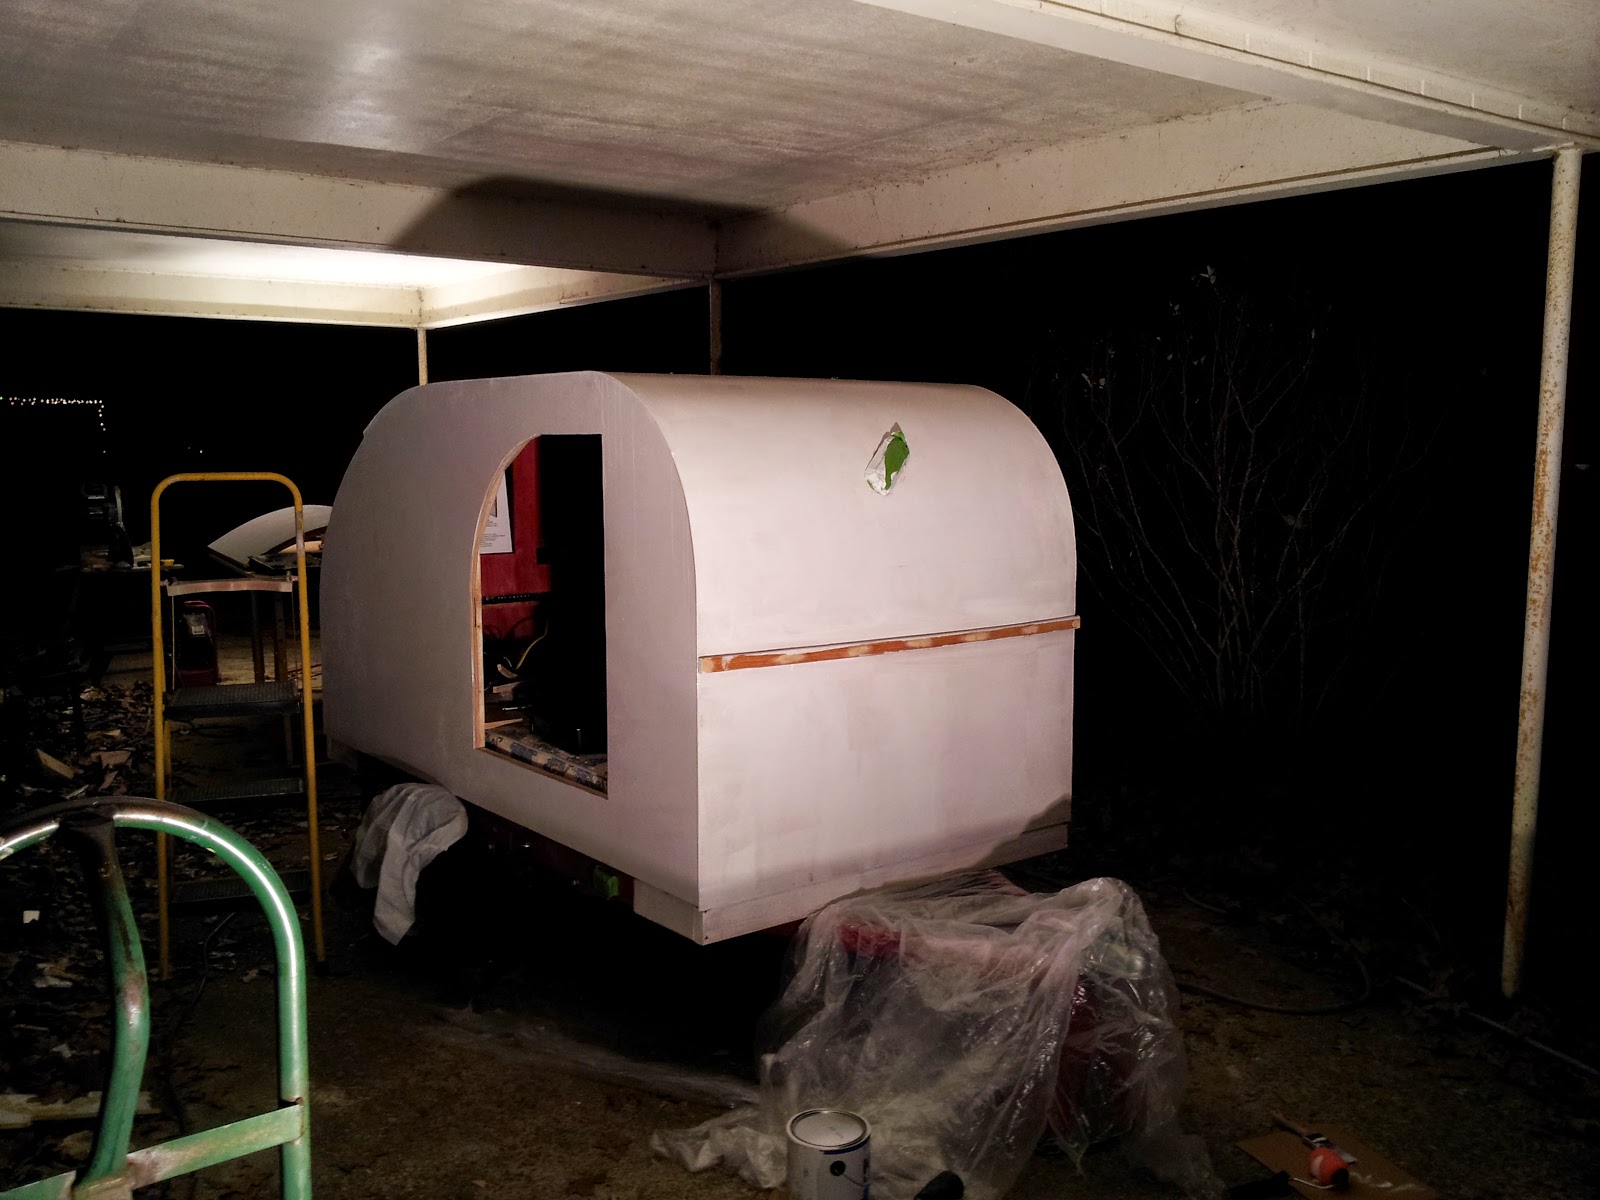
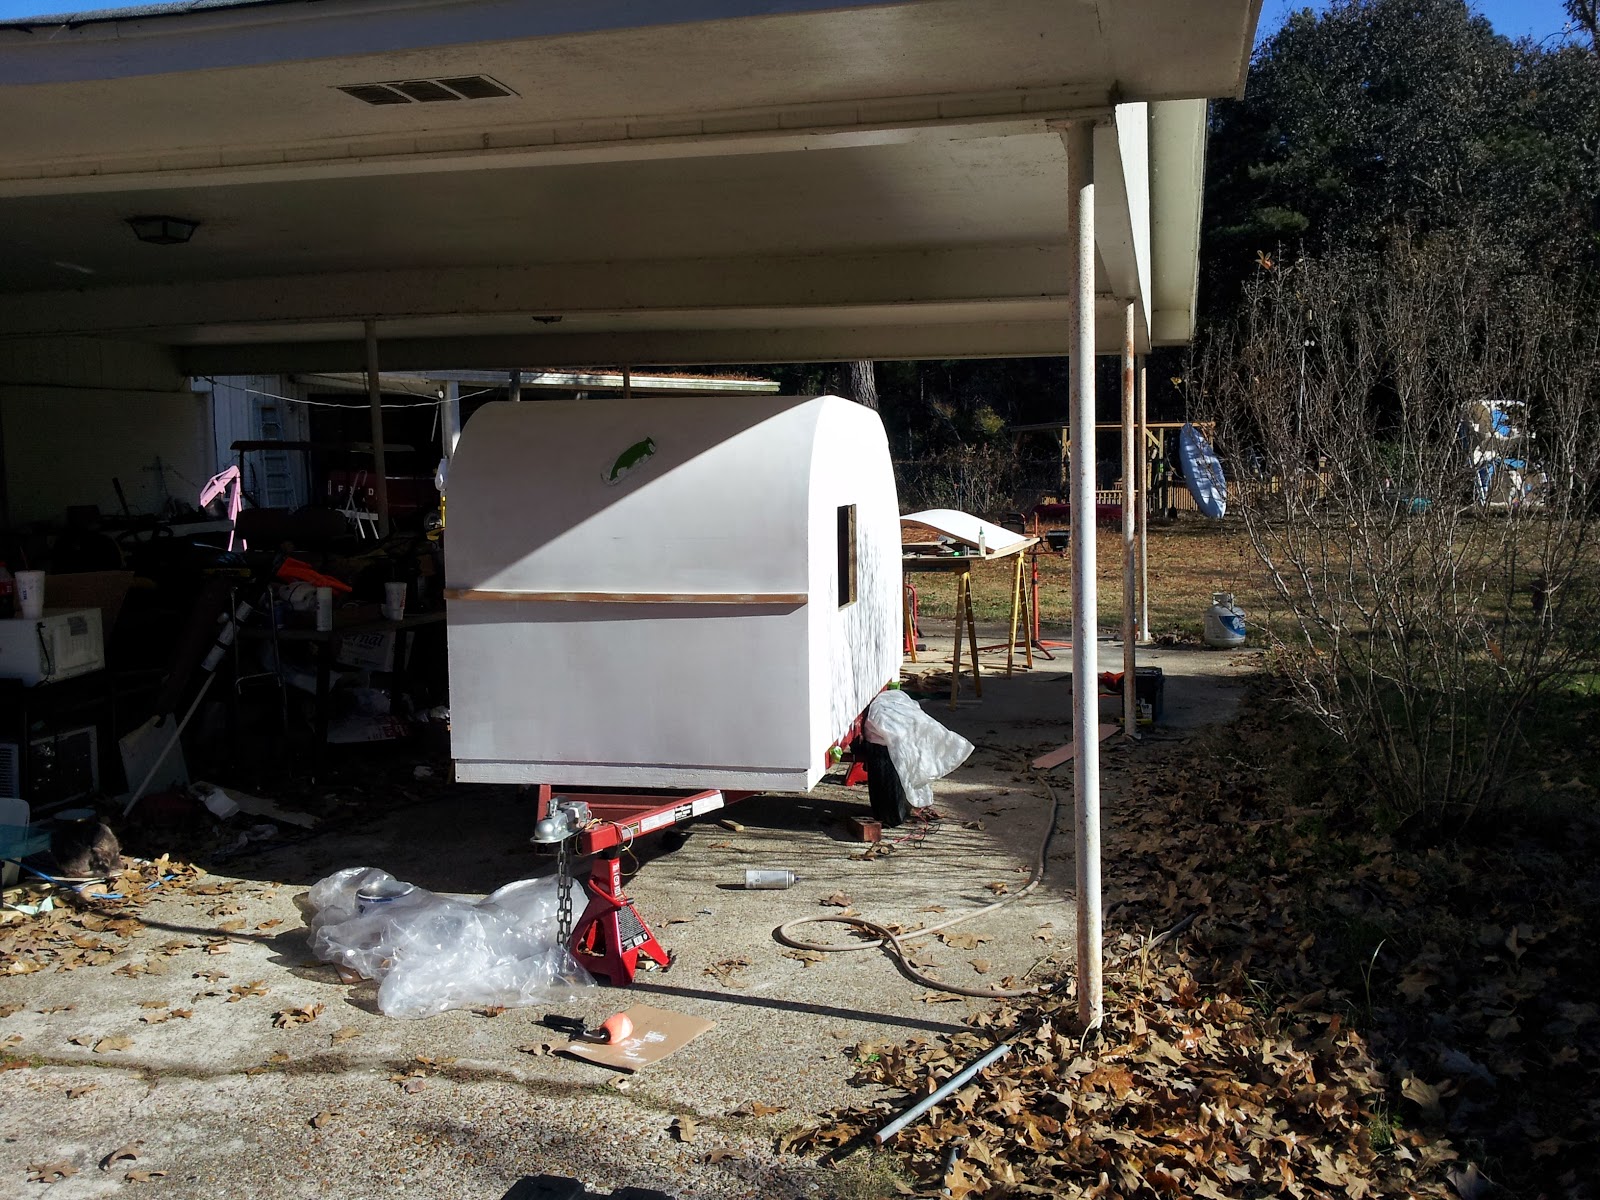
I didn’t do much of the extra traveling I’d planned for the trip, in fact I extended my stay at my dad’s and even came back to work a day late just to get Rolbak road ready and not looking like a giant glow stick with Kilz all over it. Even though I’m back home, the project really isn’t complete – there’s a lot of work to do inside, some wiring stuff to complete, some refitting (possibly rebuilding) of the galley hatch and some additional exterior painting to be done. It looks like I’ve acquired a new hobby and I’ll post updates on those updates as they happen over the next months/years. Until then, here’s the first of two updates since we left off back on Nov. 23rd.
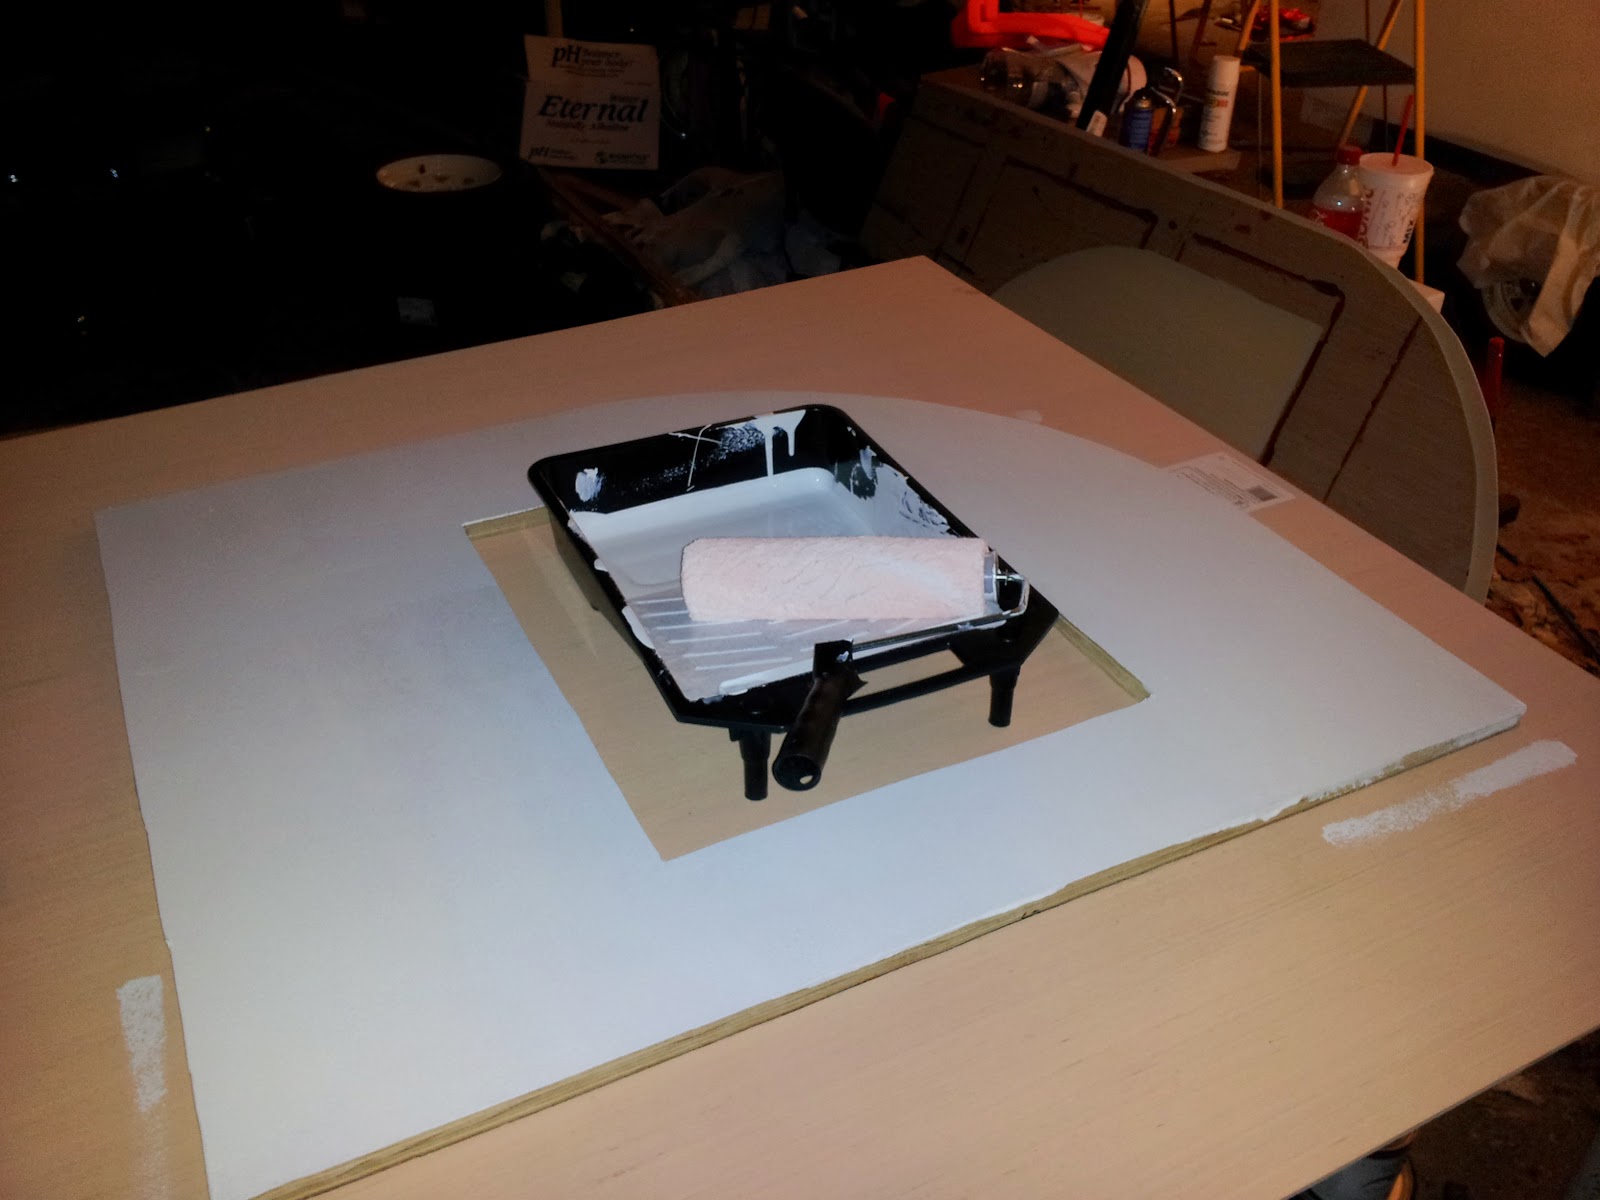
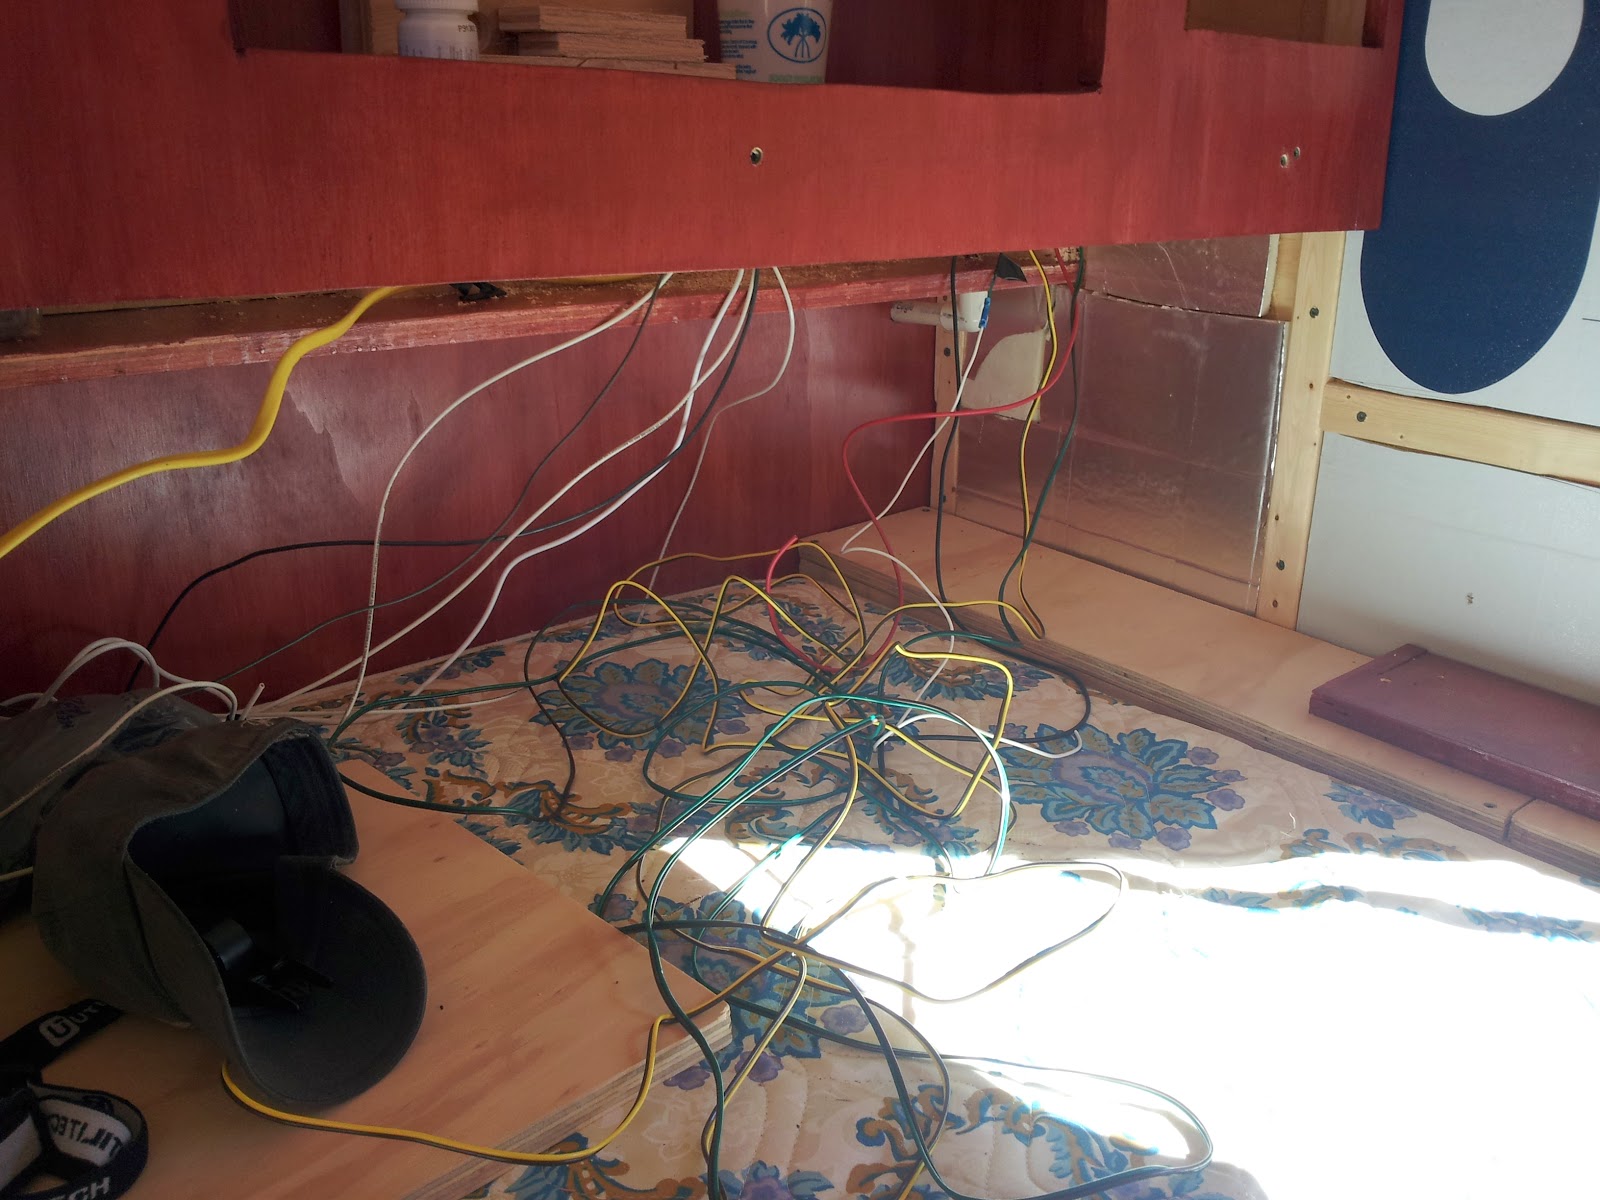
With the headliner installed, we started working on prepping the exterior for paint and also finishing up the wiring that runs between the headliner and roof. (Hindsight note: If I ever build another trailer, I won’t put any wiring up there. I’d rather find a creative way to run conduit inside or underneath where it’s accessible for repairs/replacement than where I can’t get to it without making a giant hole in a pretty part.) Here, we have some wood putty application on the exterior.

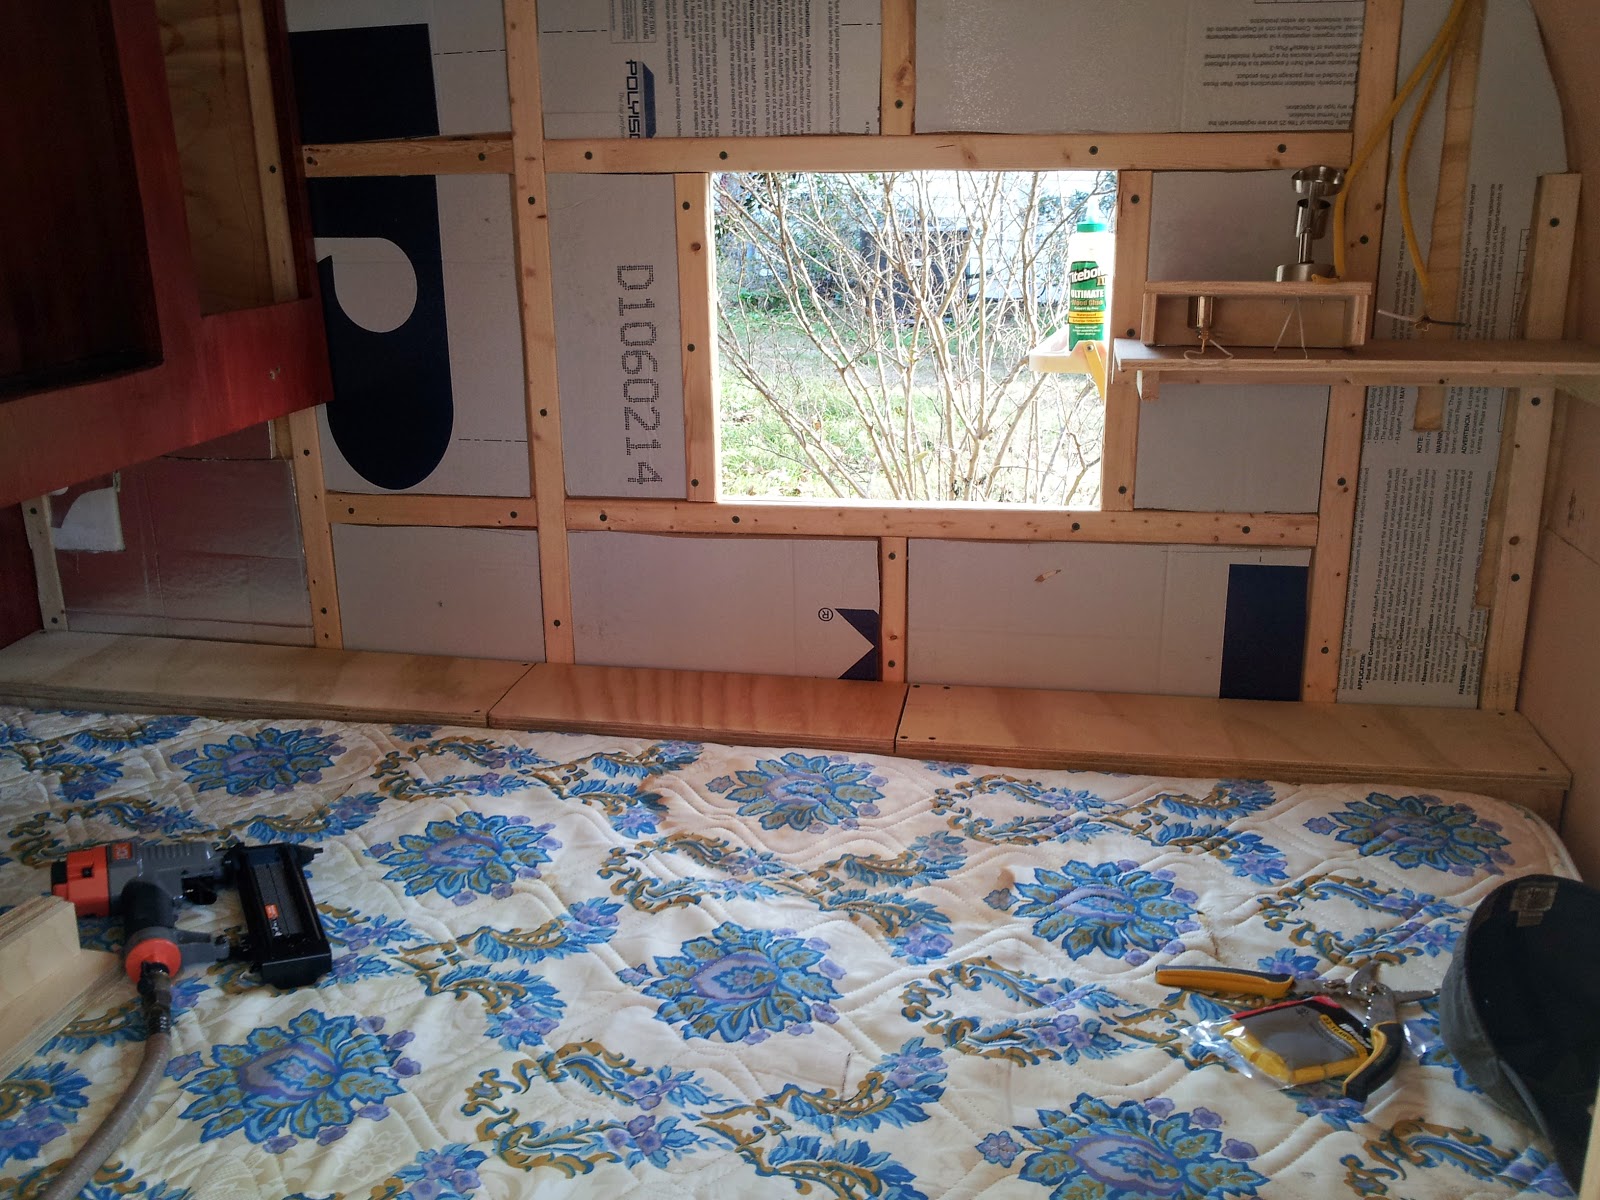
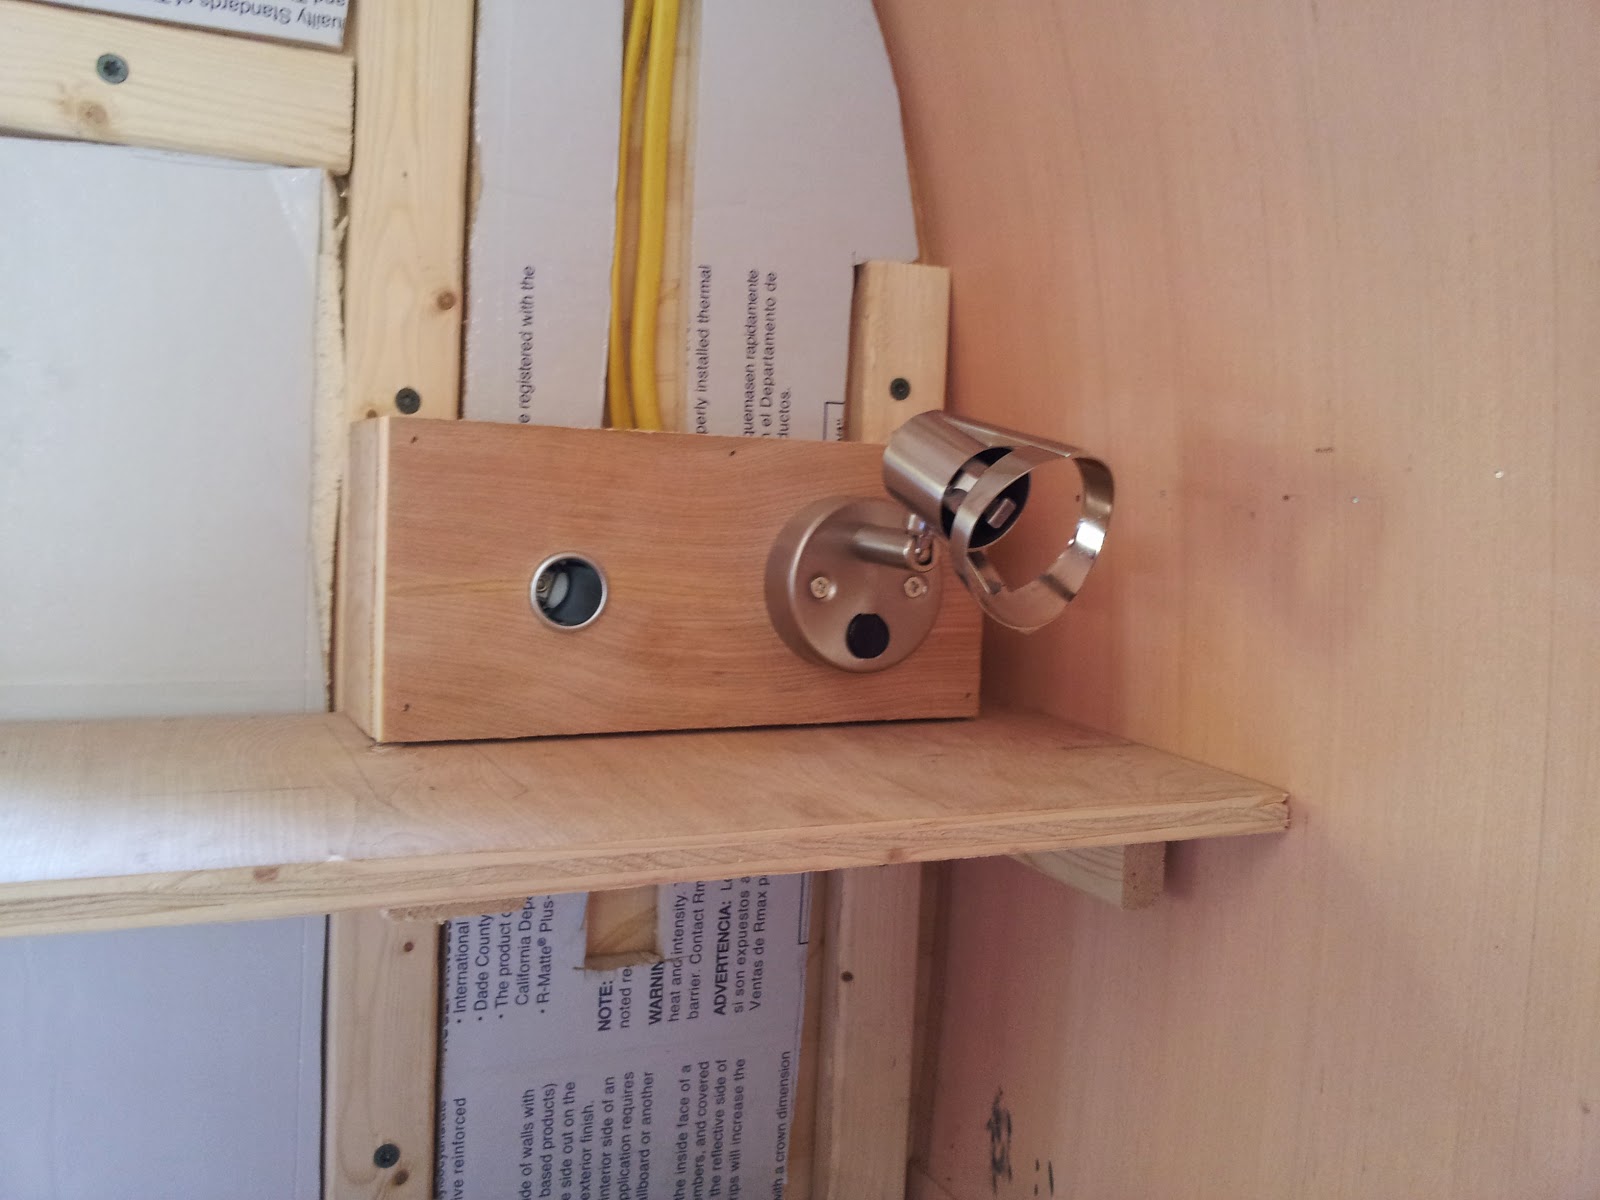
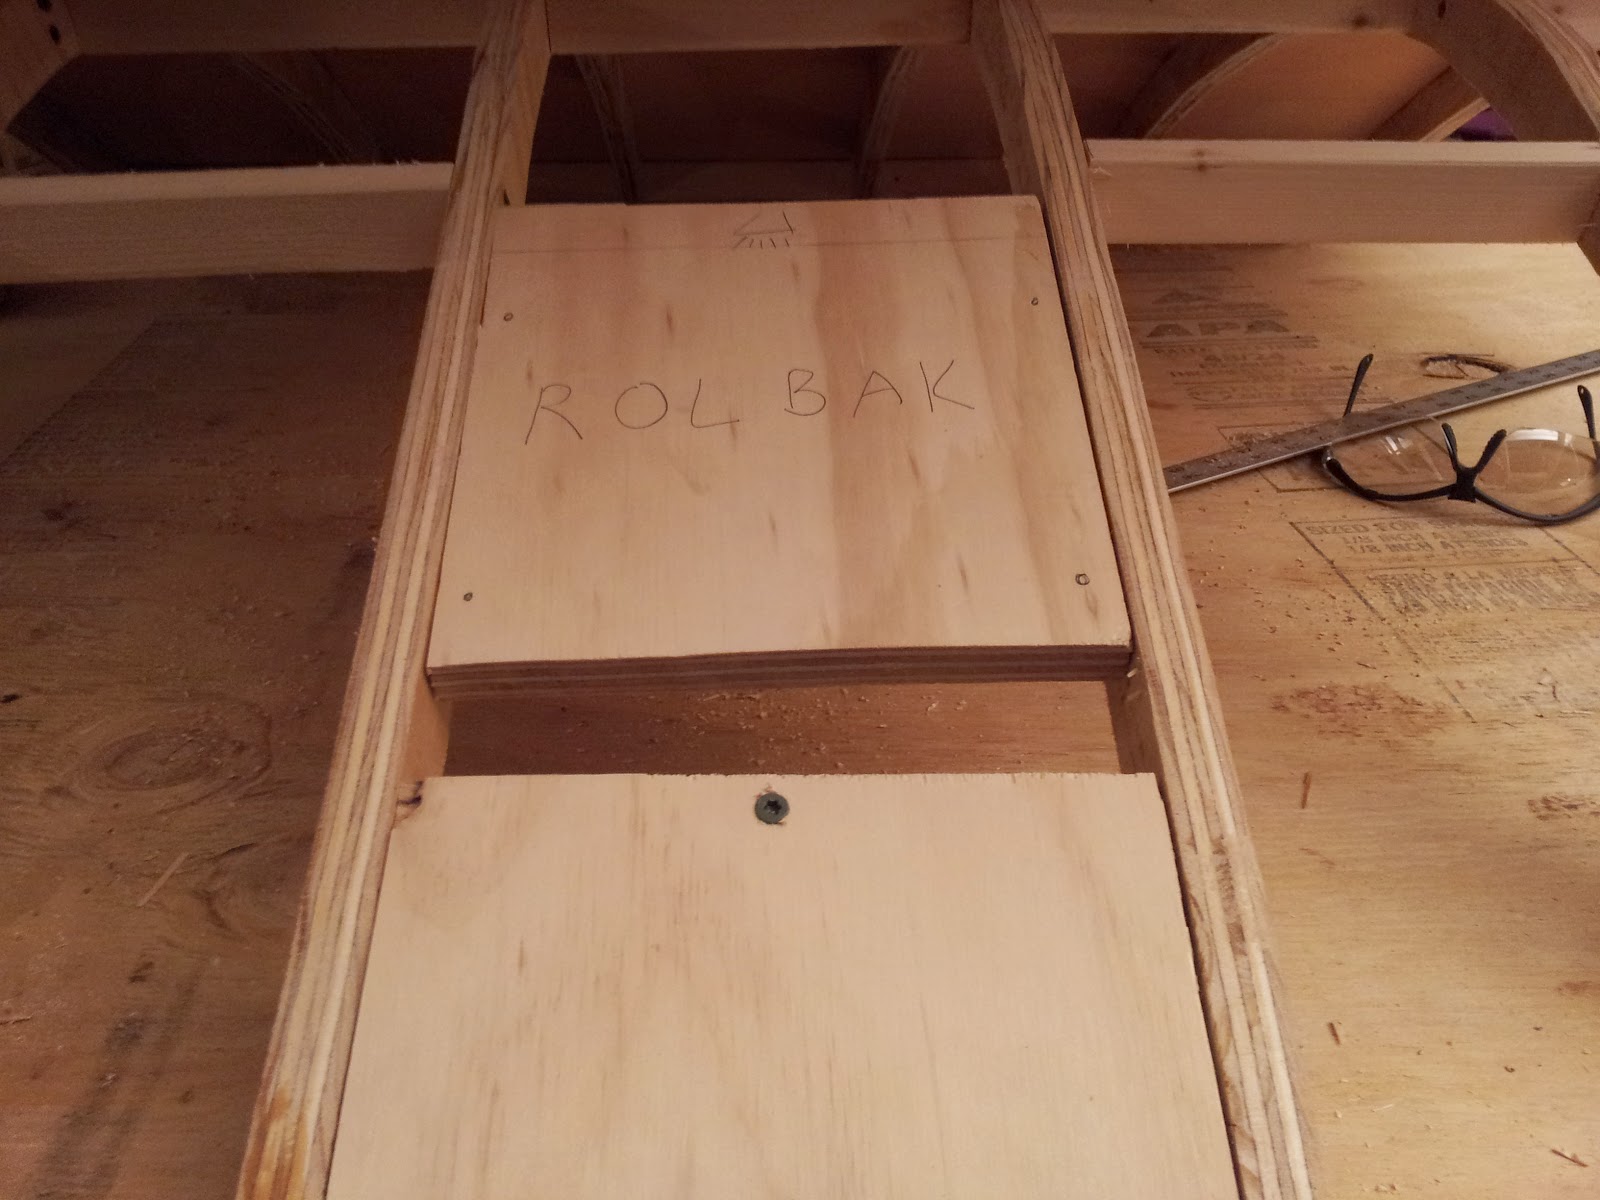
On the interior, I wired up a small section next to the bed (head end) for a reading light and 12v socket. I made a small box out of some 1/2″ birch and made holes for the socket and light wiring using a 3/4″ step bit.
The electrical panel for next to the bed, installed.
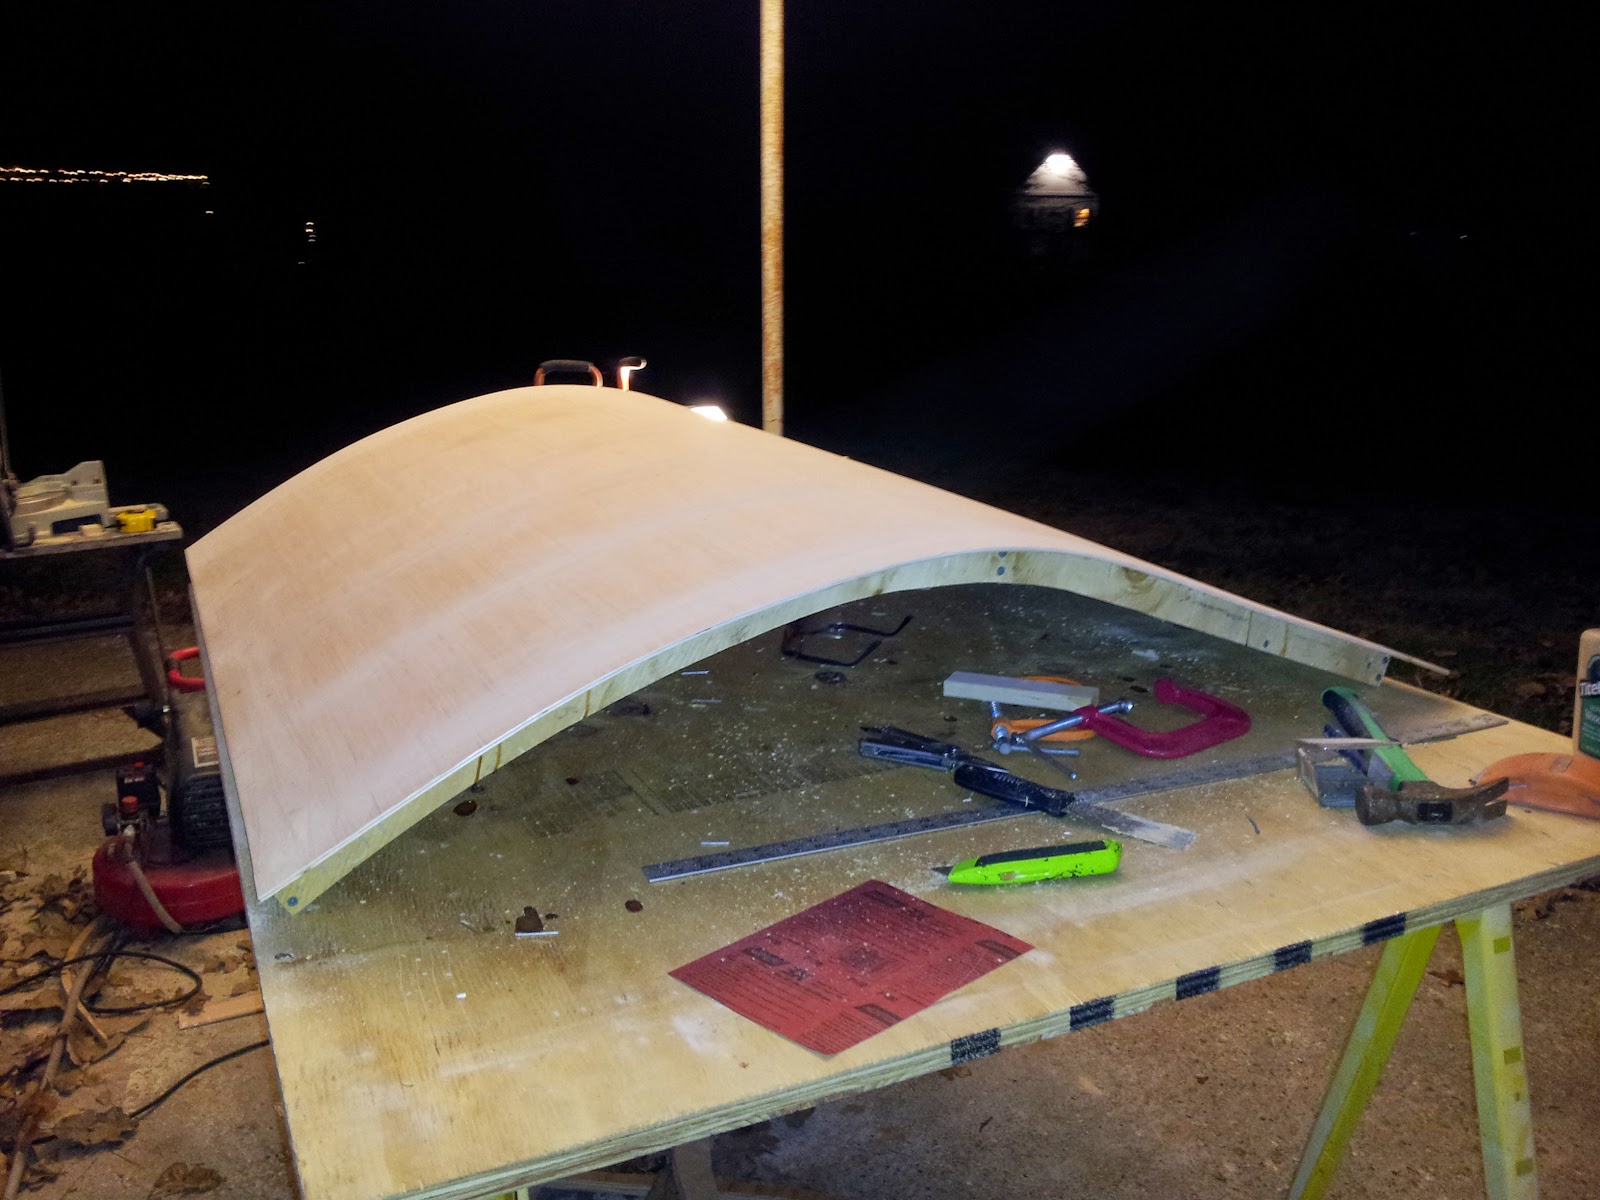
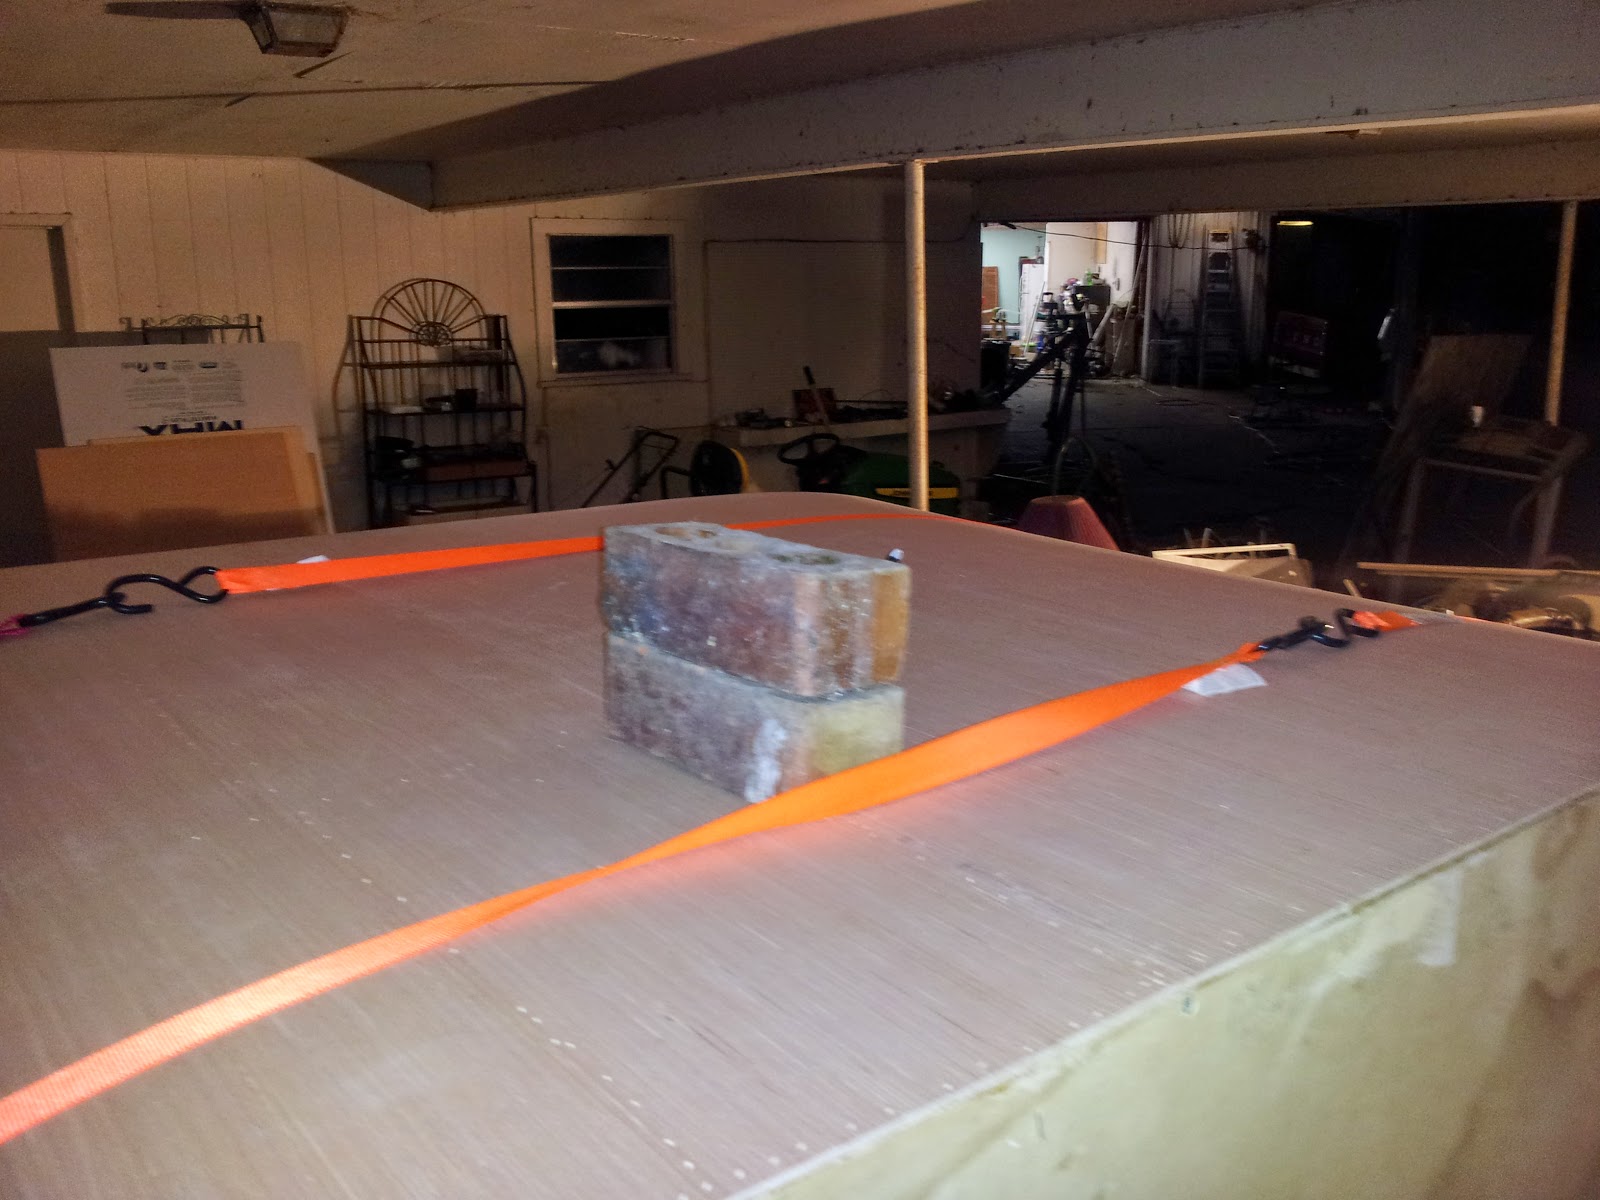
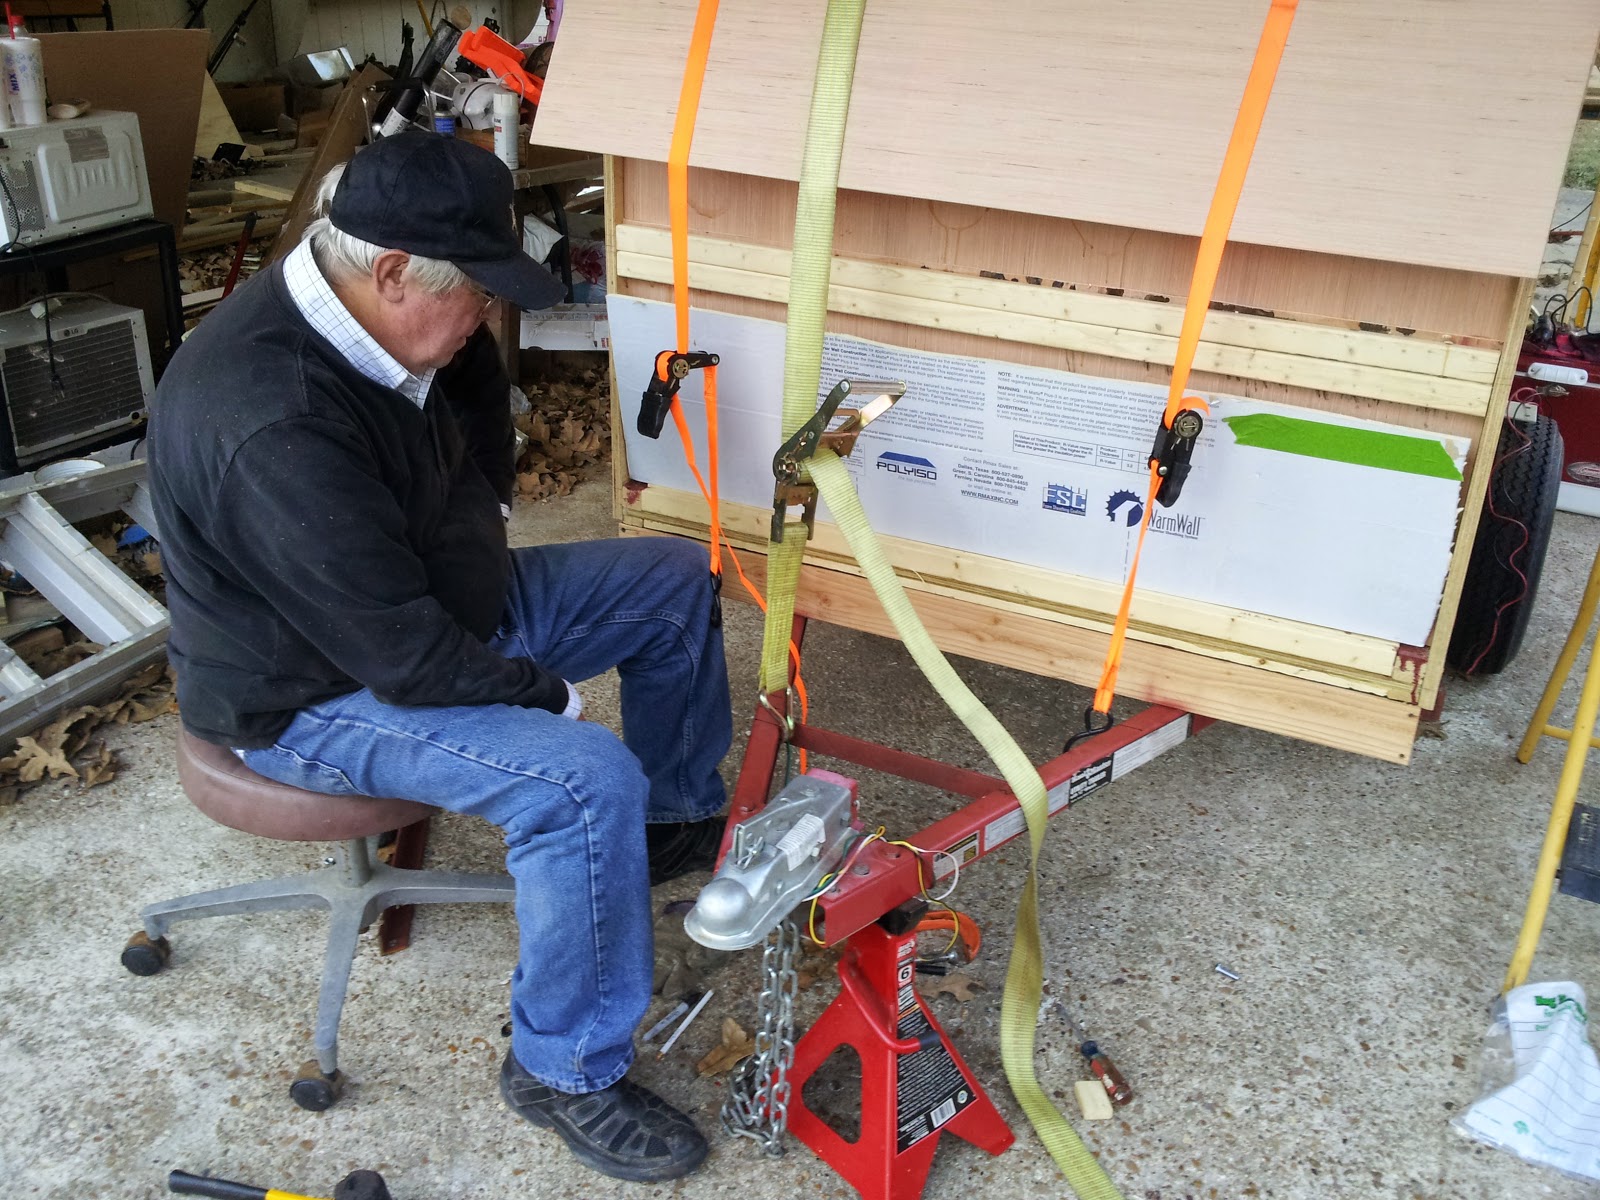
As much as the headliner install was a complete pain – pulling and pushing a full sheet of luan into the channel and bending it – the actual roof was 20 times worse. We actually broke 2 (maybe 3 sheets) which we’d already had to cut to 49.5′ wide out of 8’x4′ sheets. Plywood really doesn’t like bending, even at 5mm thick. Eventually, we got creative (aka redneck) with some ratchet straps.

And bricks …
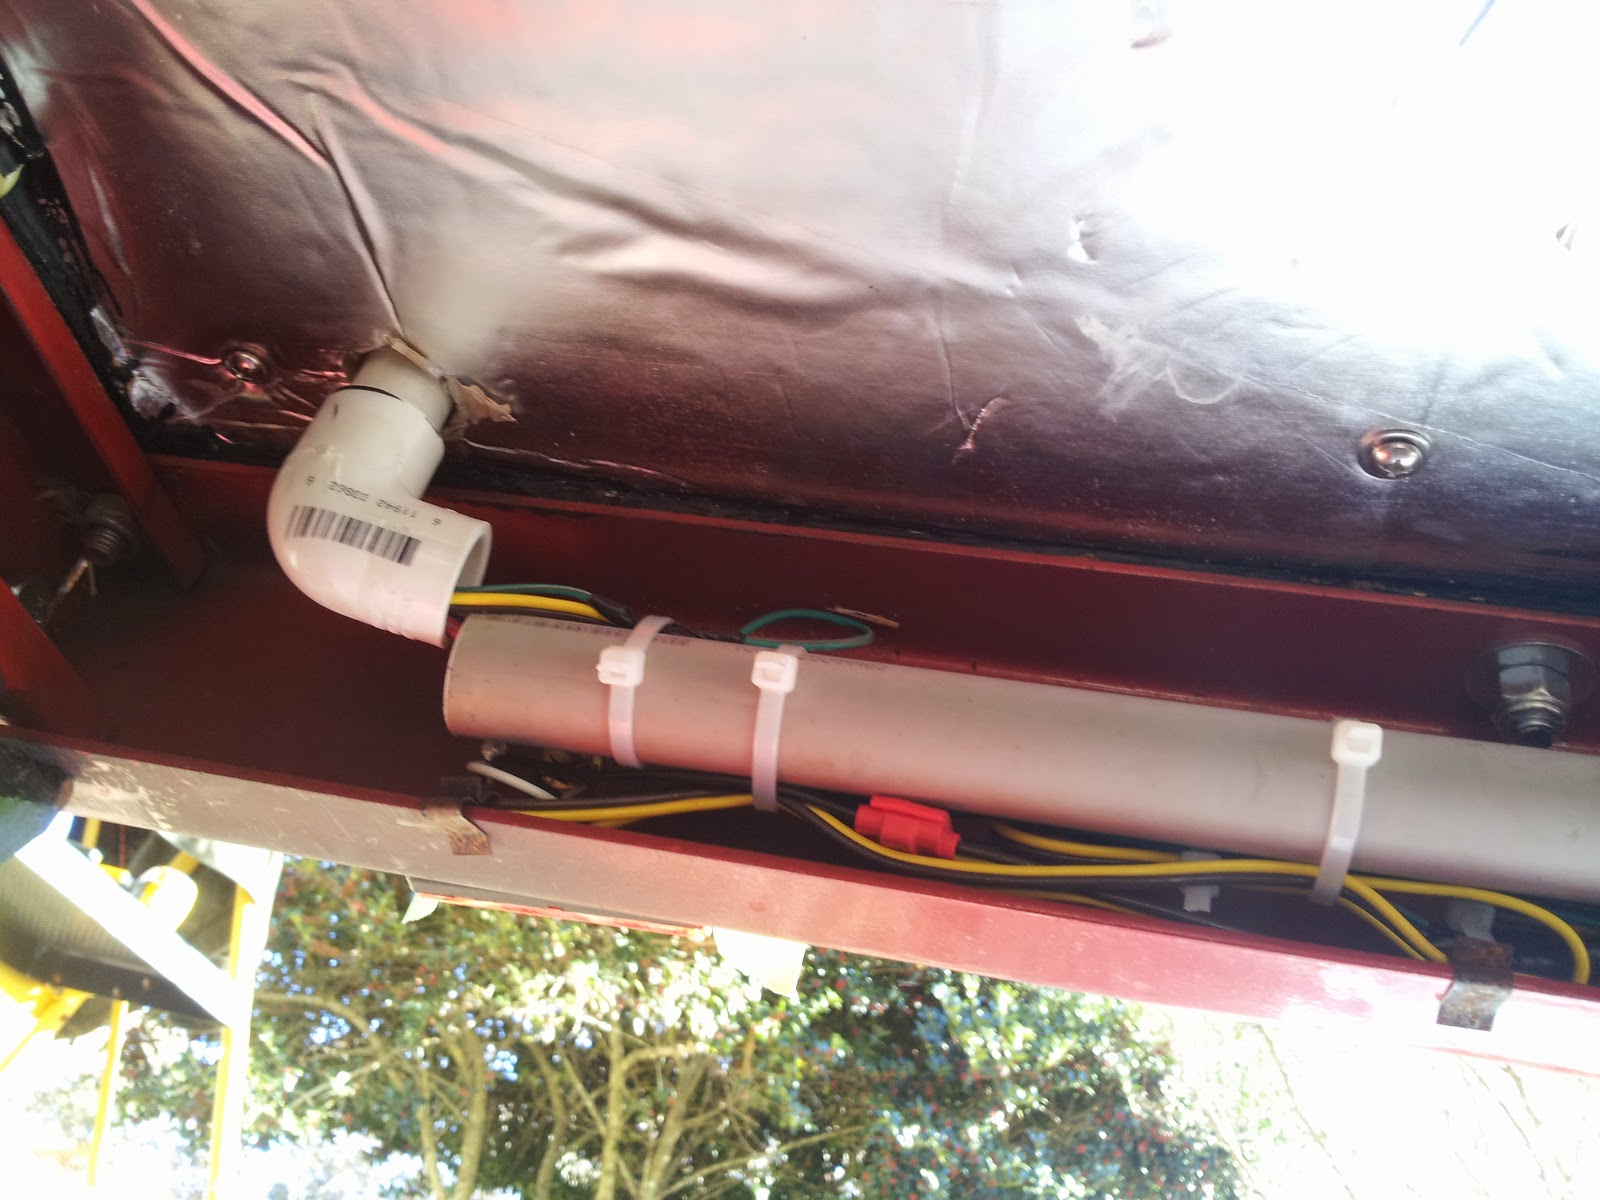
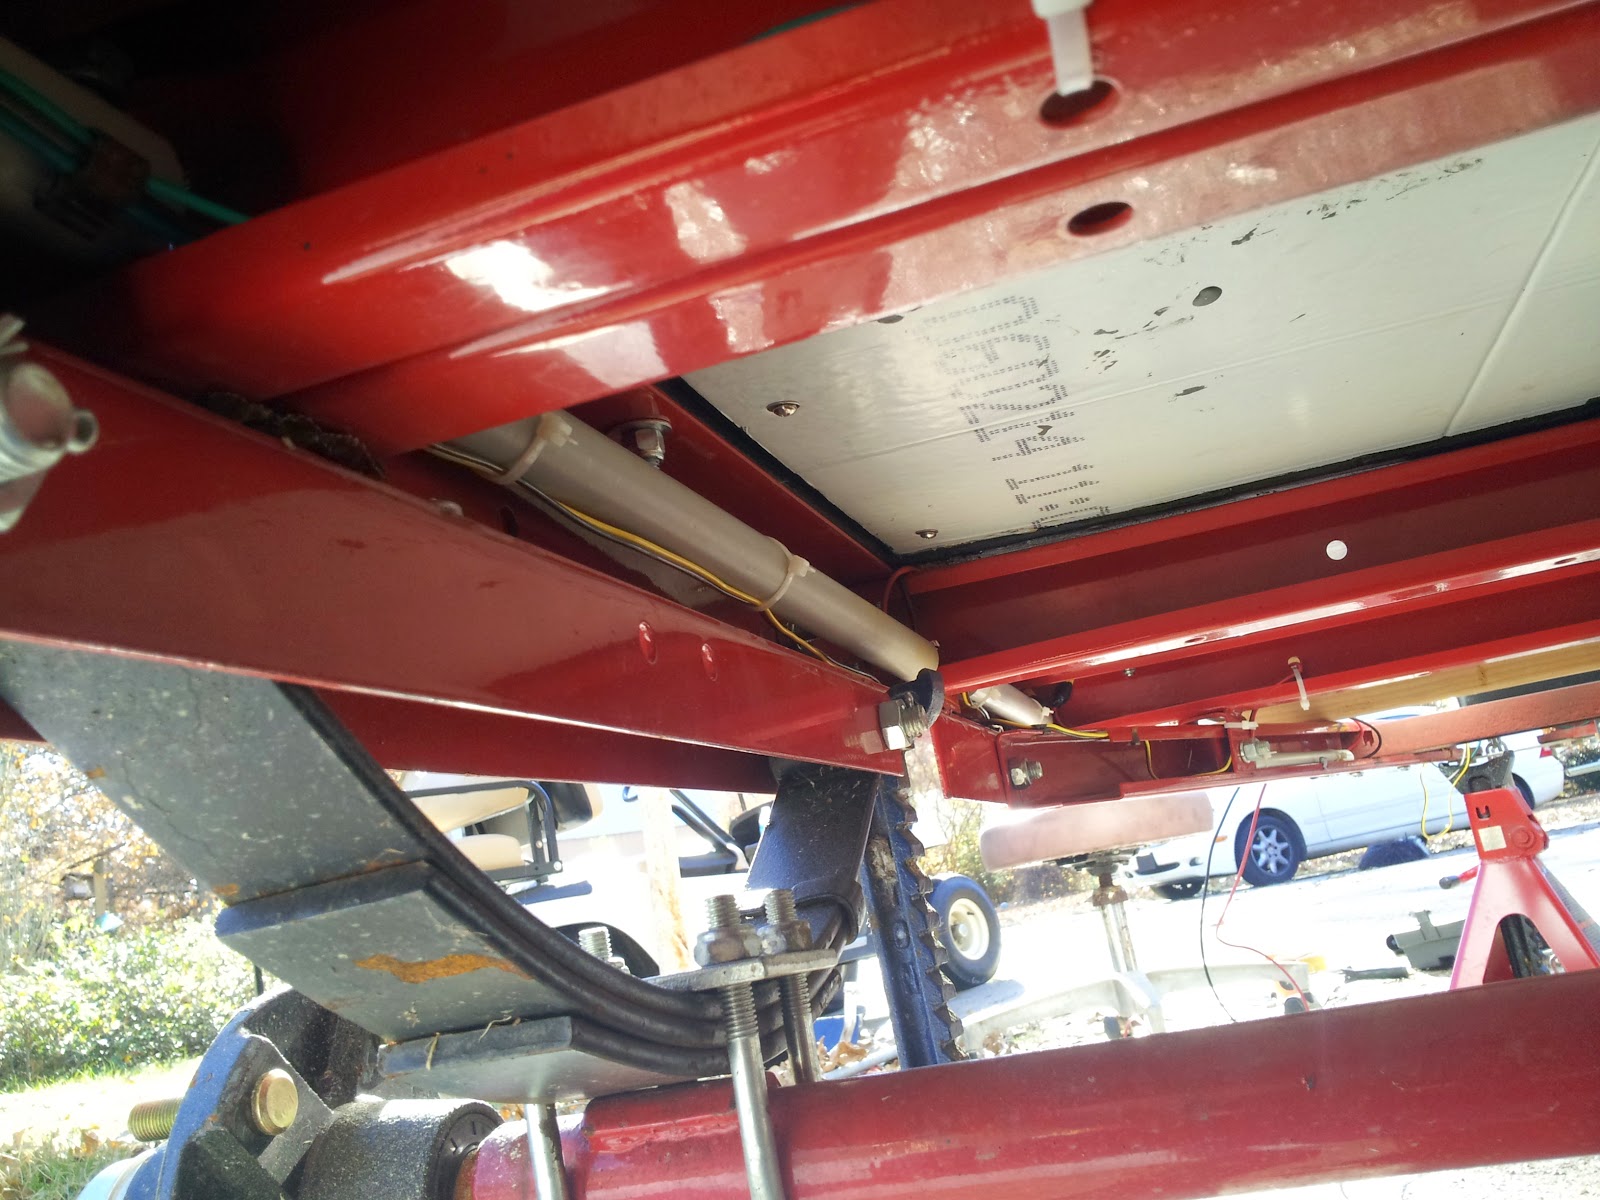
Then, I made sure that I had all of the wiring from both under the trailer (which had to go into the cabin and then out to the galley hatch for tail lights) and inside the roof – fed through the PVC conduit up into the raceway.
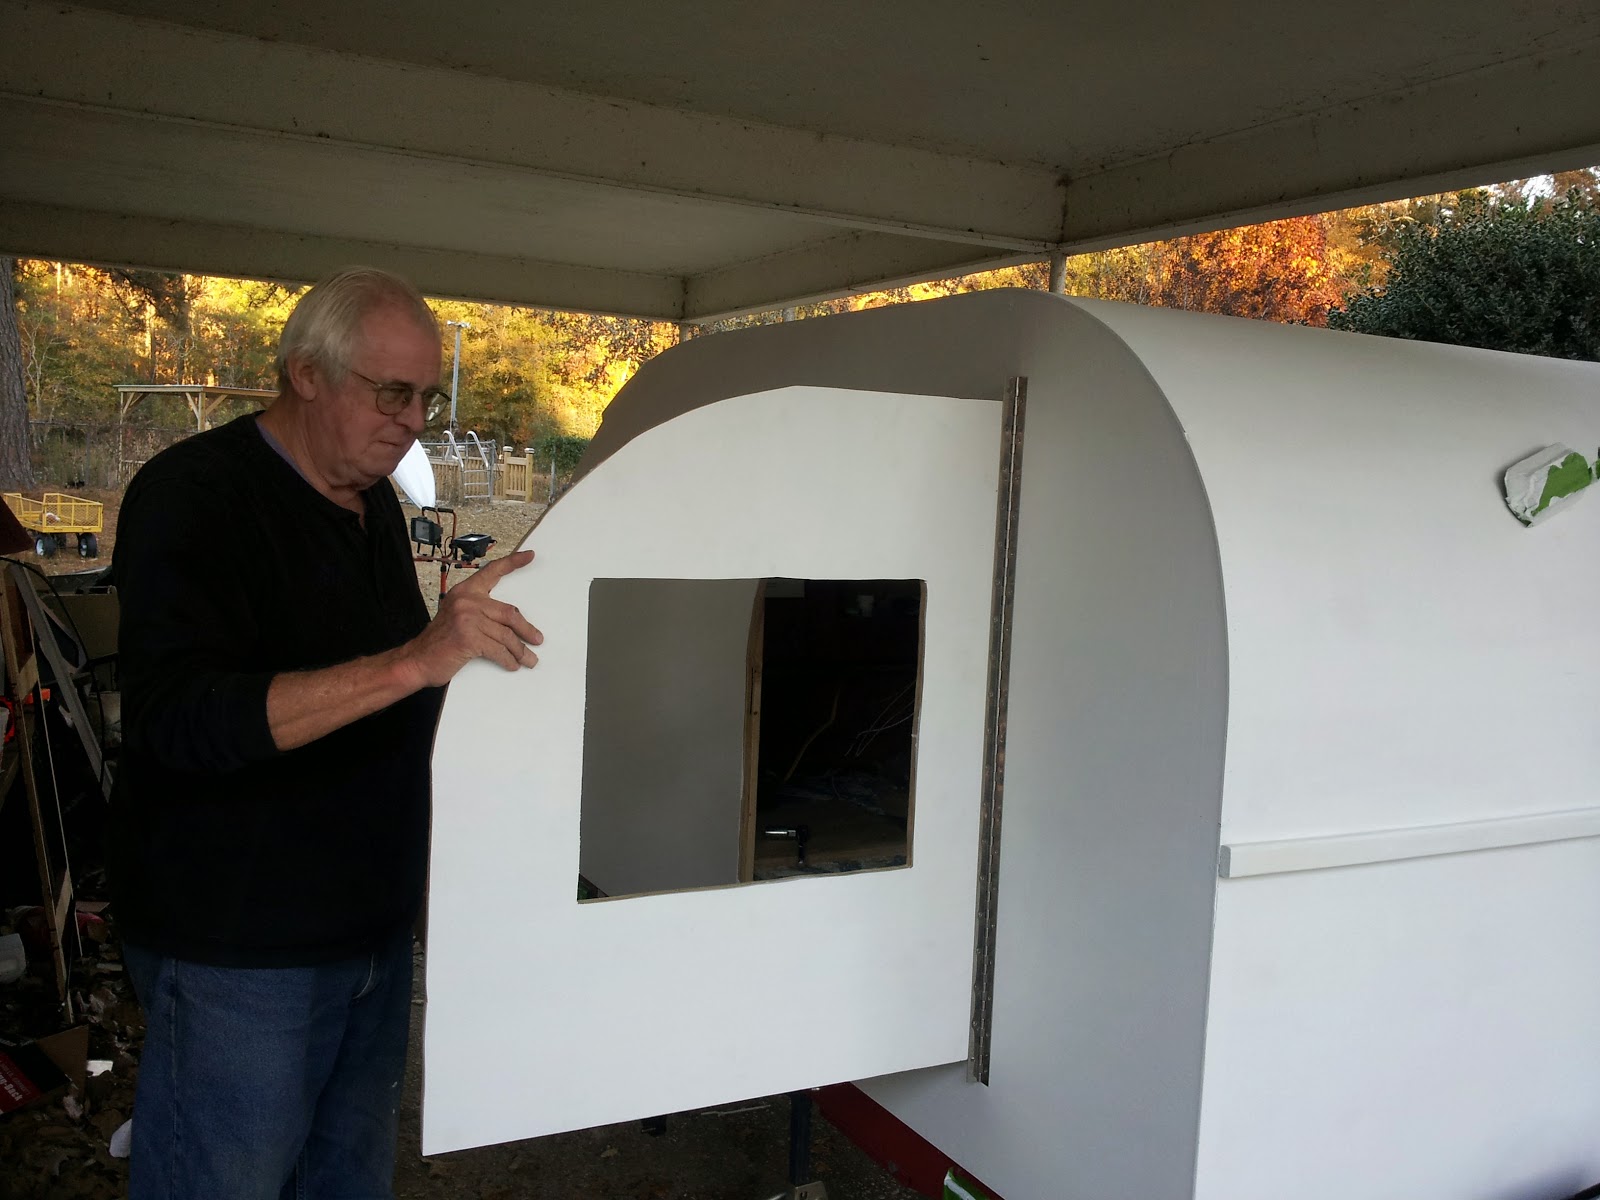
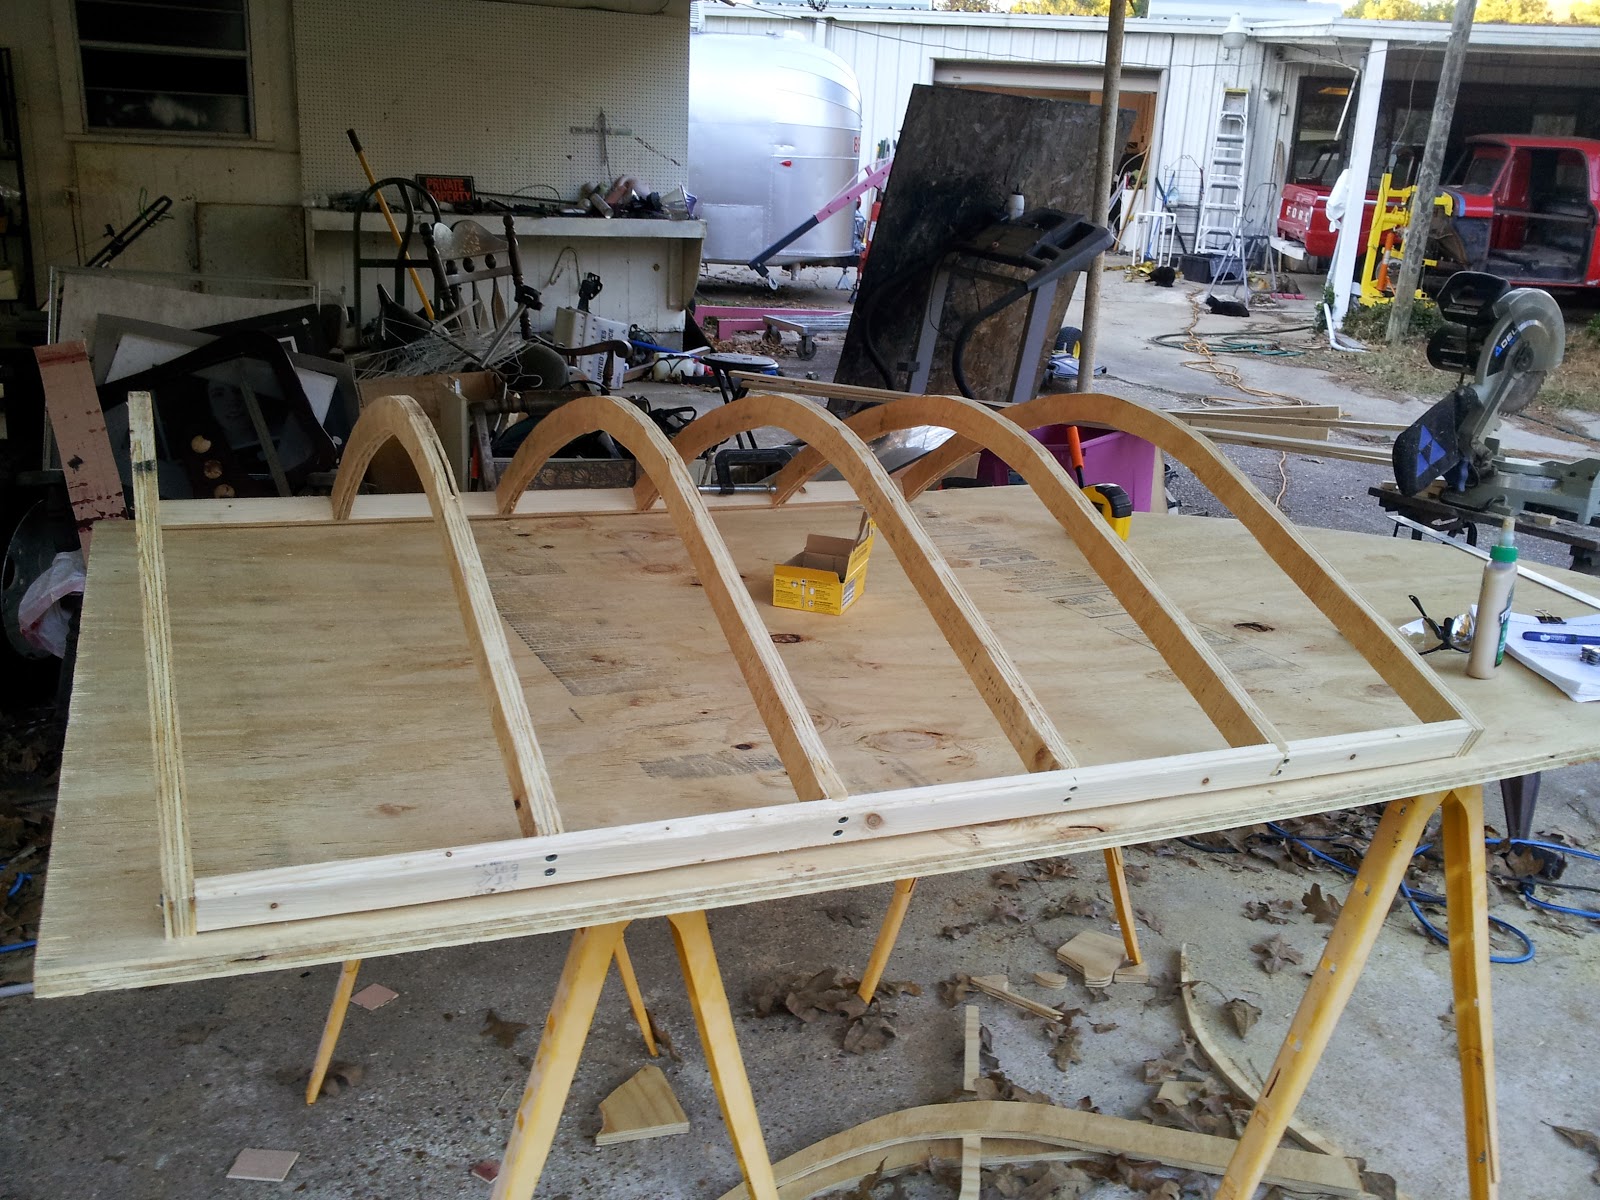
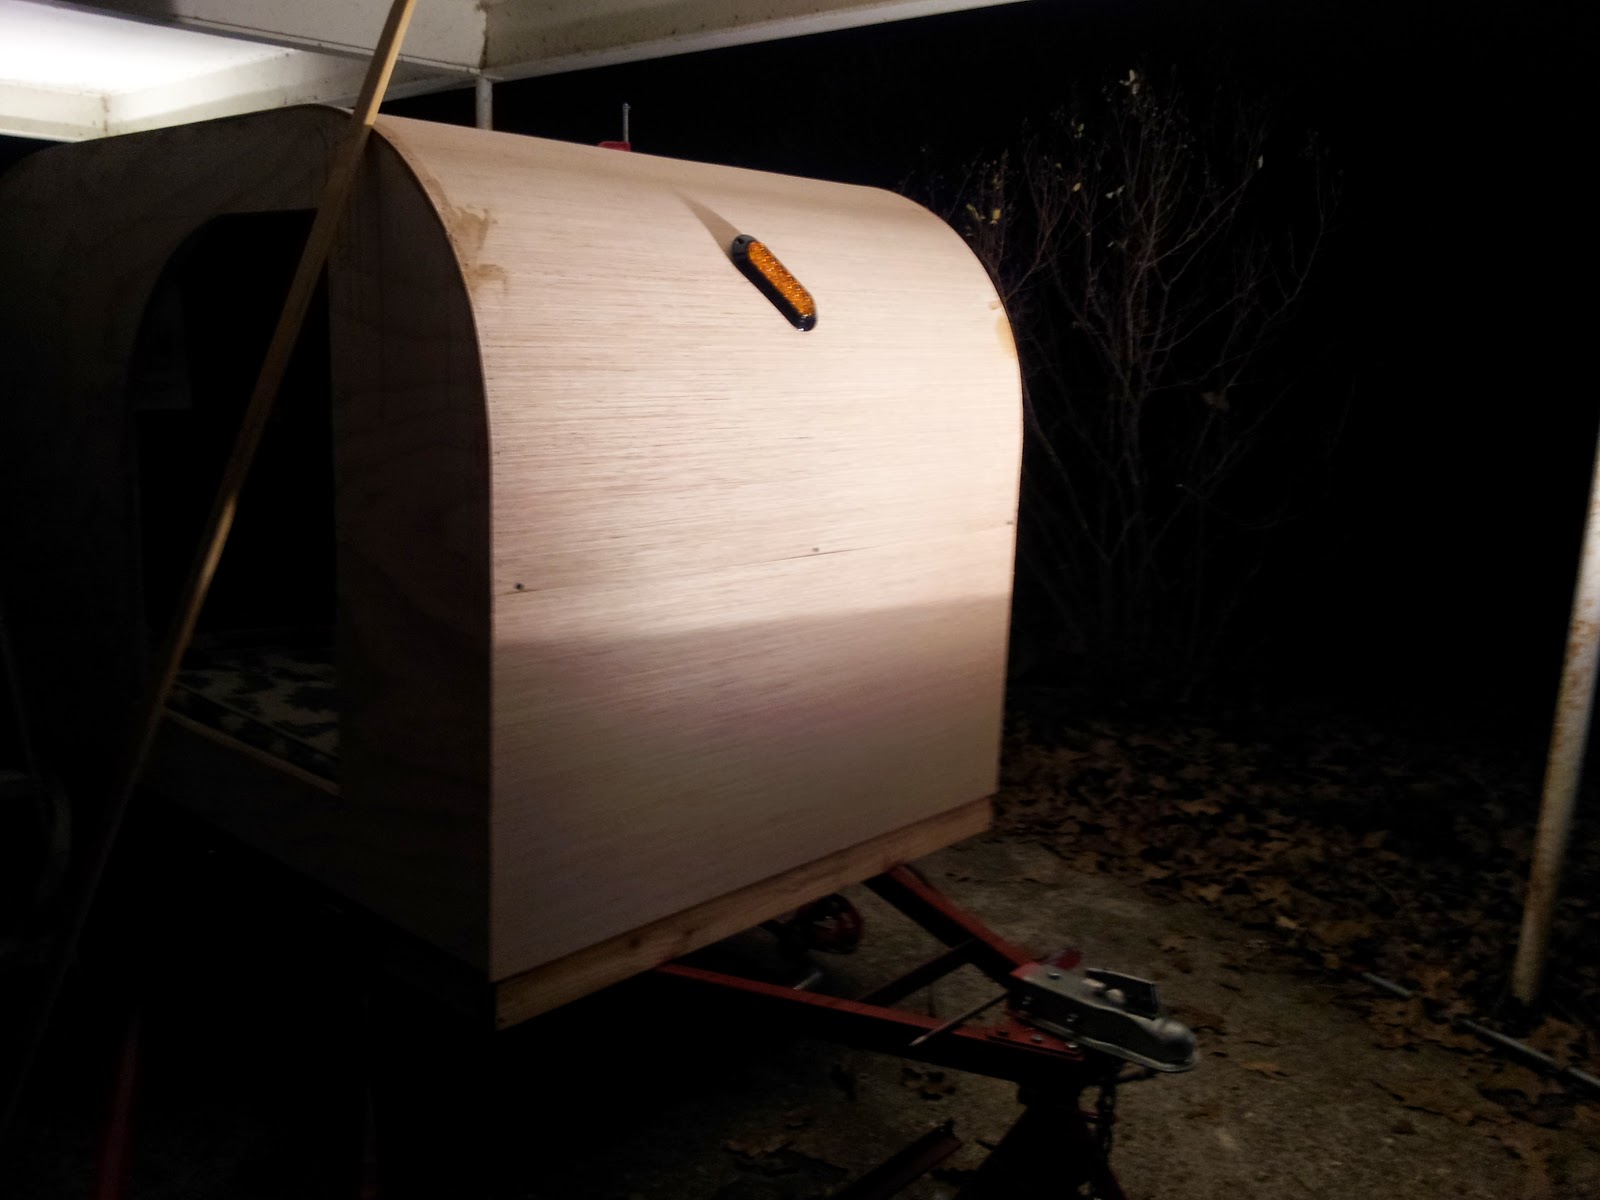
After that came a bunch of work with the jig saw. The small piece is a .25″ piece cut from the galley side walls that was used as a template to create 1.75″ “ribs” for the galley hatch.

I cut six of these ribs out of 1/2″ ply to form the curved part of the frame for the galley hatch.
On the hatch door, I installed some spars and some other pieces of wood to allow mounting locations for tail lights, the license plate (still MIA at this point) and a handle.
A close up of the license plate backing piece with a section for a light over it.
The next photo is of an awesome screw up on my part. I’d already cut out a space for the vent fan in the headliner (laying on my back with a jig saw above my head … fun) and now I cut out the same hole from above in the roof layer also using the jig saw. Since one of the seams in the roof runs right across the vent hole, I went to re-nail the pieces using my new nail gun. Unfortunately, I chose the 2.5″ nails which went not only through the roof and supports, but also through the headliner. I’ll have to fix that later … until then it’s a back scratcher.

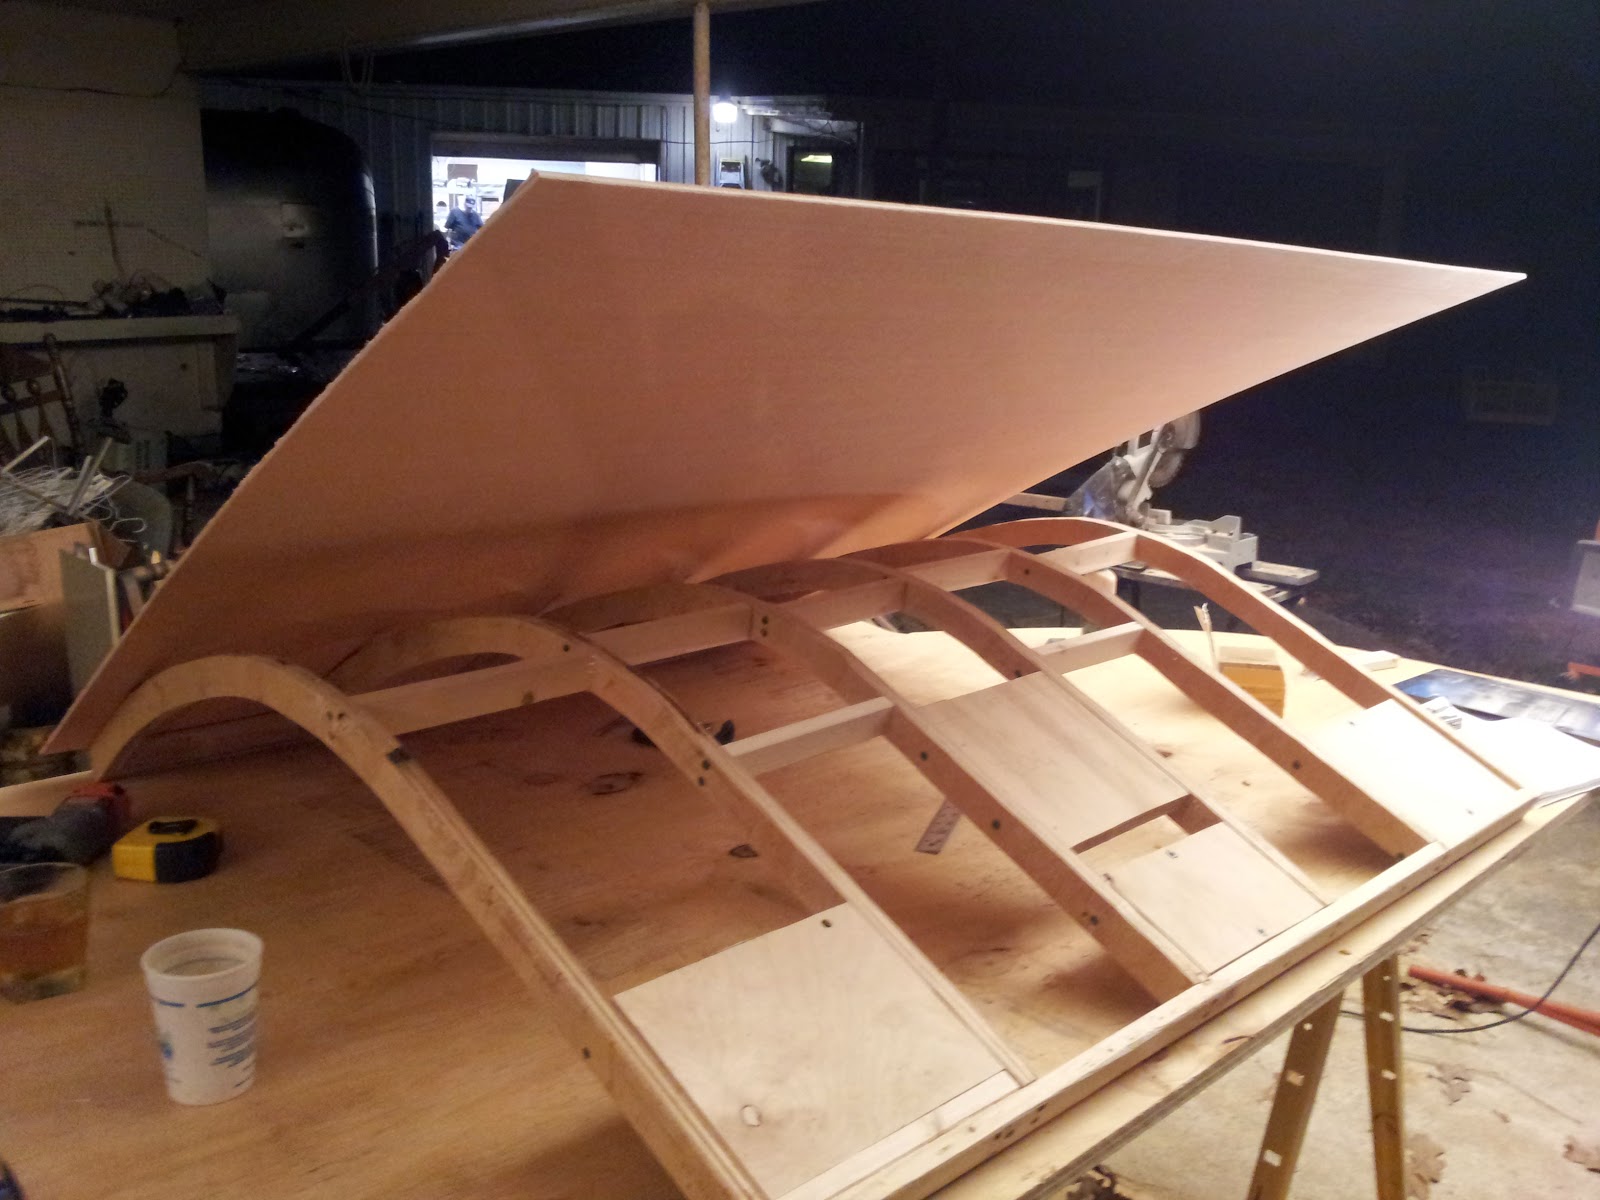
We finally got the last curved piece of the roof down into position and ready for nailing.

Then, we installed one last piece of luan below it which was thankfully a completely straight install with no roof/body curves to worry about.
Luan install on the galley hatch went similar to that on the roof – we used ratchet straps to bring it slowly into position while applying glue and nails. Then applying wood putty to cover the holes.