
Wall Insulation and Cabinet Install
Posted in Sabbatical
We’ve gotten a lot more done since the last update. First, I framed the insides of the walls with 1×2 “studs” and 3/4″ R-Max 3 insulation.
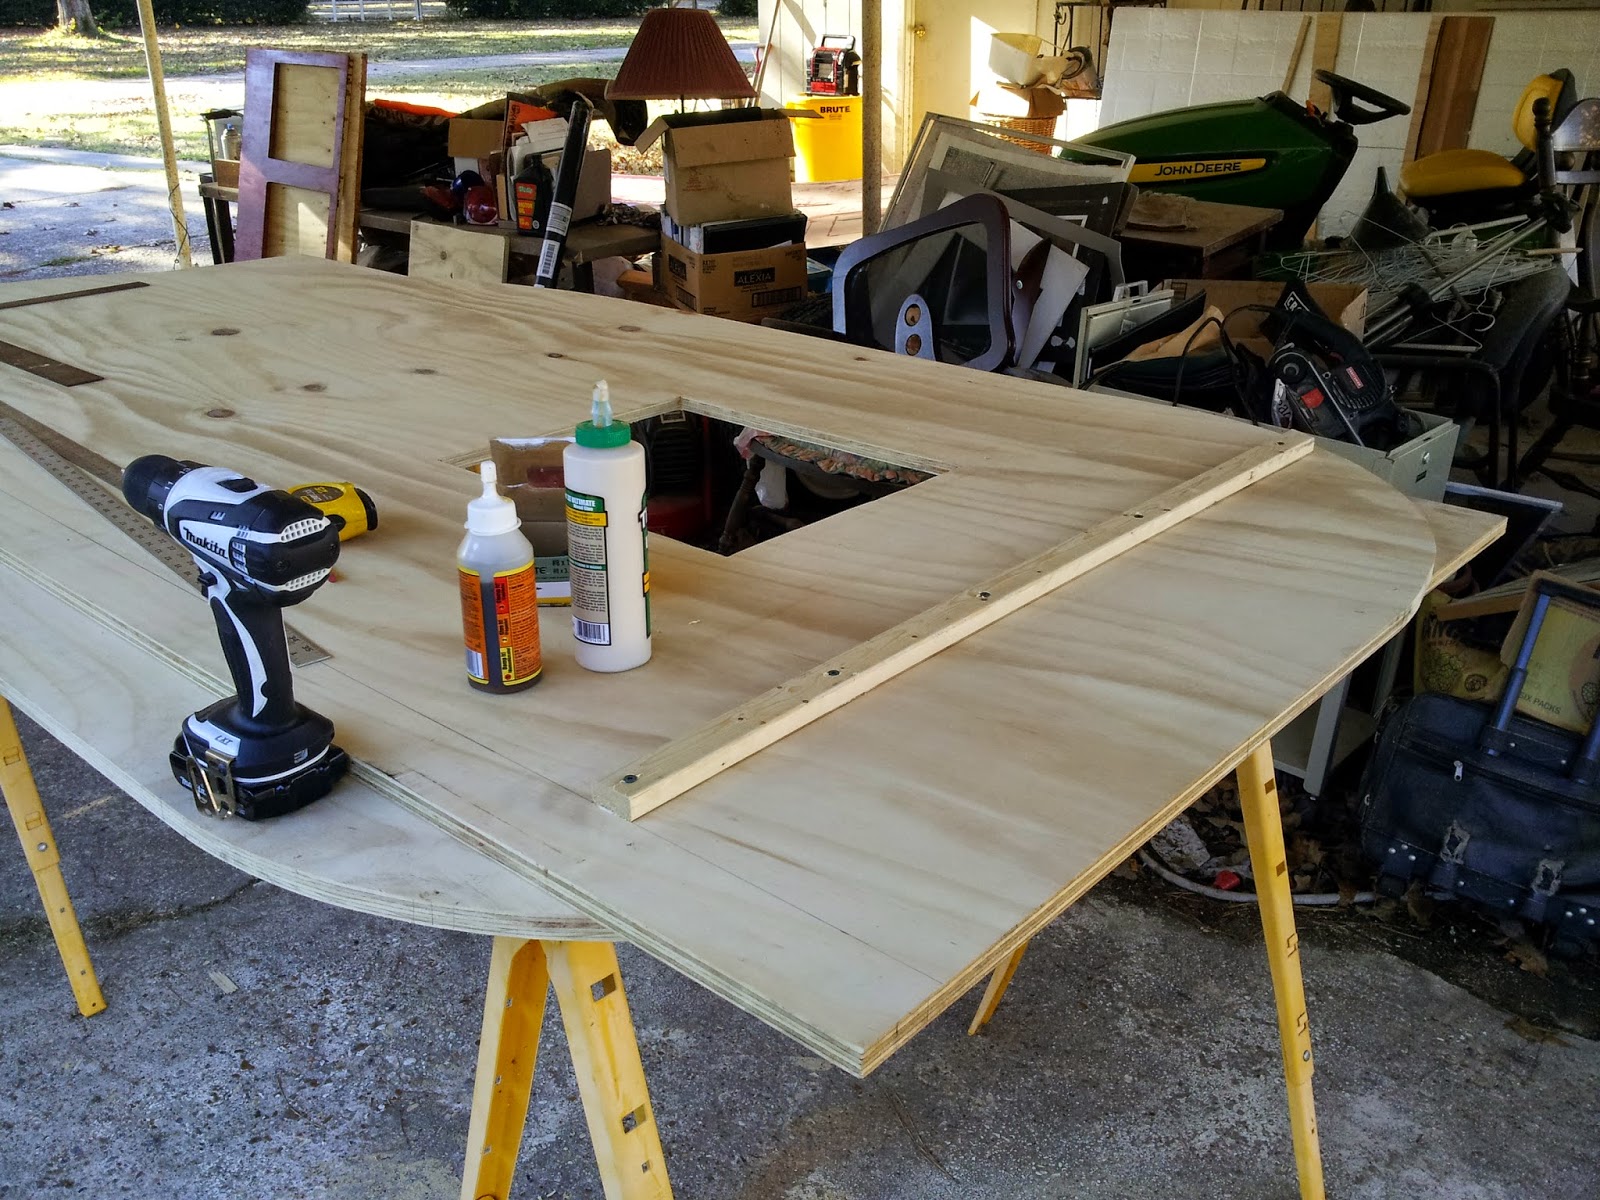
Lots of measuring and cutting with the miter saw.
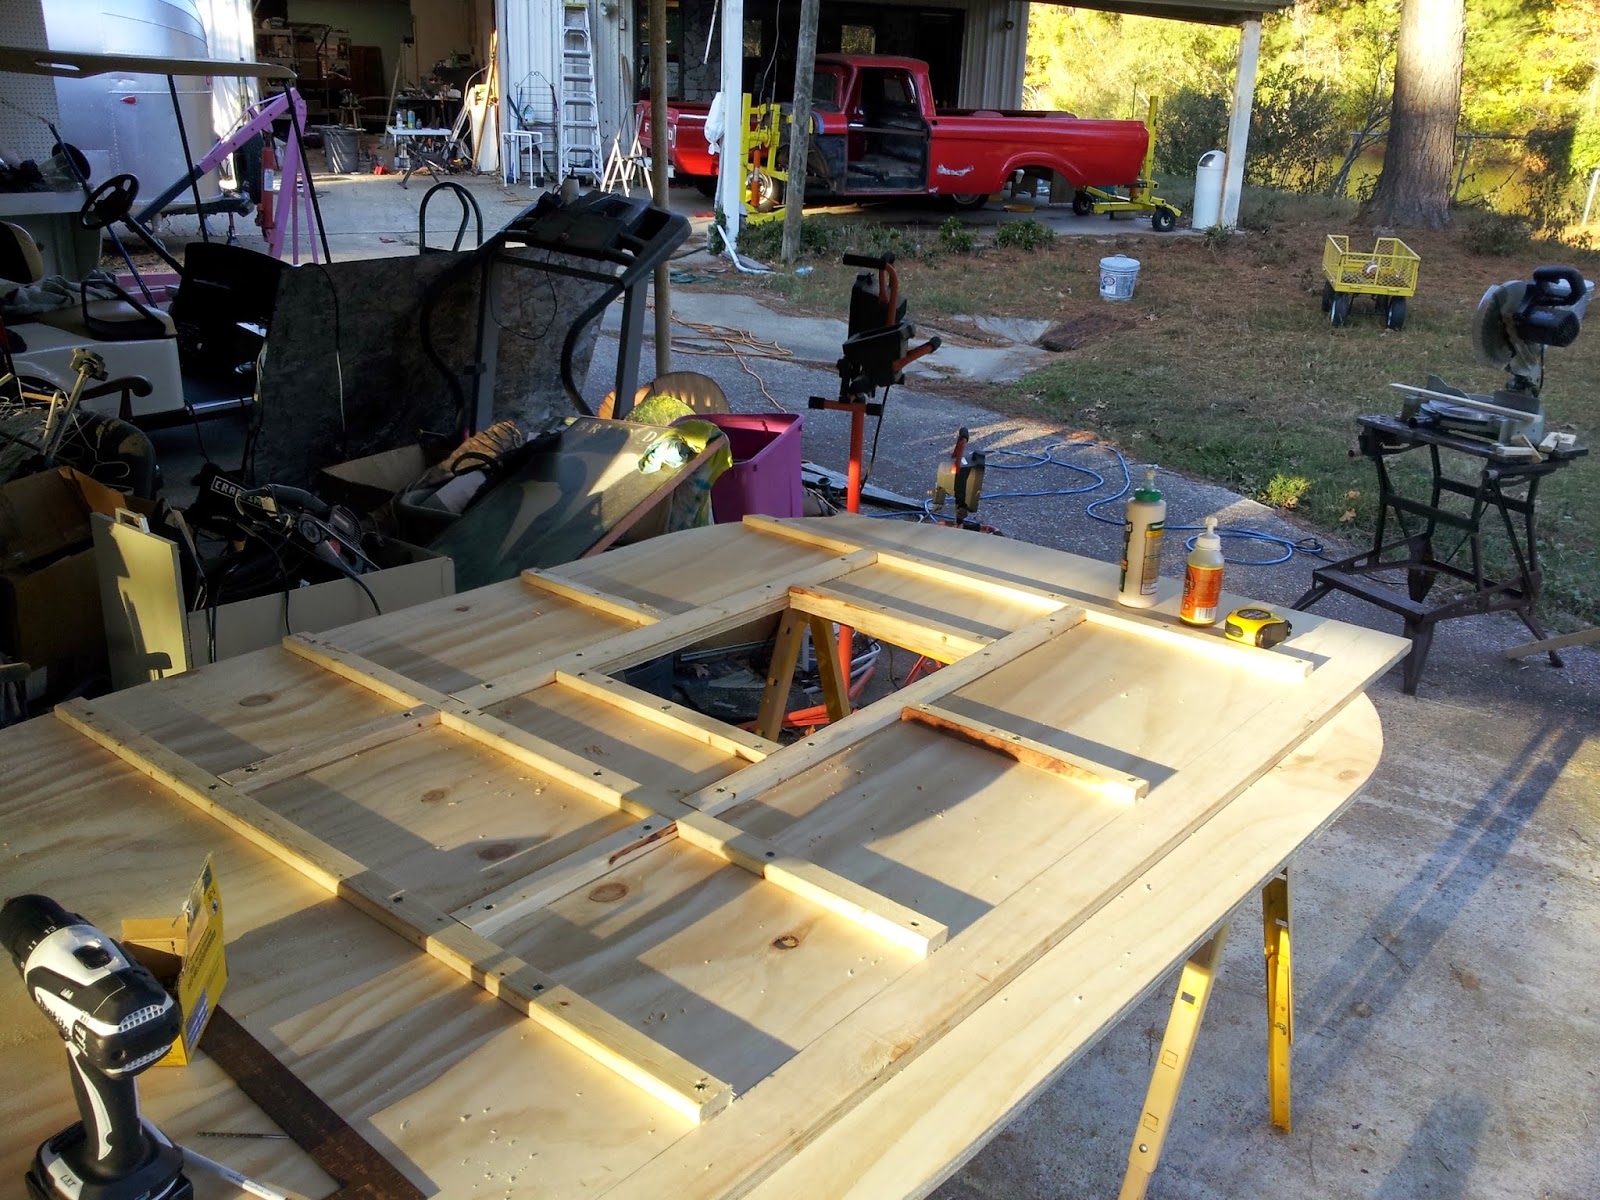
Insulation in place and attached with Gorilla Glue. (There will be 1/8″ luan over the interior of the side panels once the wiring is done.)

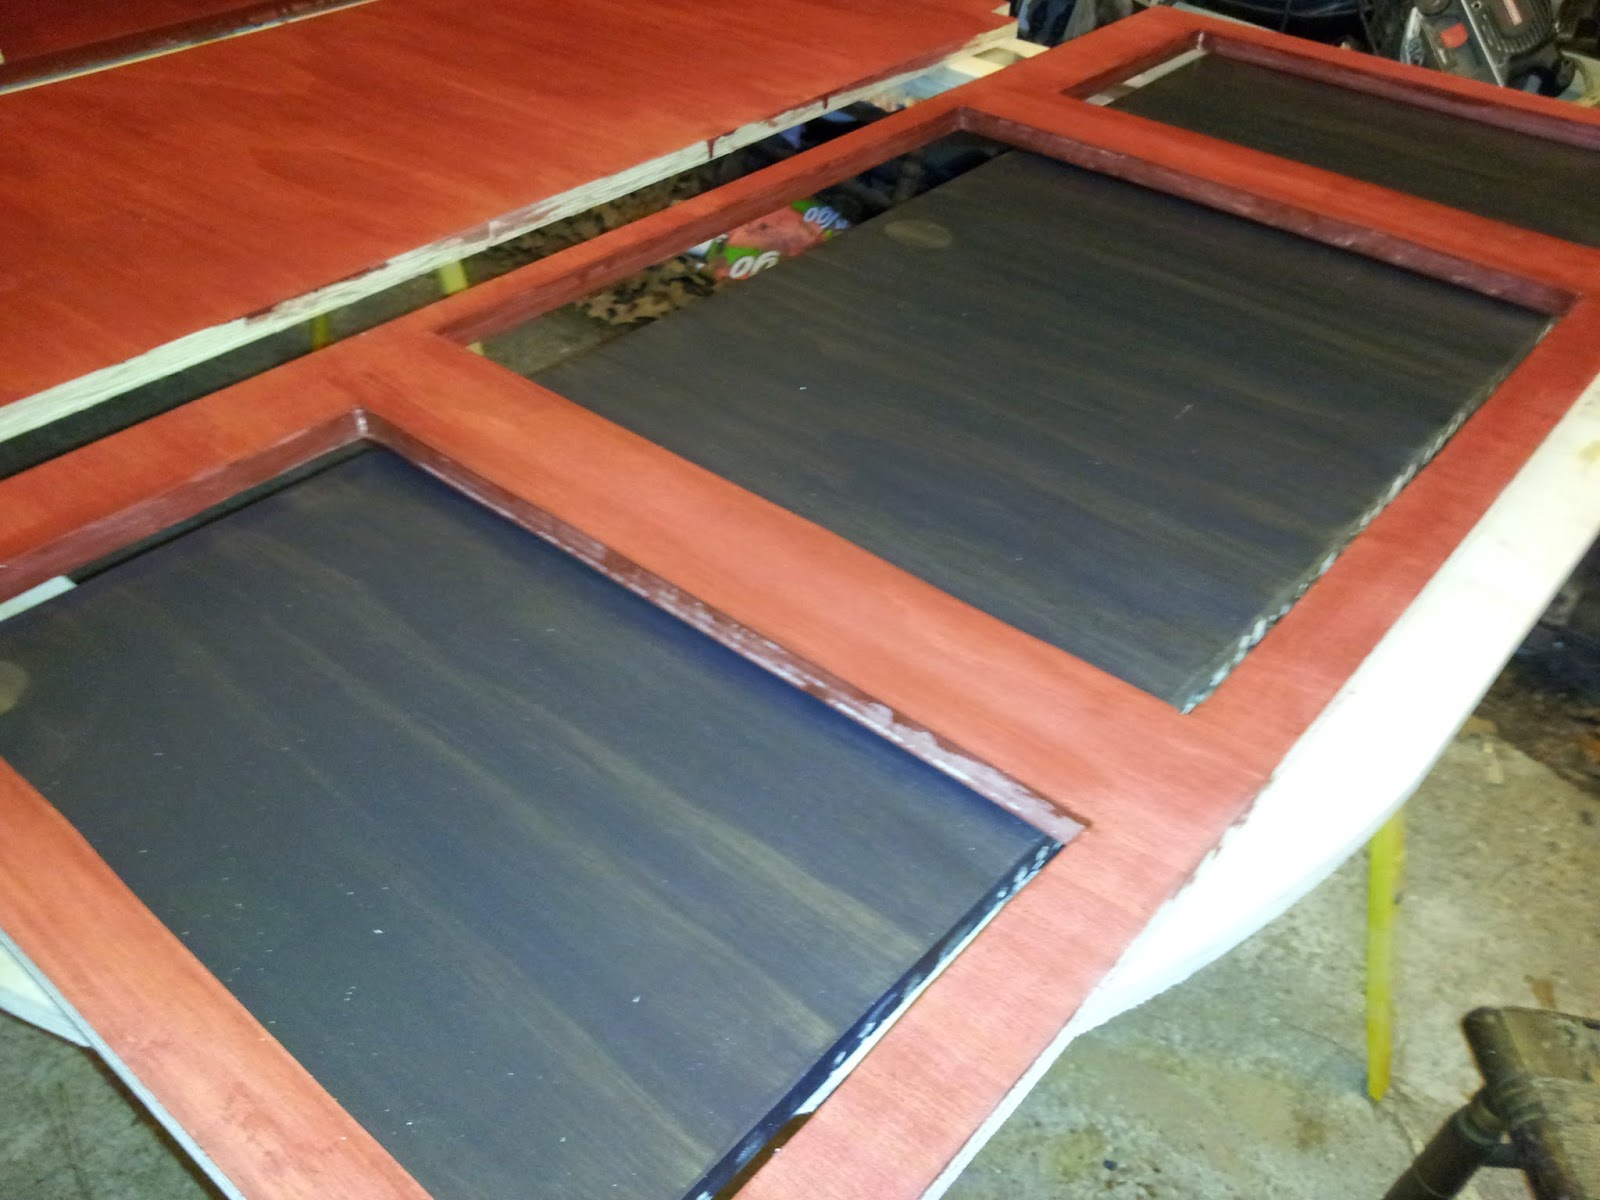
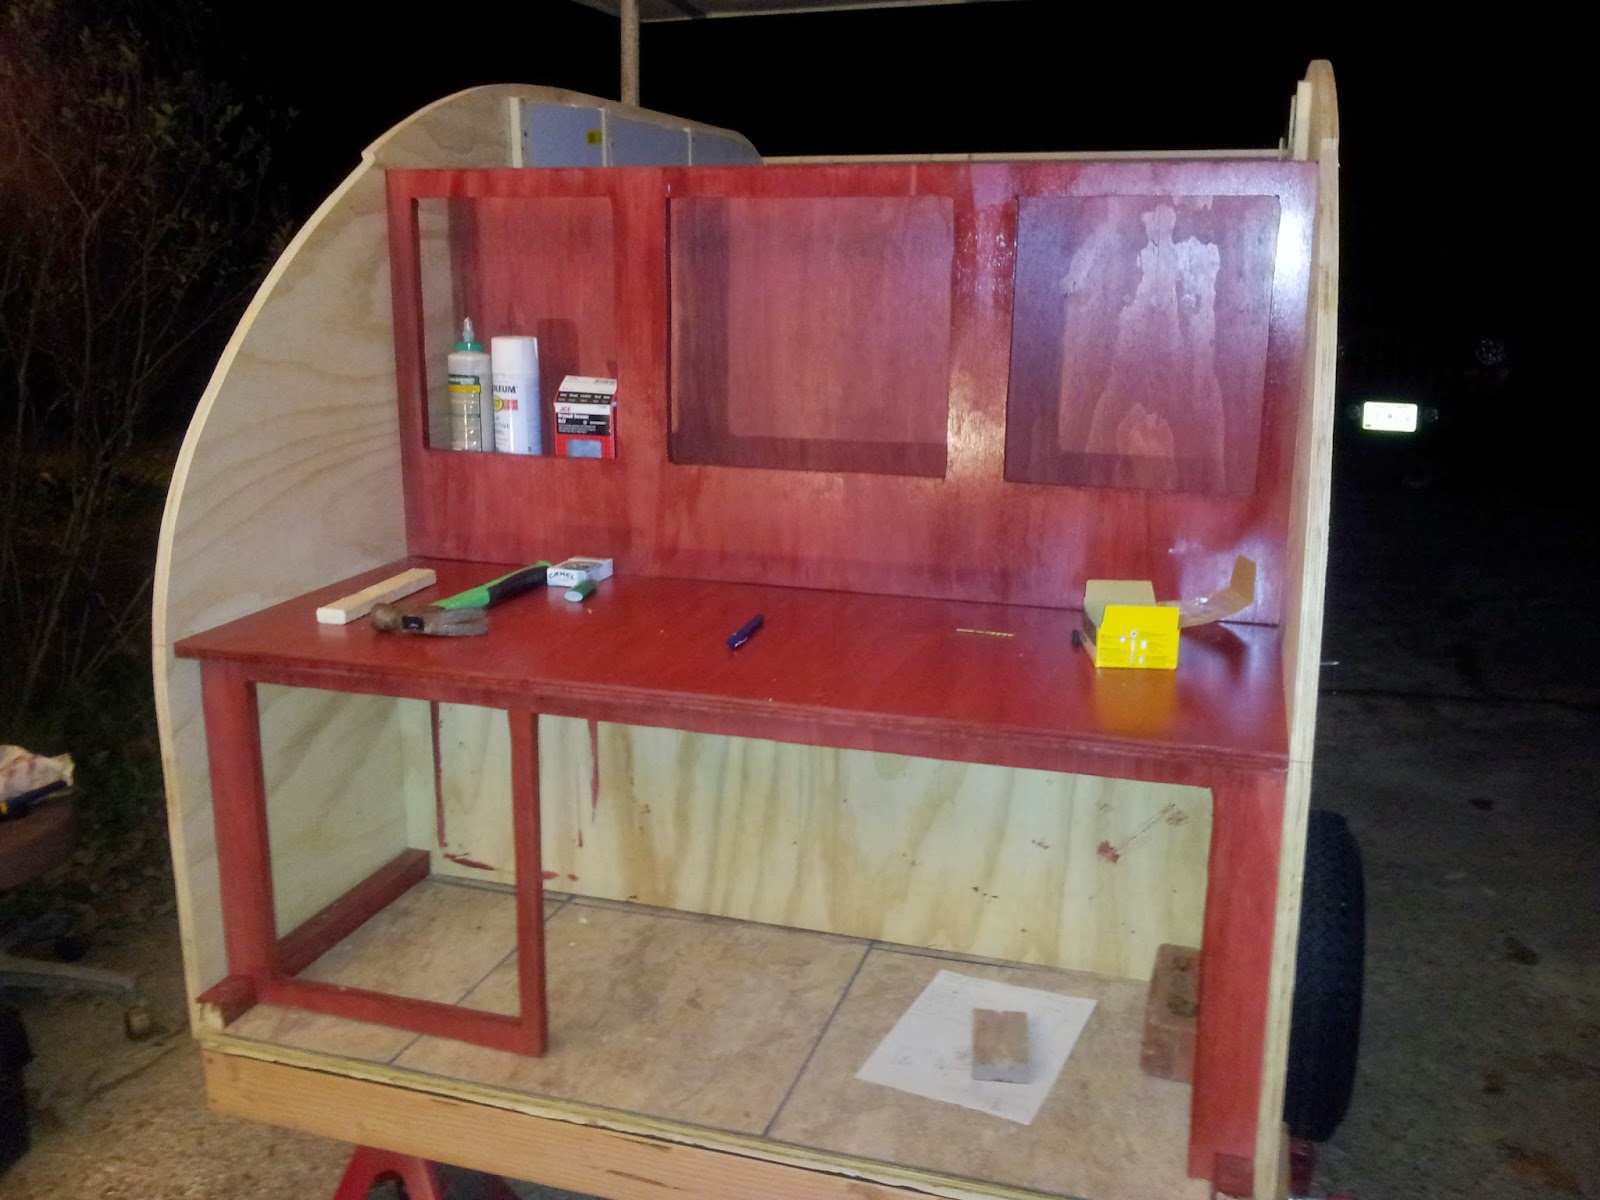
I also finished staining the cabinets, counter top and shelves. Again, the red is called Cayenne and the black is Midnight. So far only a small bit of black on the upper shelf bottoms but the cabinet doors will be the same shade (once we actually make those).
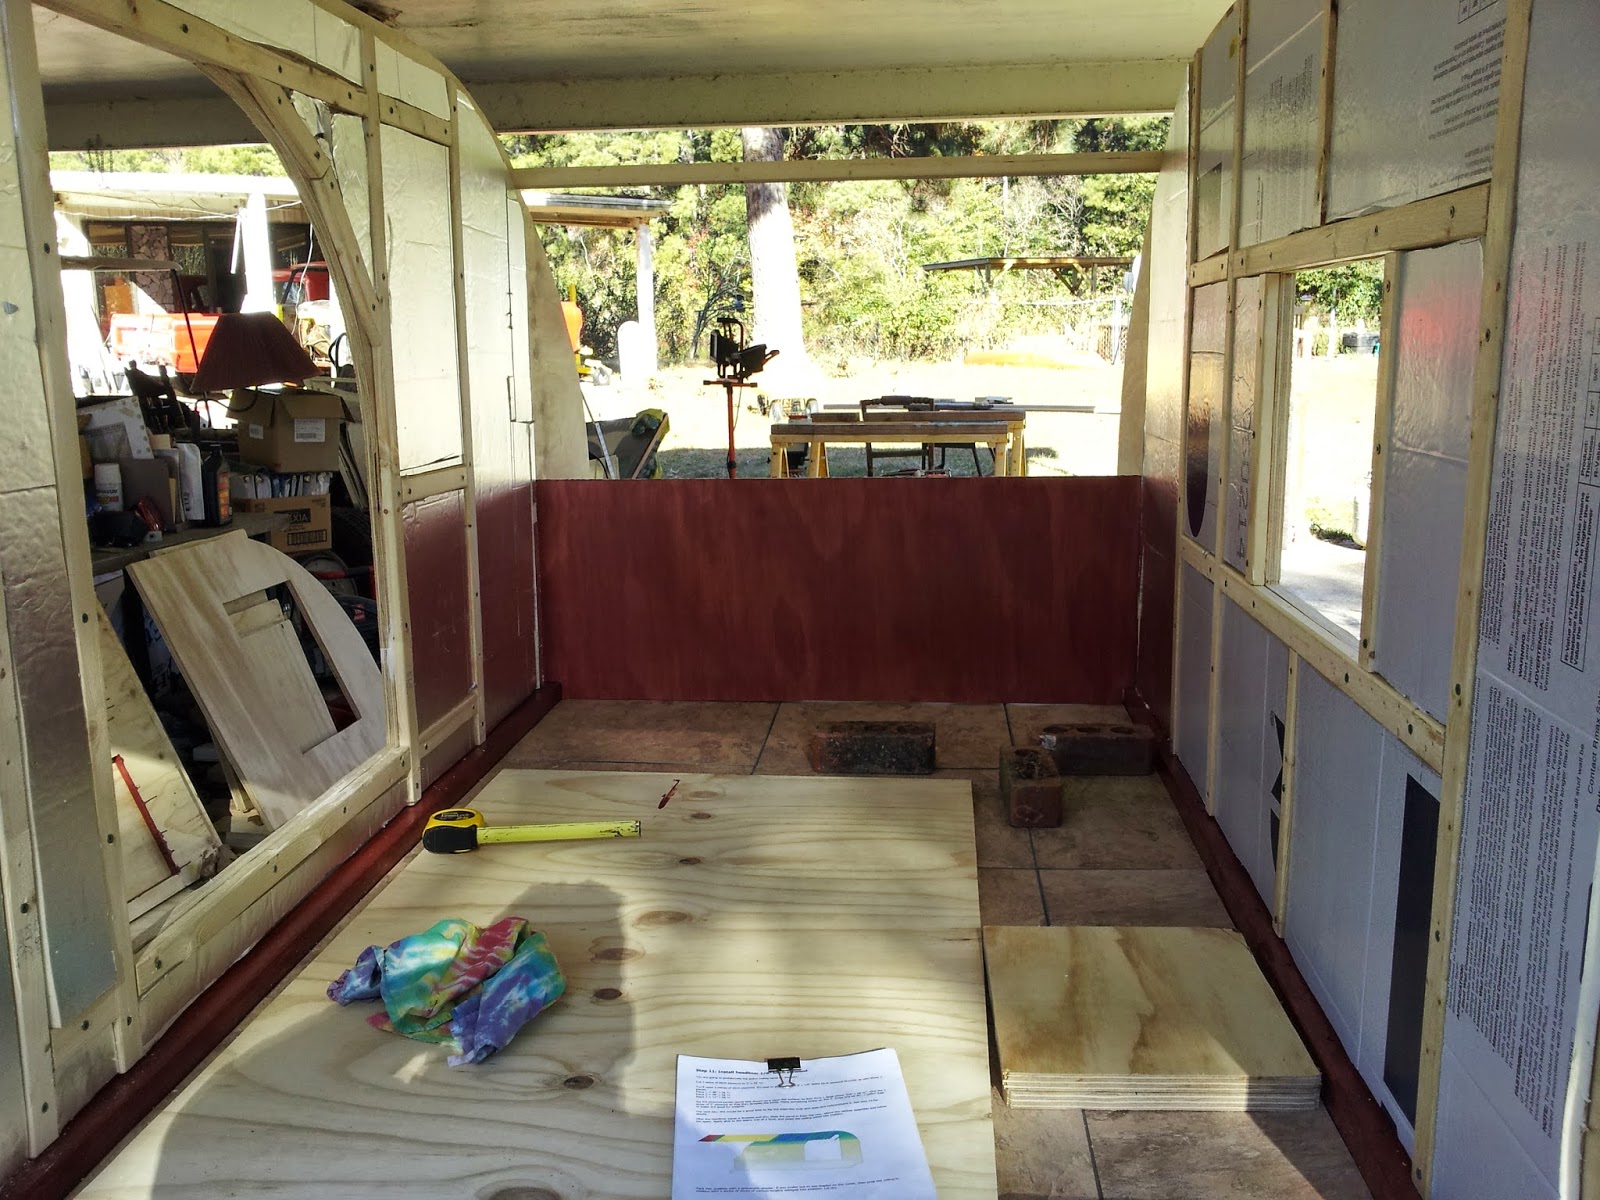
This morning, I cleaned off the trailer from all of our tools and empty Sonic cups, then used the leaf blower to remove the random dirt and sawdust that had accumulated. After that, we installed the marble looking linoleum tiles that my dad had left over from another project. (I also stained the 2×2 side rails Cayenne the other day since they’ll be visible inside.)

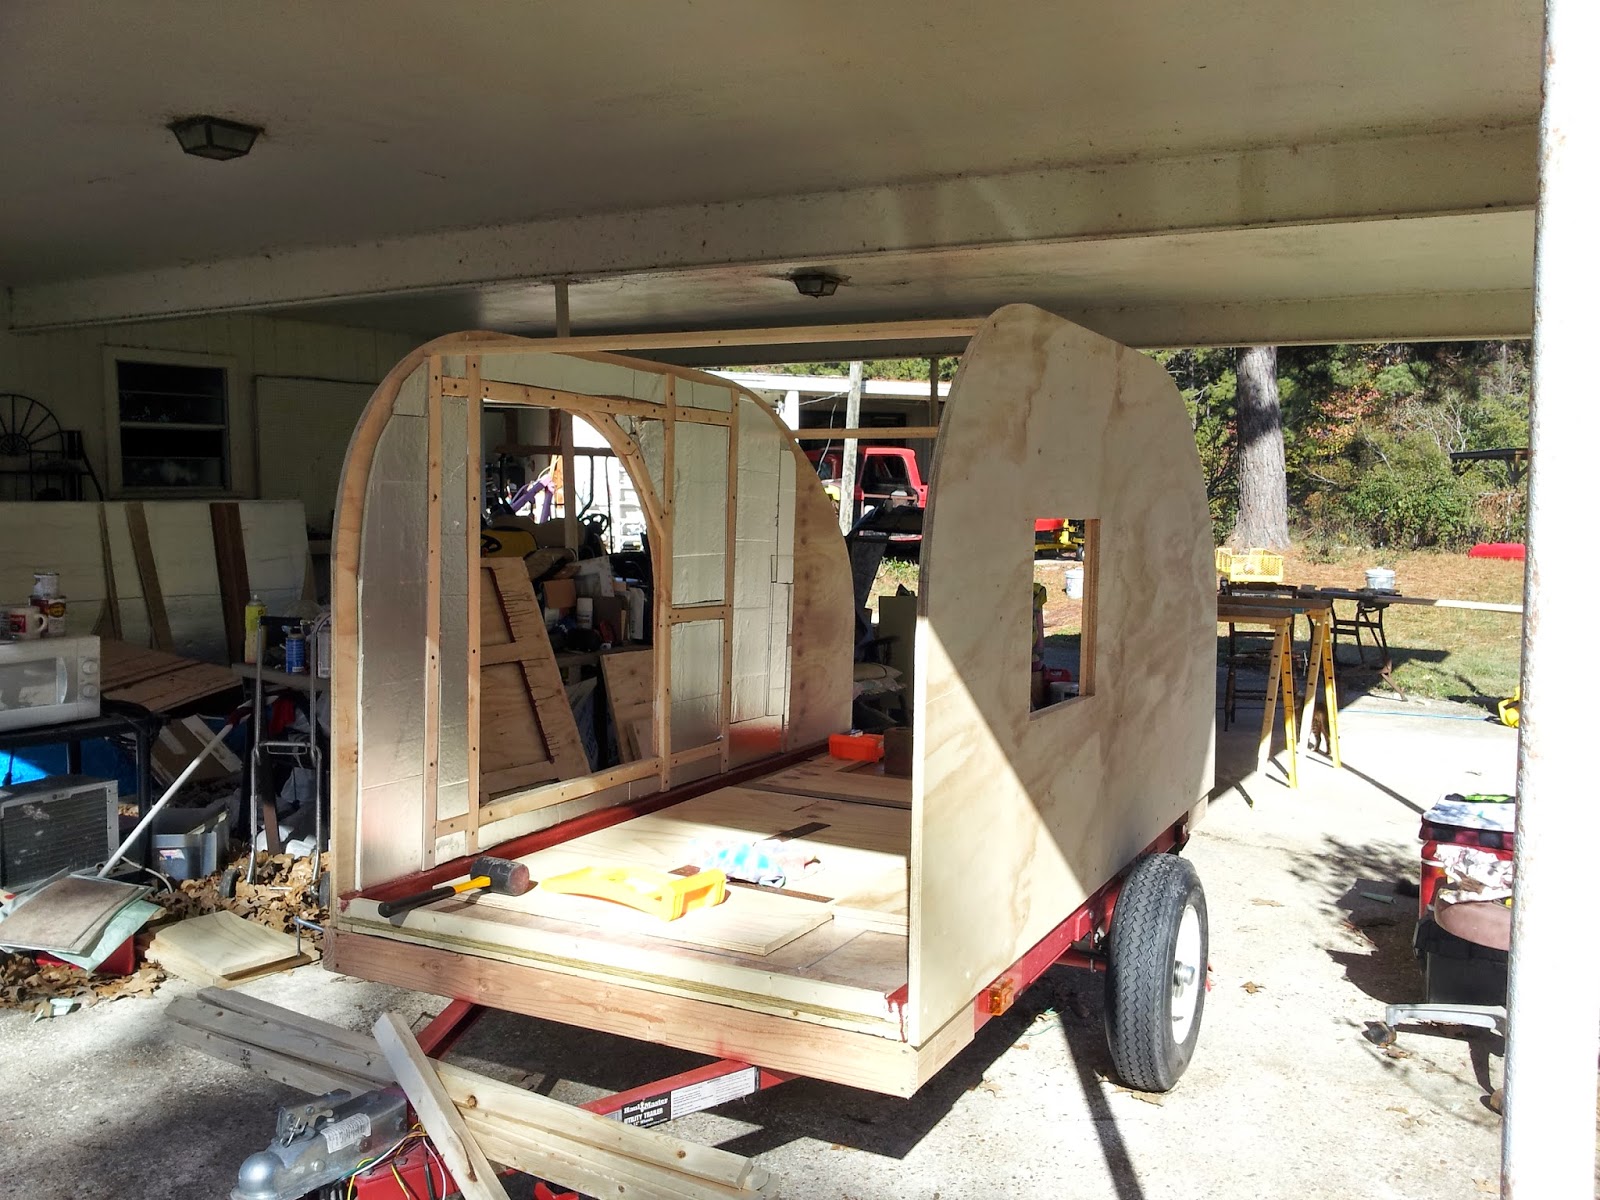
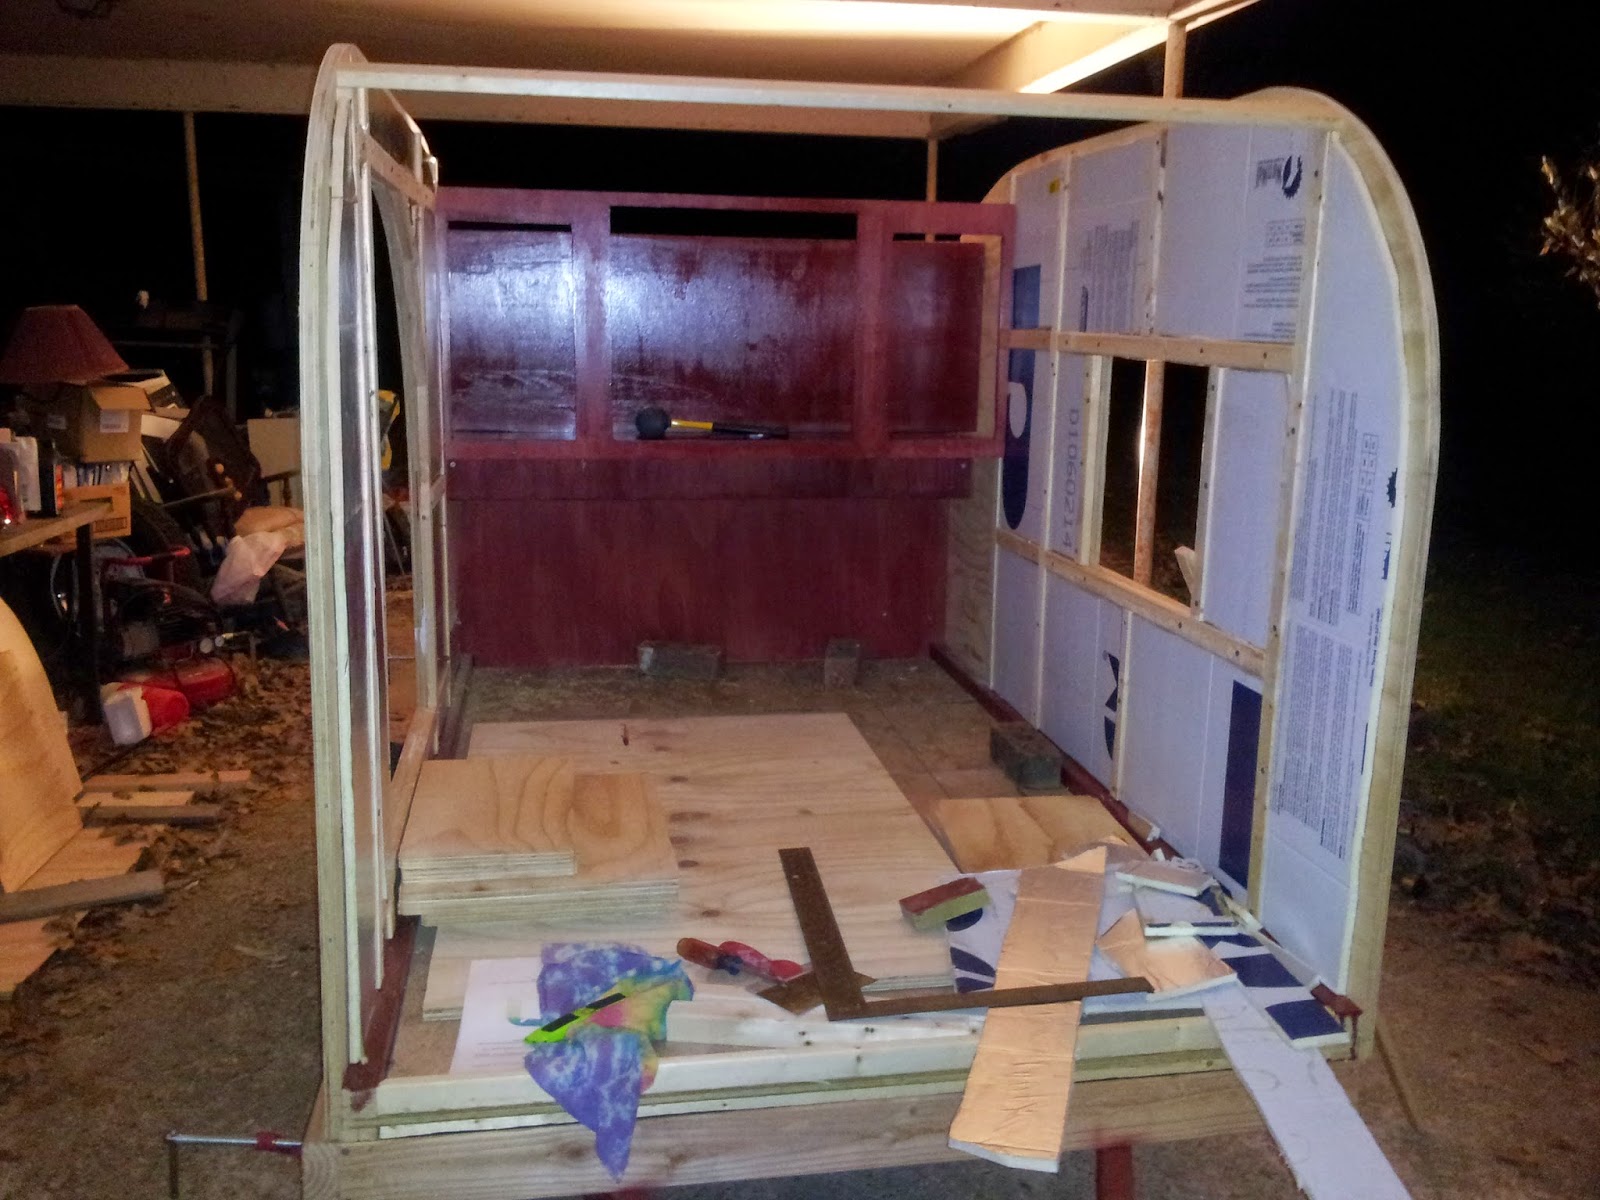
And then it was time to reattach the side walls. (They’re slightly lighter now that the door and window are cut out.)
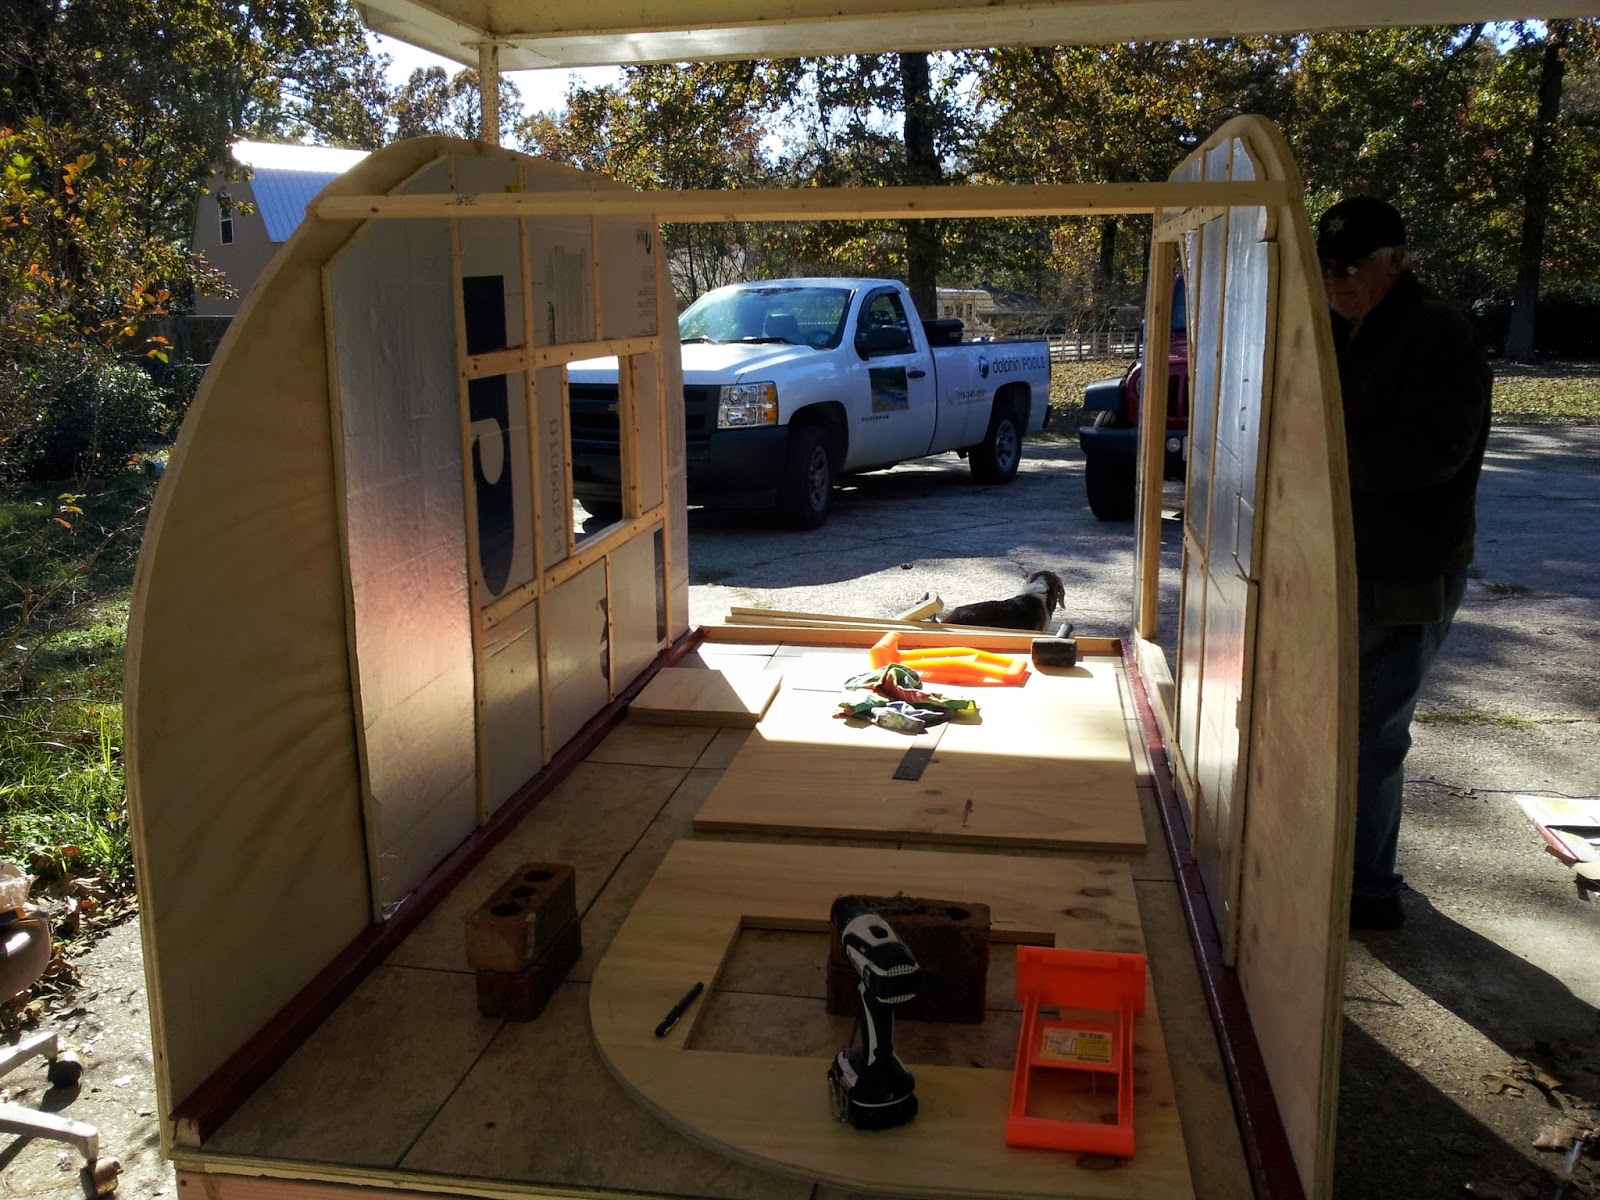
Looking in through the door and out the other side’s window.

The view from a different angle.
Next, I started working on installing the cabinets while my dad ran some errands. This is the bulkhead in place from the galley.

This is the bulkhead from the cabin.
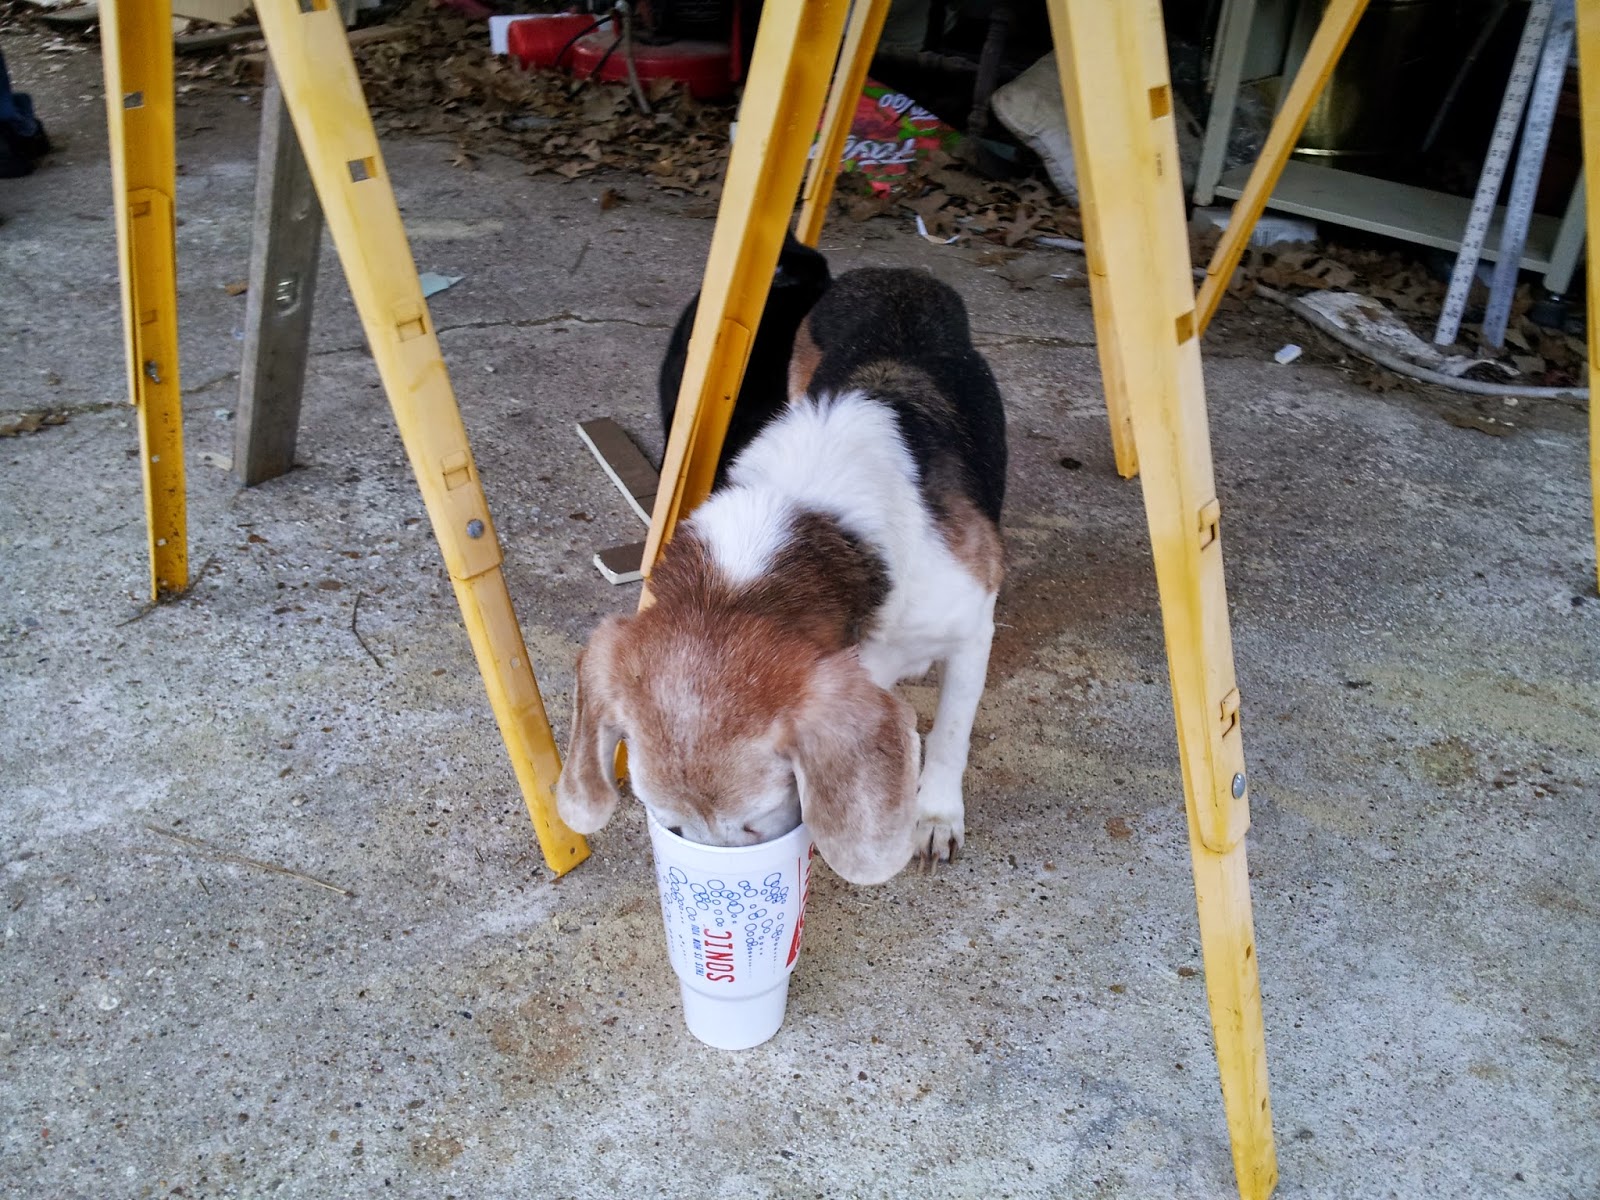
Amos worked so hard today that he drank half of my Coke. I think he only stopped there because he couldn’t reach any lower in the cup. I’ve never seen him drink soda before but he’s old, so whatever he wants.
When Dad returned, he helped me finish up the cabinet install which turned into a bit of a jigsaw puzzle with having to trim some pieces because of the framing and insulation on the interior walls. This is the view from the galley, sans cabinet doors. I have room for the battery and cooler on the bottom, a good 16-18″ of counter top and cabinets up top that have about 5 1/2″ of depth – plenty of room for spices, canned food and whatever else I need.
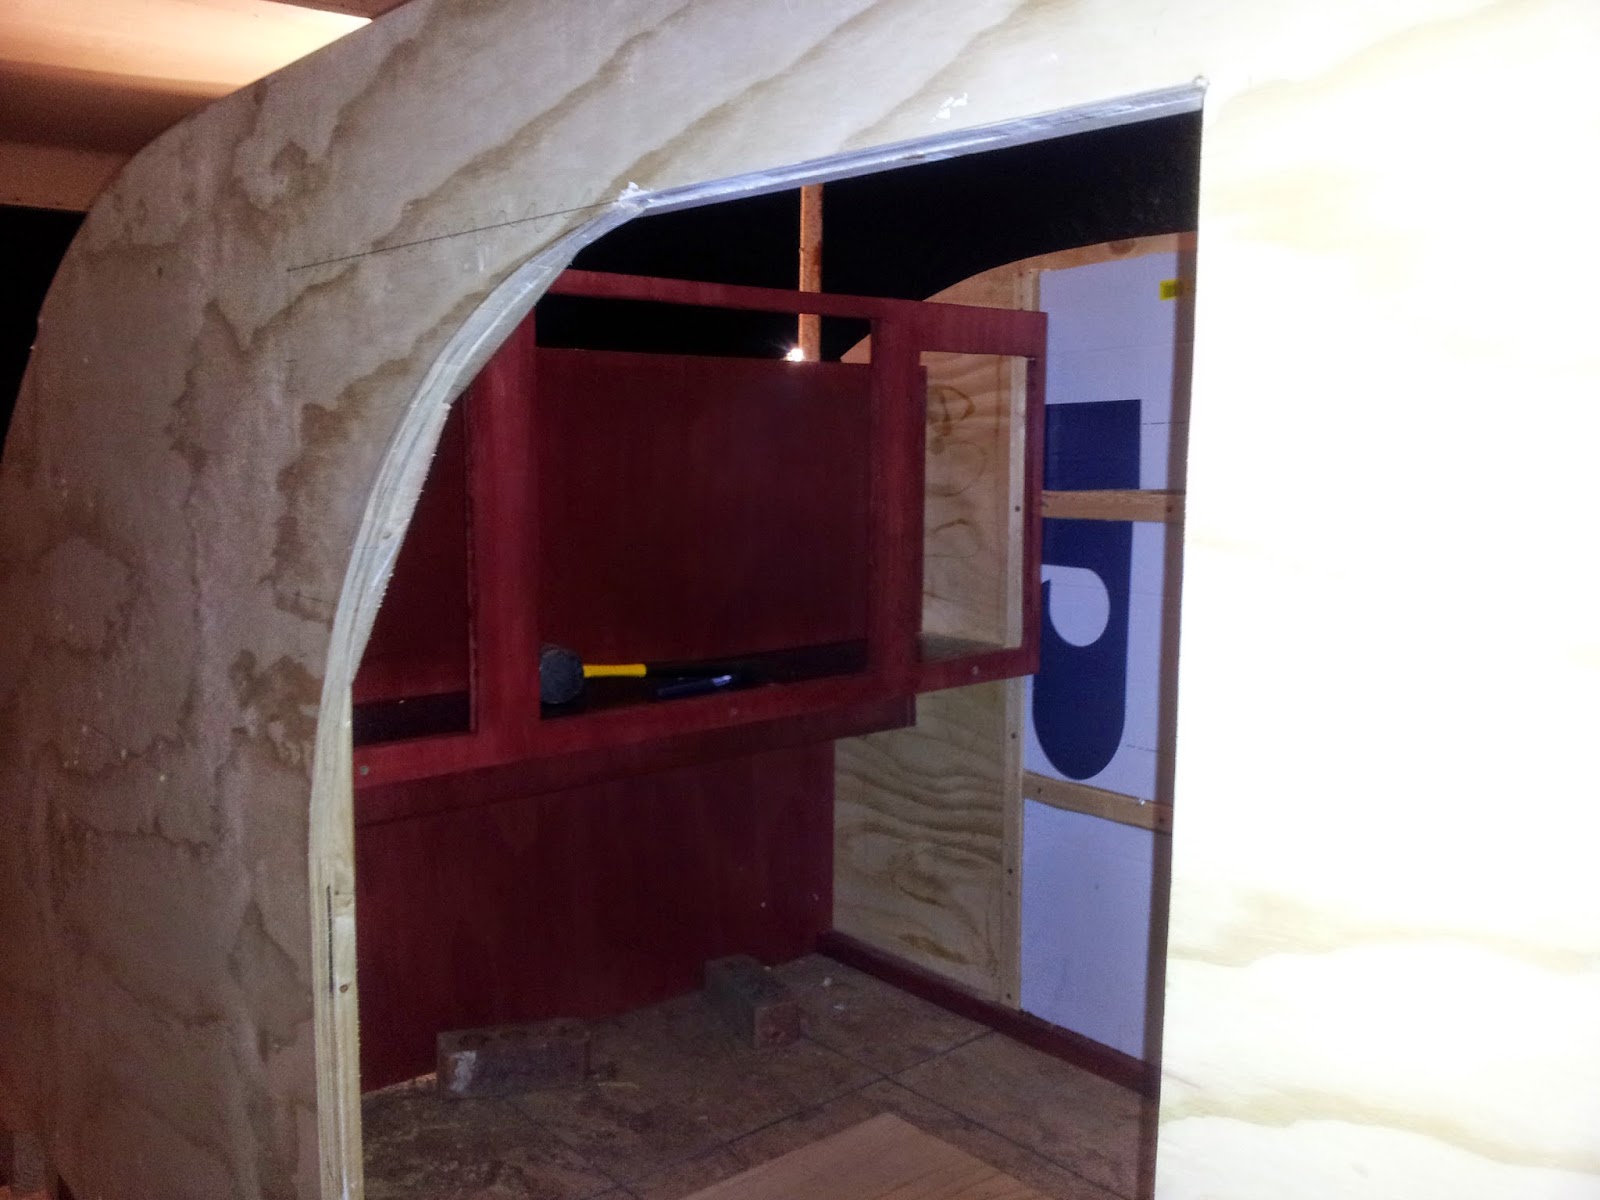
The cabin side, midway through cabinet installation. The black panel is the bottom of the shelf for storage and TV (someday). Below that, you can see the raceway – which is about 5″ tall and will keep the soon to be tangle of wires hidden from view. I attached it with only two screws in the face so I can easily remove it if/when I need to do electrical work.

The cabin cabinet face was installed last – part of it sort of temporary since we’ll have to remove a few screws to slide the luan in between the studs/insulation and the cabinet face. We also may need to add some sort of height extension to the cabin cabinet face and the divider that’s right behind it, as it appears I made a slight miscalculation when adjusting the original plans for our modifications. (Oops!)
And finally, another view of the interior cabinets from the doorway.
Next up is wiring, luan paneling the side walls, then working on the headliner.
This has been a lot of fun to do – very challenging and exhausting – but I’m so happy to see it coming together. It’s a shame it’s below 30 outside or I might just go nap in it now.