20141114_183350

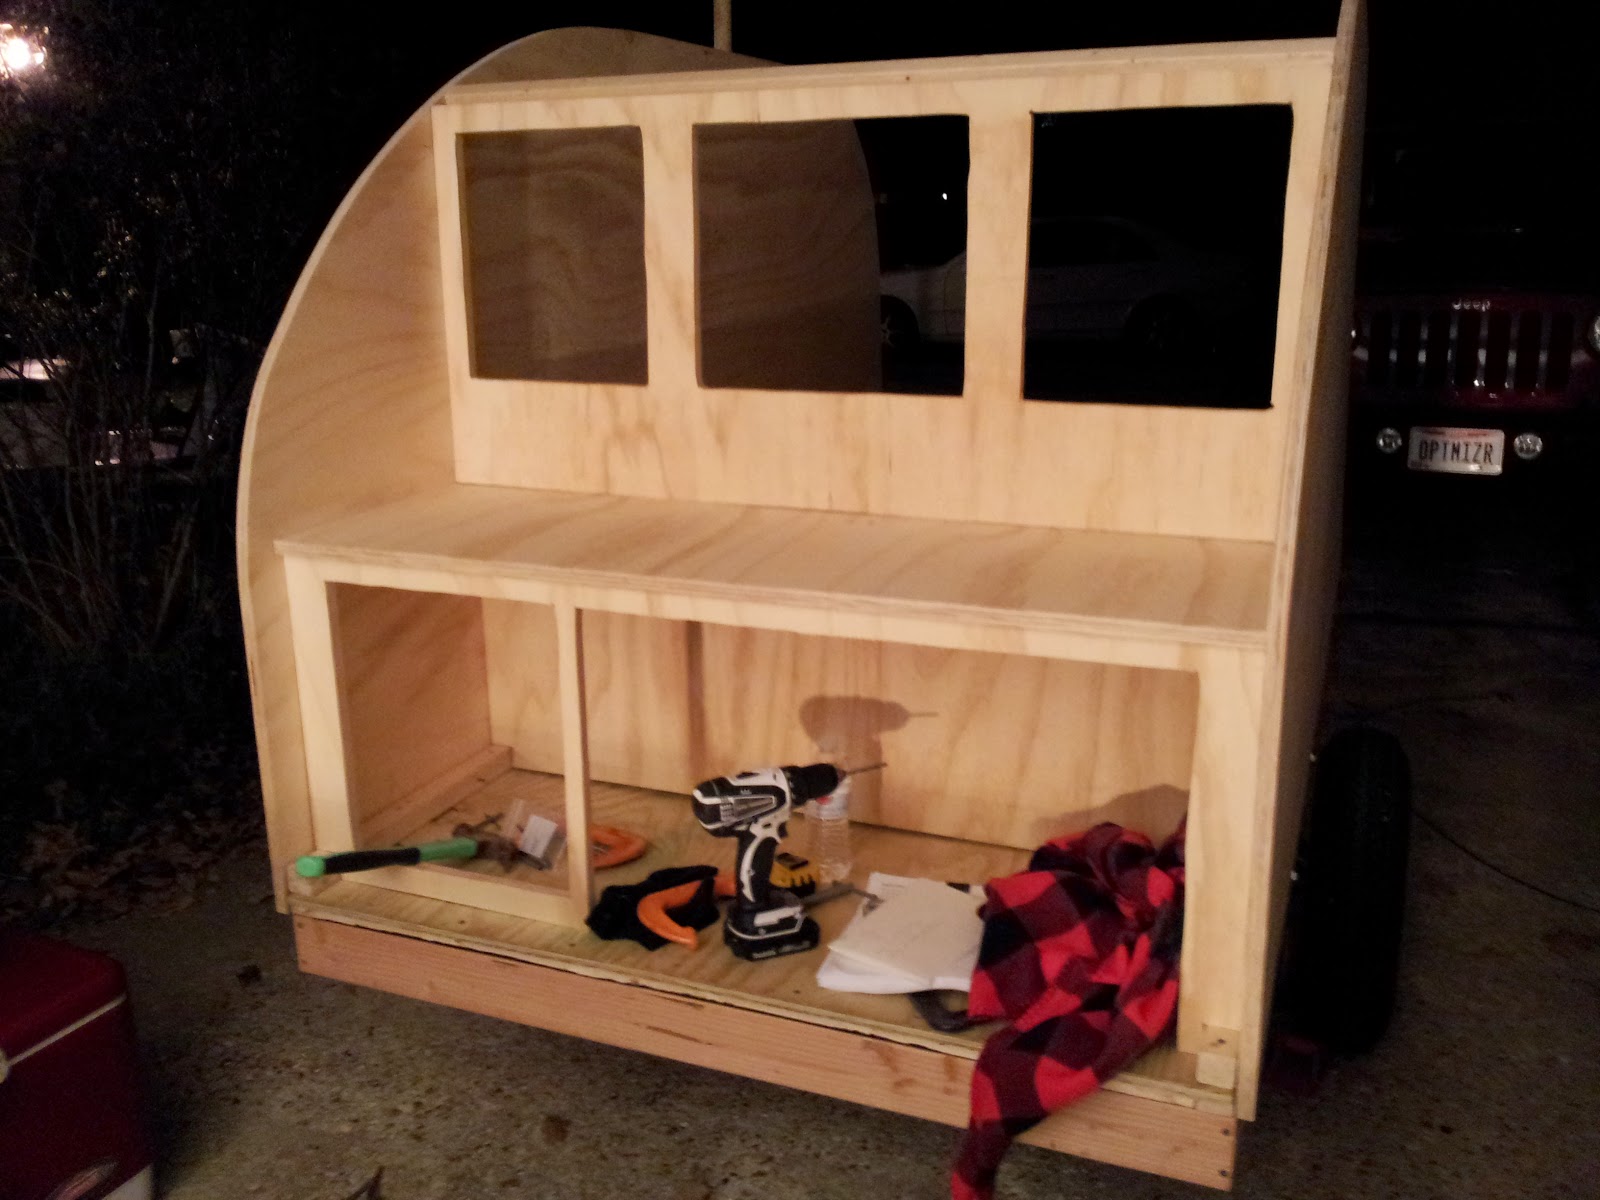
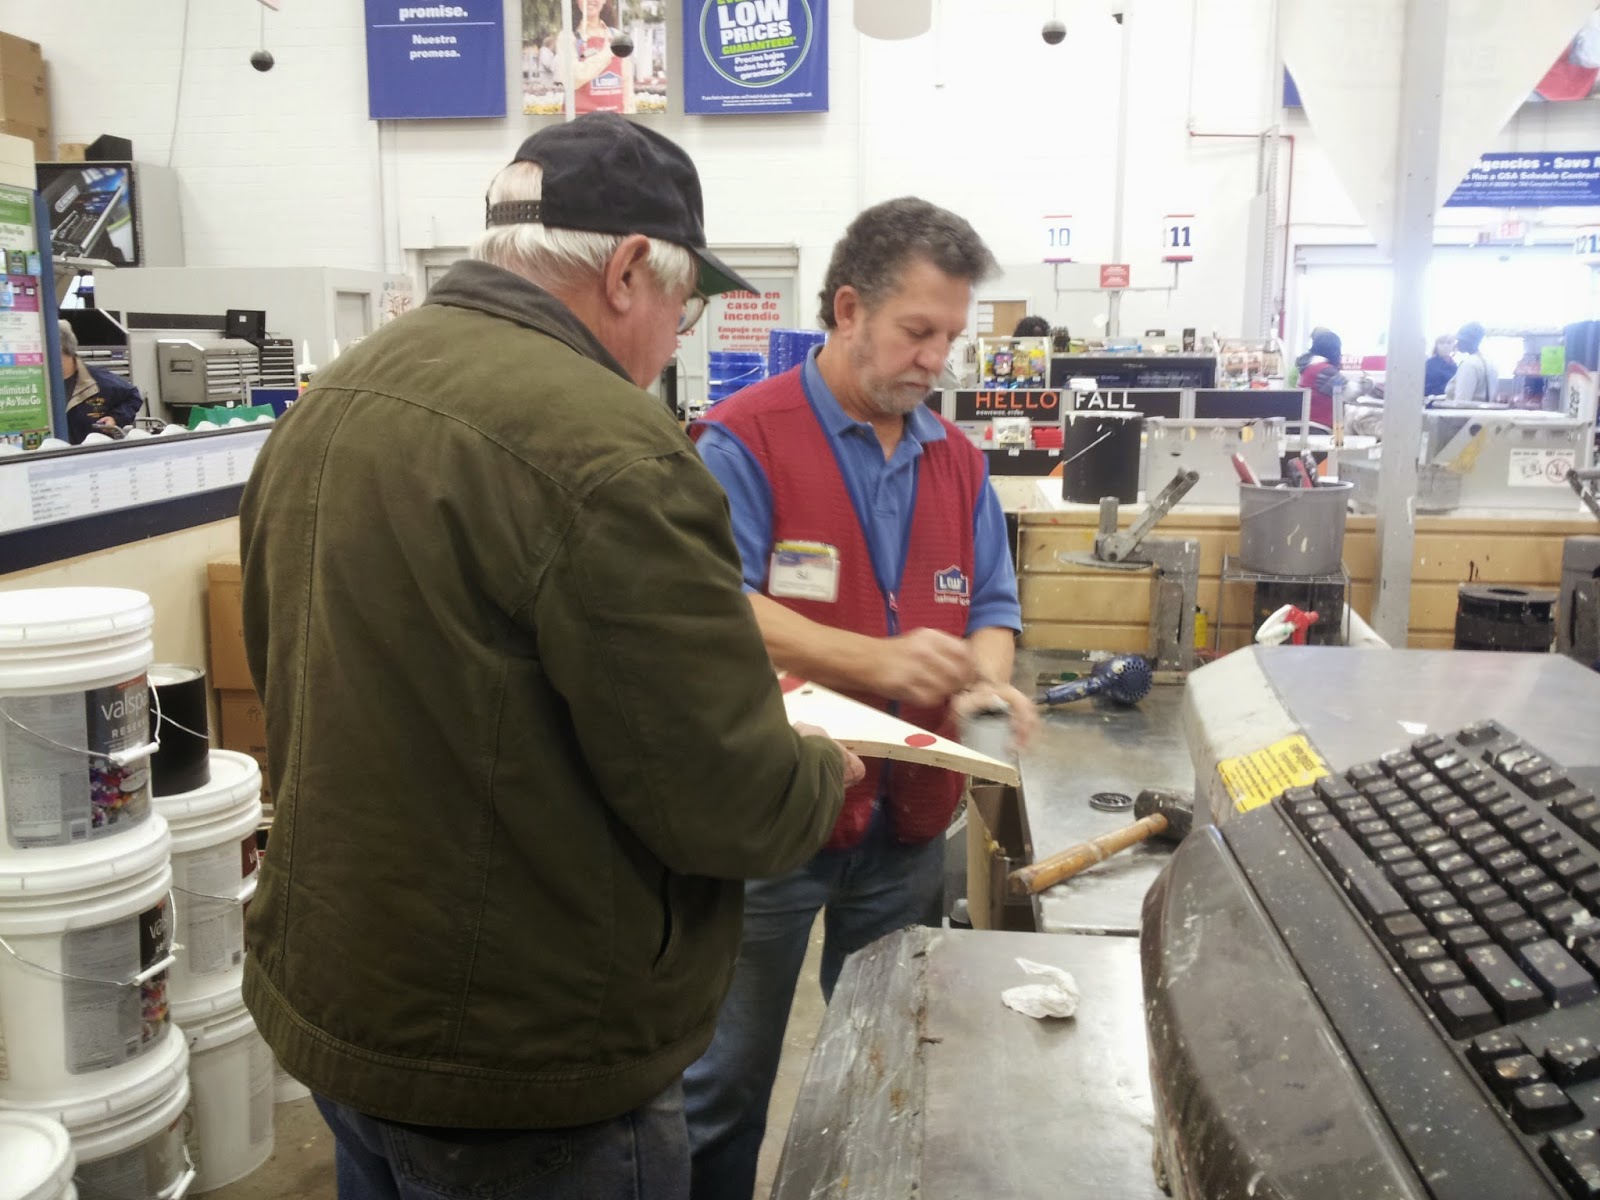
Shopping, Cabinets and Stain

Friday was a bit of a shopping day – getting a longer trailer hitch for the Jeep so I can actually open the back gate, looking at electrical components like fuse blocks and bus bars, ordering the interior electrical components (lights, sockets and a 12v electric blanket) and lunch at Waffle House where I gorged myself on Cheese N’ Eggs (with cheese grits, bacon and raisin toast) and a side of hash browns, Scattered, Smothered and Covered.
20141114_132625
Later in the afternoon, I enjoyed my standard Friday Happy Hour remotely with friends back in Ohio.
20141114_161505
We also made progress on cutting out the openings in the cabinet pieces. The one pictured here will have a door on the left and house the battery. The opening on the right is for my Coleman cooler to slide in.

20141114_175219

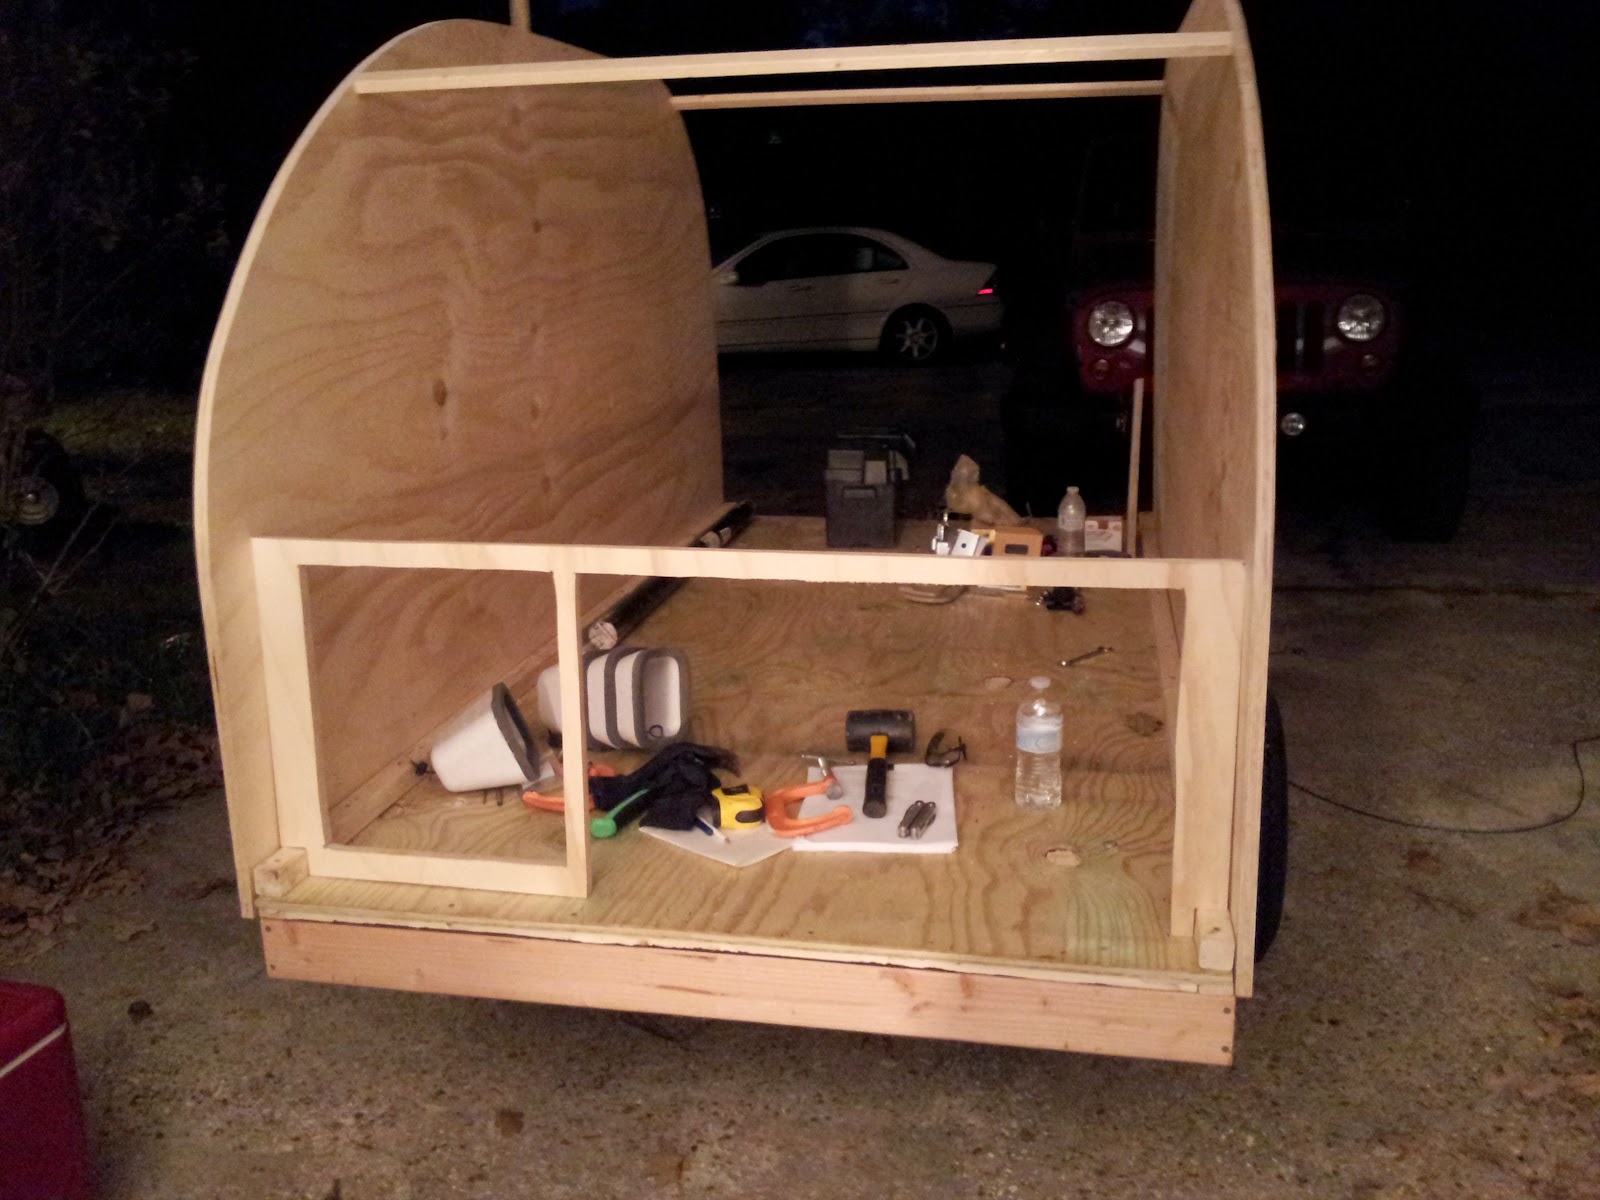
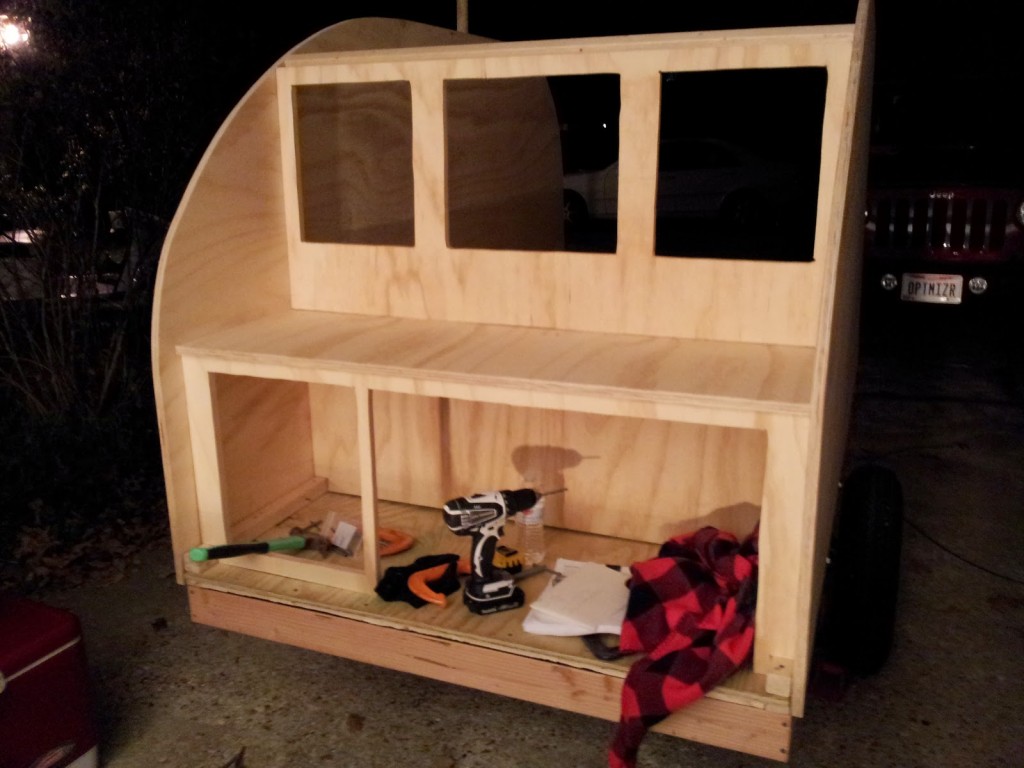
I’ve gotten quite used to the jigsaw. I’m not sure if I have one at home or not but think I’ll be buying one soon if I don’t. I’ve been enjoying the process of building this trailer and have been thinking of all sorts of projects for the house that I’d love to do.

20141114_180826
The galley in temporary positioning – storage below and above and a nice big counter top for my propane stove and food prep.

20141114_183350

Saturday we went to Lowe’s to visit their resident paint expert SJ. He helped us find a nice glossy red and a flat black for the exterior paint which will match the Jeep fairly closely. We also got a gallon of Kilz to use for the undercoat and hopefully waterproofing the plywood.
20141115_135613
The glossy red for the exterior can be seen on the left side of the photo below. On the other side (ignore that brownish grey color on the far right) are the stain colors for the cabinets – Cayenne is the red color and the black one is called Midnight.

20141115_152233

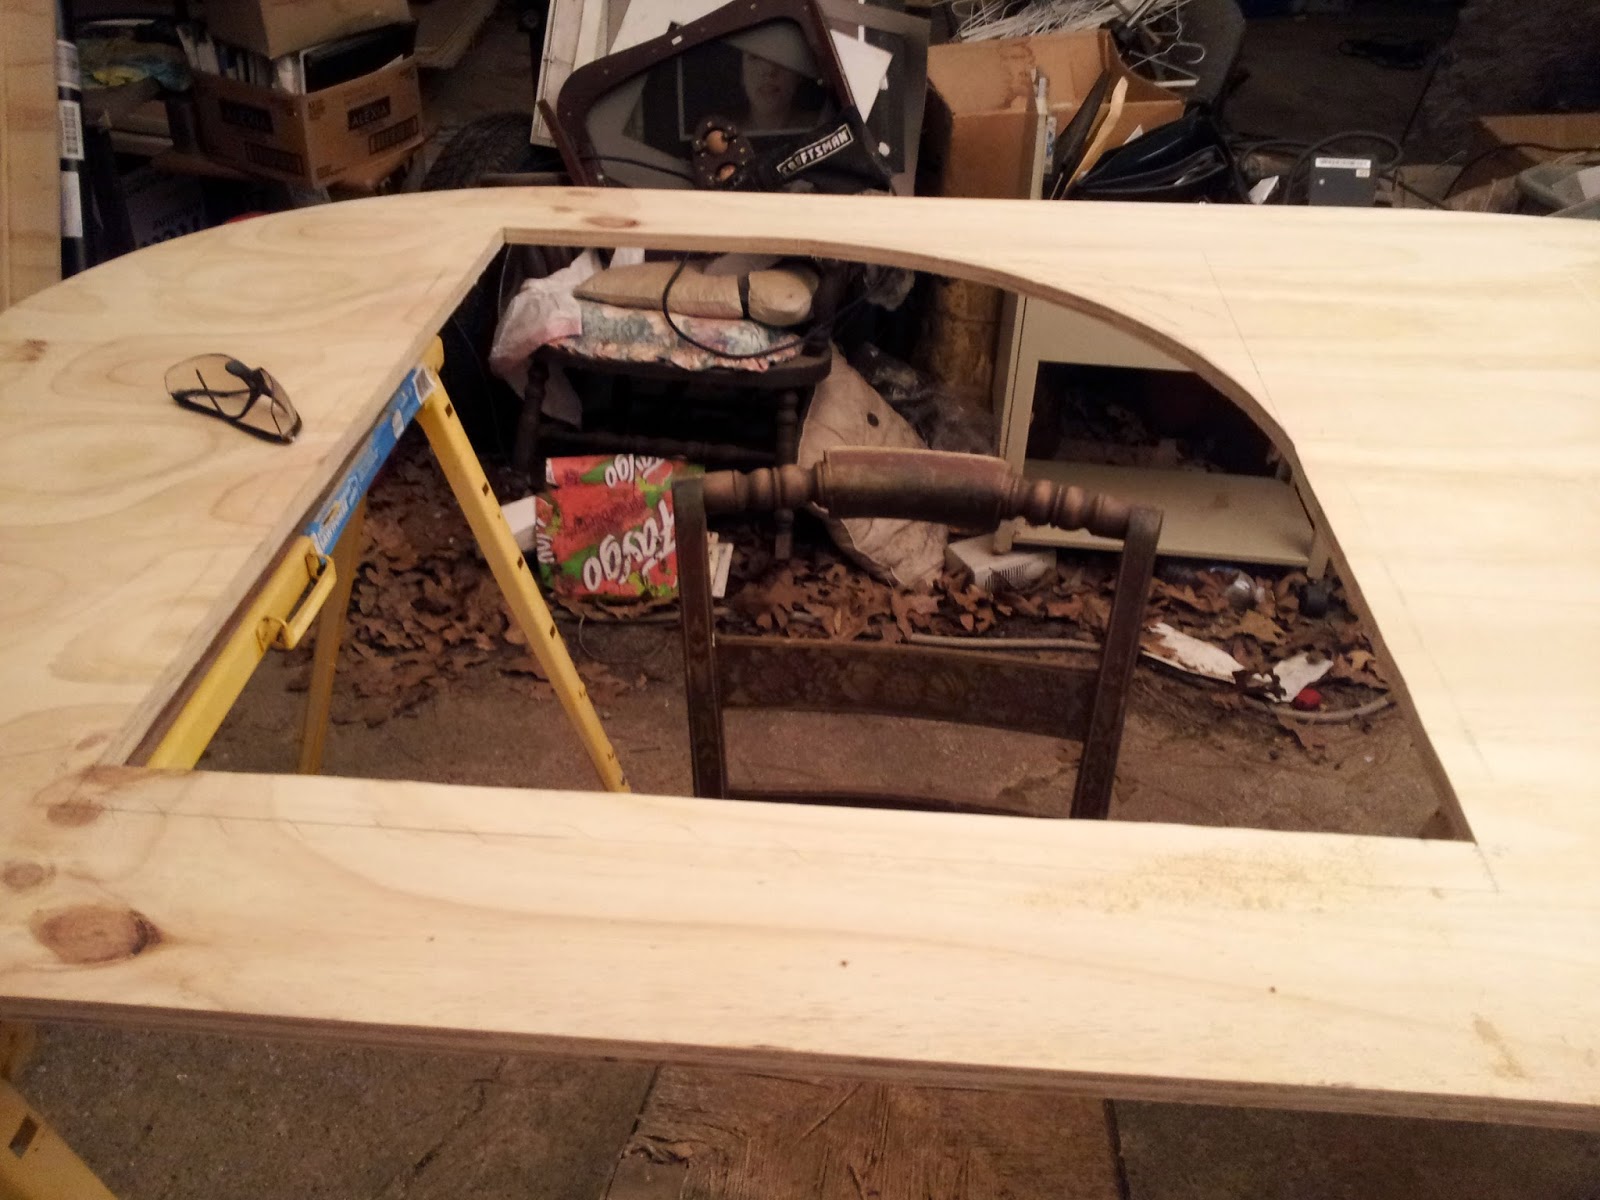
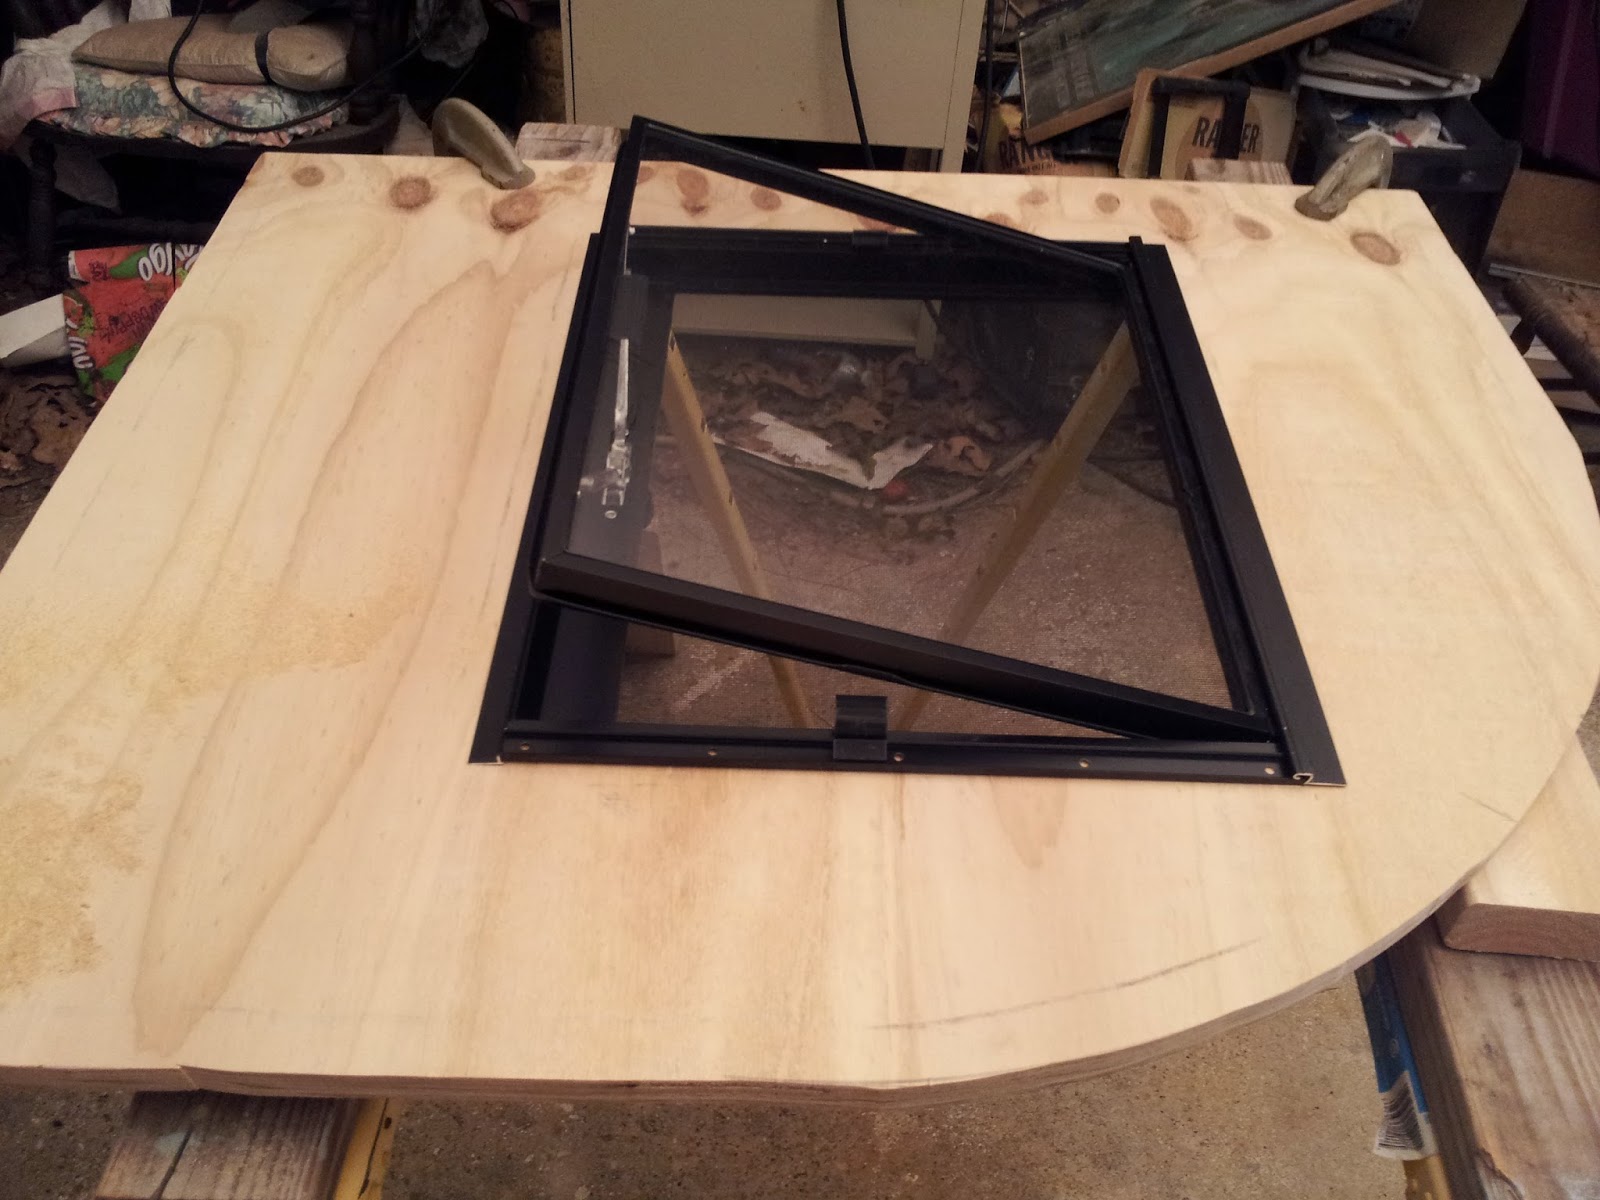
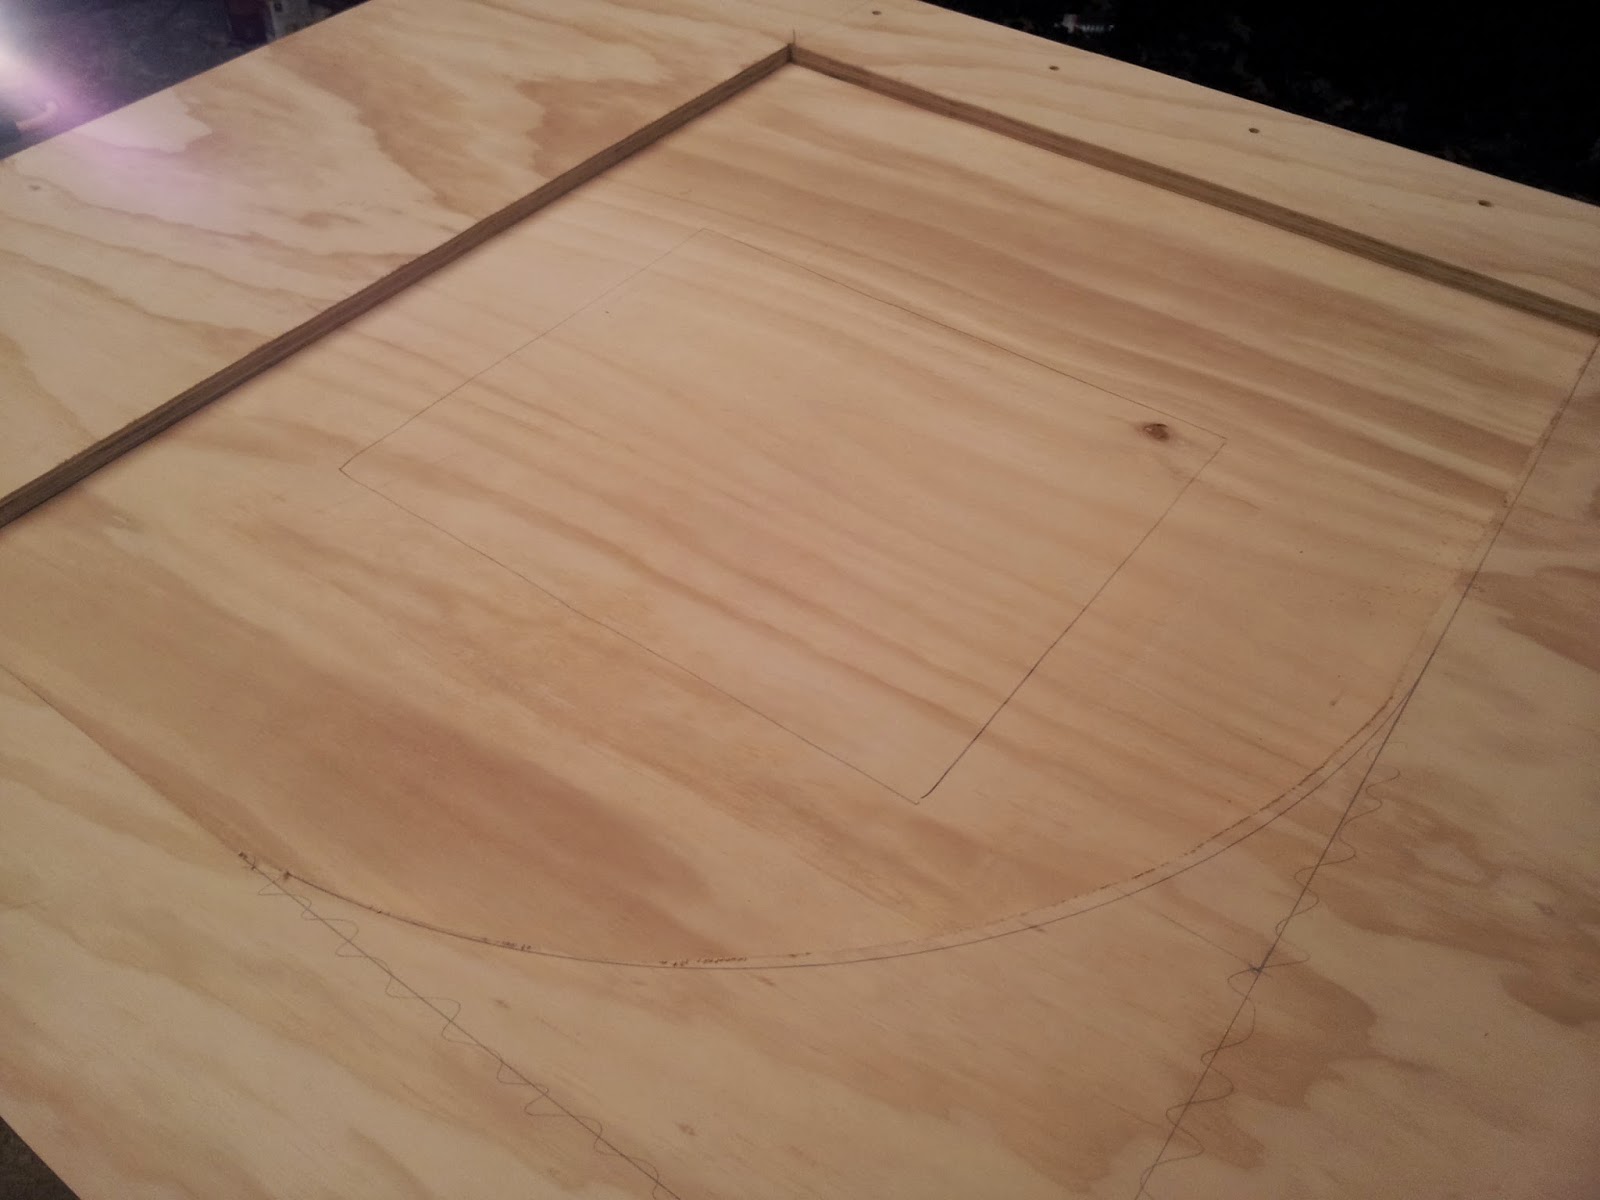
The second most challenging cut was the door. Since the piece we cut out will be the actual door, there wasn’t a lot of room for error or for cutting into it to get a good angle. A few special drill bits and some precision cutting worked out well though.

20141115_181007

The door will be on the passenger side and have a window – we tested the windows that arrived the other day to make sure they fit. I also had to crank it open just for fun.

20141115_190528

Then we layed the driver’s side on top of the passenger side wall, inserted the door and traced the window cut out for that side. I’m only going with one door since this will be a one sleeper but still want a window on both sides for a slight bit of cross breeze.

20141115_192109

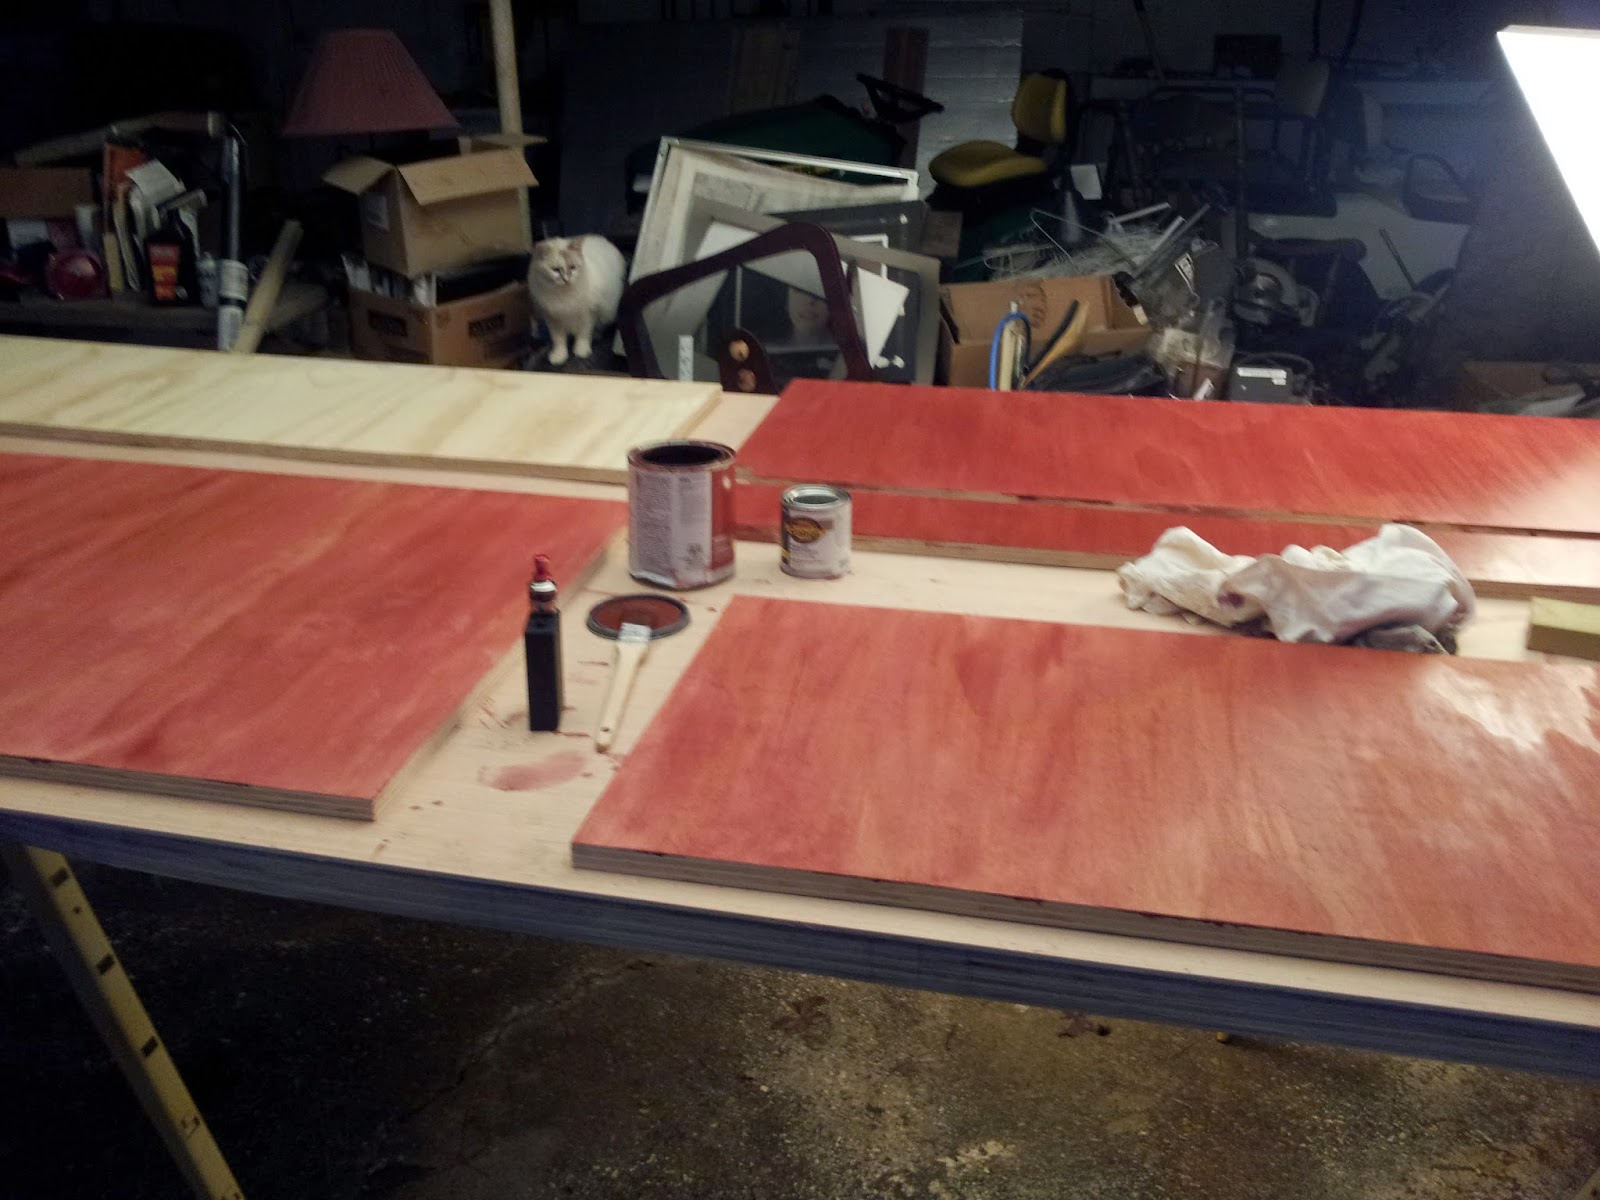
Today, I spent nearly the entire day staining the cabinet pieces. It was about 45 degrees out but very rainy so the carport cover was nice but the dampness and wind made it chillier than it actually was. Here’s my awesome staining attire.

20141116_171824

The first coat of stain went on well and really brought out the grain in the cabinet grade plywood.

20141116_150006

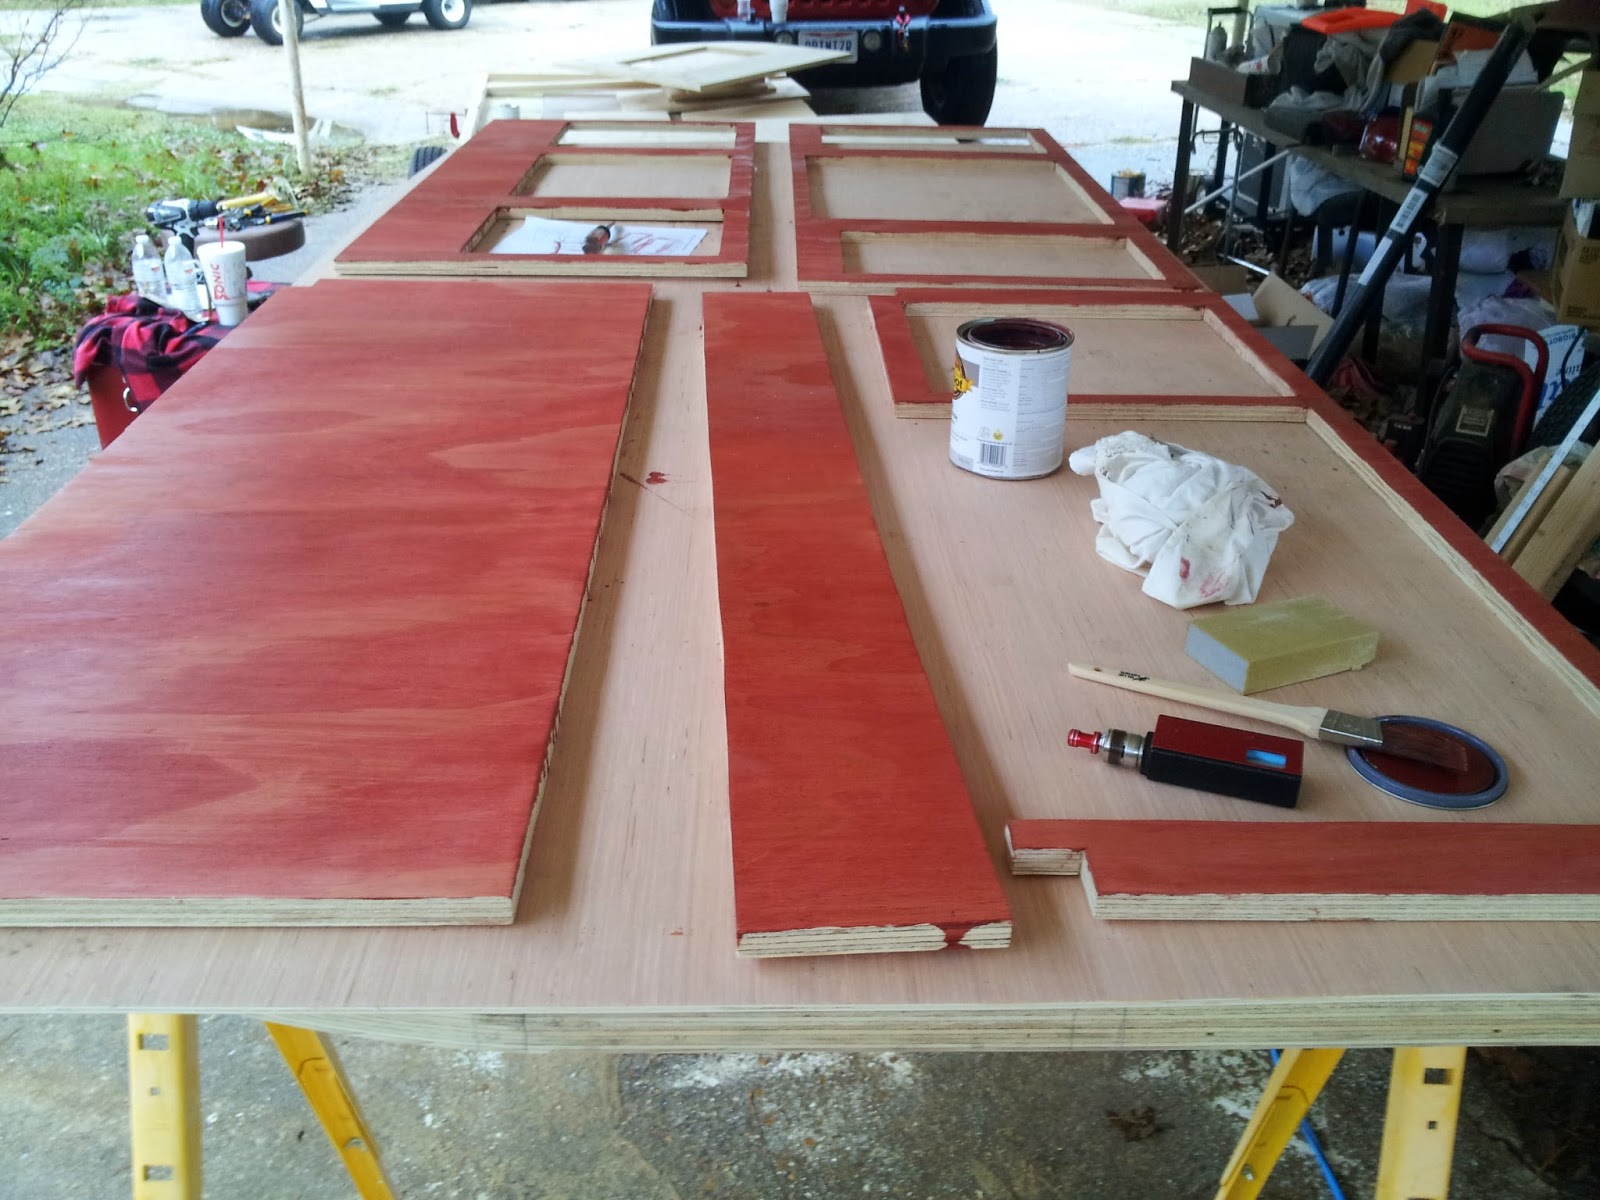
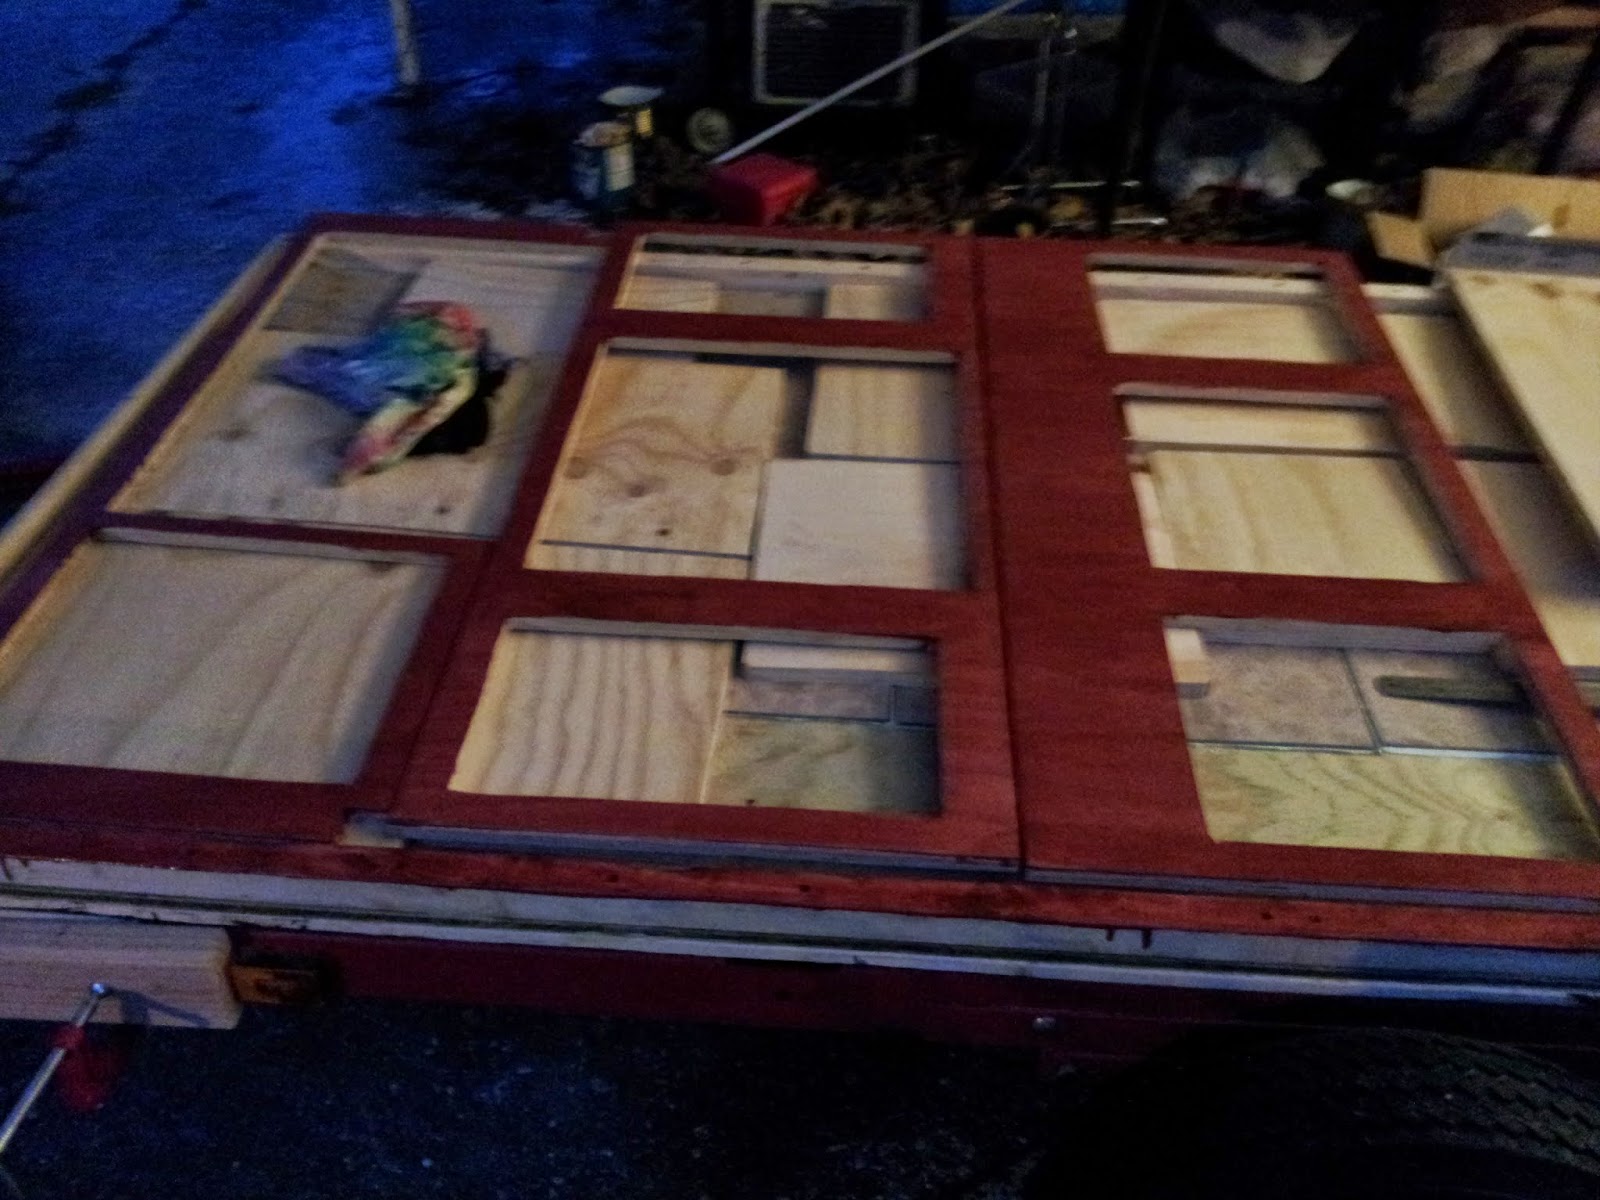
Cabinet pieces after the second coat of Cayenne – a bit shadowy but trust me, they look great!

20141116_171227

More cabinet pieces drying from stain.

20141116_171246

I still need to do a second coat of Cayenne on some of the edges and interior edges of the cabinet pieces. One of the shelf bottoms was done in the Midnight color (which kind of looks like burnt wood) and then the cabinet doors and some other minor trim will probably be that color too.
I also have some work to do on the interior of each side panel – installing 1×2 studs and insulation before we re-mount the sides and install the cabinets permanently. After that, we have wiring, roof/ceiling and the hatch to complete.