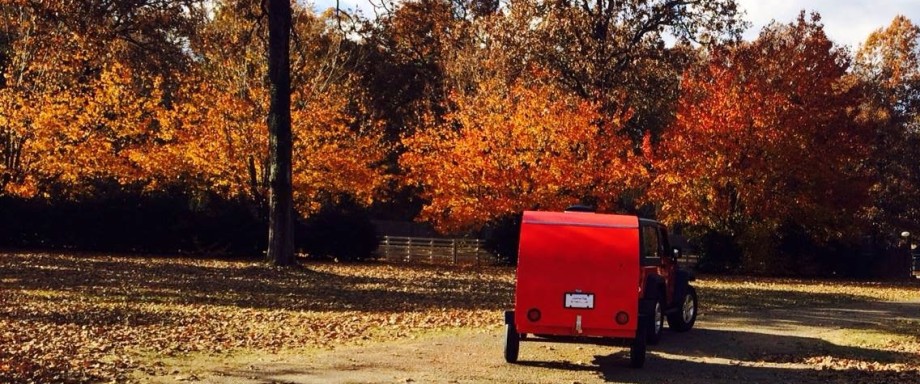
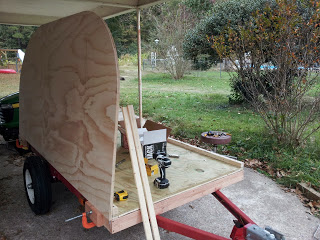
20141113_104929

Visible Progress

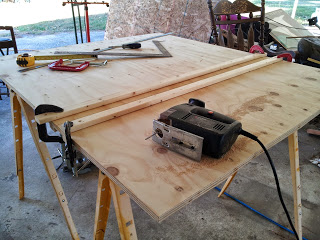
After two days of mostly structural work, Rolbak is finally starting to look like a Teardrop. You’ll have to wade through the structural stuff like we did before you can see the good stuff. (Or scroll down, if you’re lazy.)

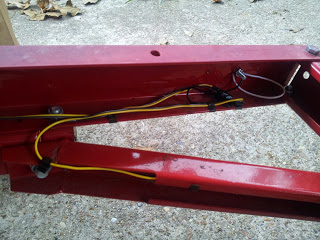
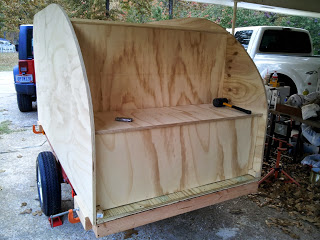
Wiring of the rear running lights (red) completed, grounded and clipped up well.

20141111_130640

Then we countersank the flooring/subfloor to fit over the 3/8″ bolts in the trailer frame.

20141111_141440

Frito was very helpful through the floor installation part. She held everything down and only required pets for payment.

20141111_161106

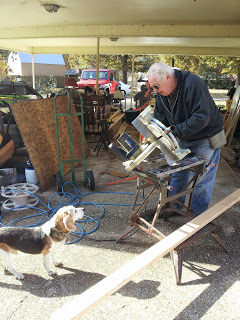
Sometimes you have to fix the tools … the miter saw had quite a jam of sawdust that was preventing it from lifting up. (Amos was helping.)

20141112_102425
We added 2×4 supports under both ends to round out where the trailer frame ends and where the floor extends in each direction. A little extra support, at least in the front.

20141112_154820

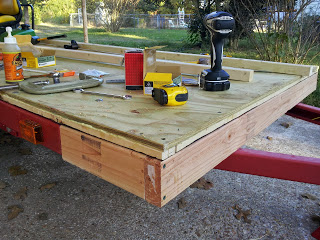
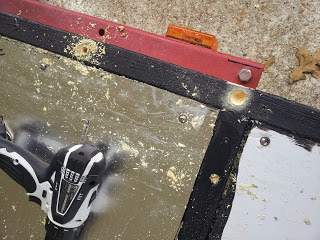
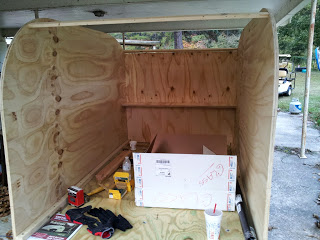
We ended up with quite the sandwich – 1/2″ ply floor, 1×2 framed subfloor and 2x4s as support/evening out the frame.

20141112_161718

Then we started drill and countersinking holes to attach the side walls to the frame and for the roof spars. (Again, Amos is helping.)
20141112_171759
The next morning, we were ready to put the sides on temporarily to make sure they’re even and to start measuring, cutting and dry fitting cabinets. First side is up!
20141113_103842
Both sides, with two temporary spars holding them apart 48″.
20141113_104857
Looking through …

20141113_104929

The cabin, with Amos for scale.

20141113_111517

Next, we started cutting 3/4″ plywood for the cabinets, galley and bulkhead. The circular saw proved to be a complete pain so we used the jigsaw and came up with some clever guides to ensure we had straight lines. By the end of the 7 or 8 pieces we had it down to a science.
20141113_135056
The bulkhead in place (ugly side out towards the galley since it will be the cabinet back).
20141113_130314
Making sure there’s room for the cooler and battery box in the lower galley cabinets.

20141113_151801

That lower cabinet face will get cut out to allow the cooler to slide in and out. Then we’ll make a door on the left side for access to the battery. The counter is also in place as well as the front of the upper galley cabinets which will also be cut for cabinets and doors.

20141113_162425

The view from the cabin, showing the electrical raceway (that small shelf in the middle). The bulkhead will show through to the cabin and the portion above the raceway will have another piece (or two?) in front of it for the cabin cabinets which will be above my feet.

20141113_162439

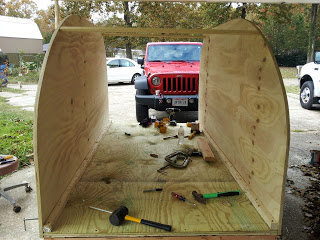
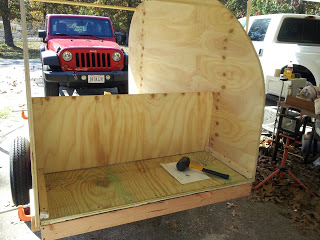
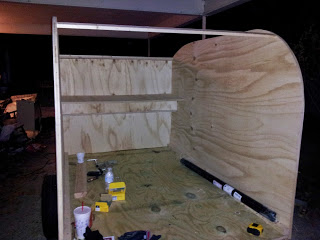
Another view from inside the cabin with the raceway positioned in place.

20141113_172848

Now, onto sanding down the cabinet edges, marking their final locations and then we’ll take the sides down to finish the insides of them and cut templates for the hatch ribs.