20141107_170029

Trailer Building Begins

I have a bit of a backlog on posts about the first portion of my trip (PA wedding and the trip from Ohio to Louisiana) but I’ve made placeholder posts for those and will finish them up as I get to them.

In the meantime, work on the teardrop has officially begun and I wanted to share the progress!

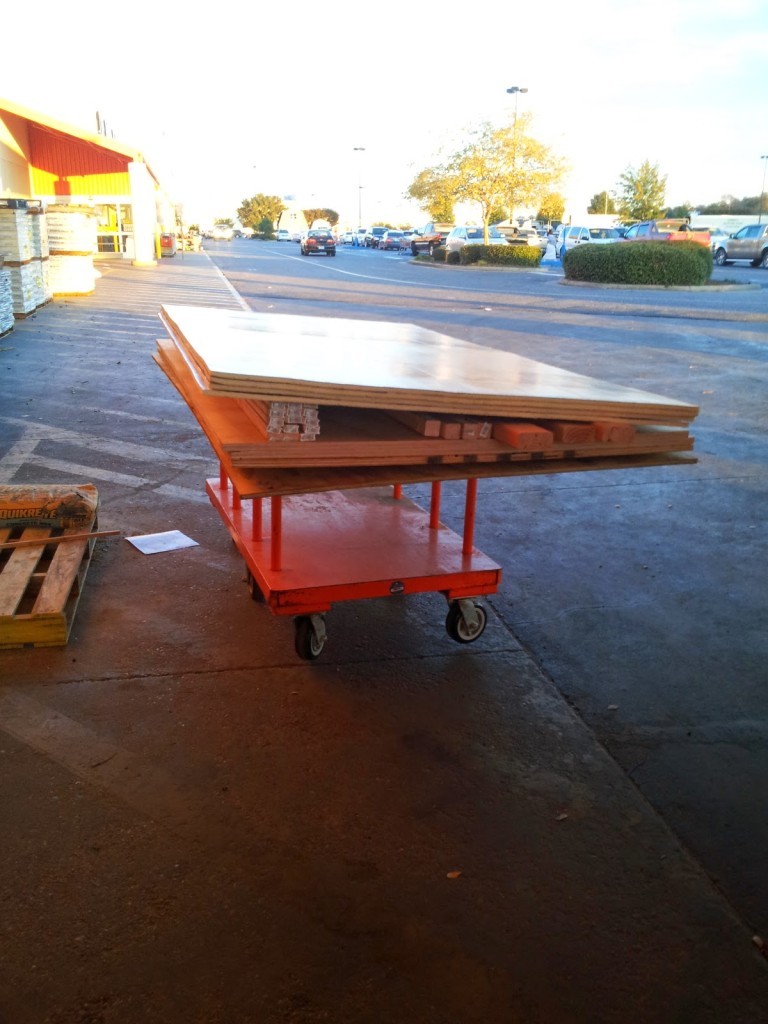
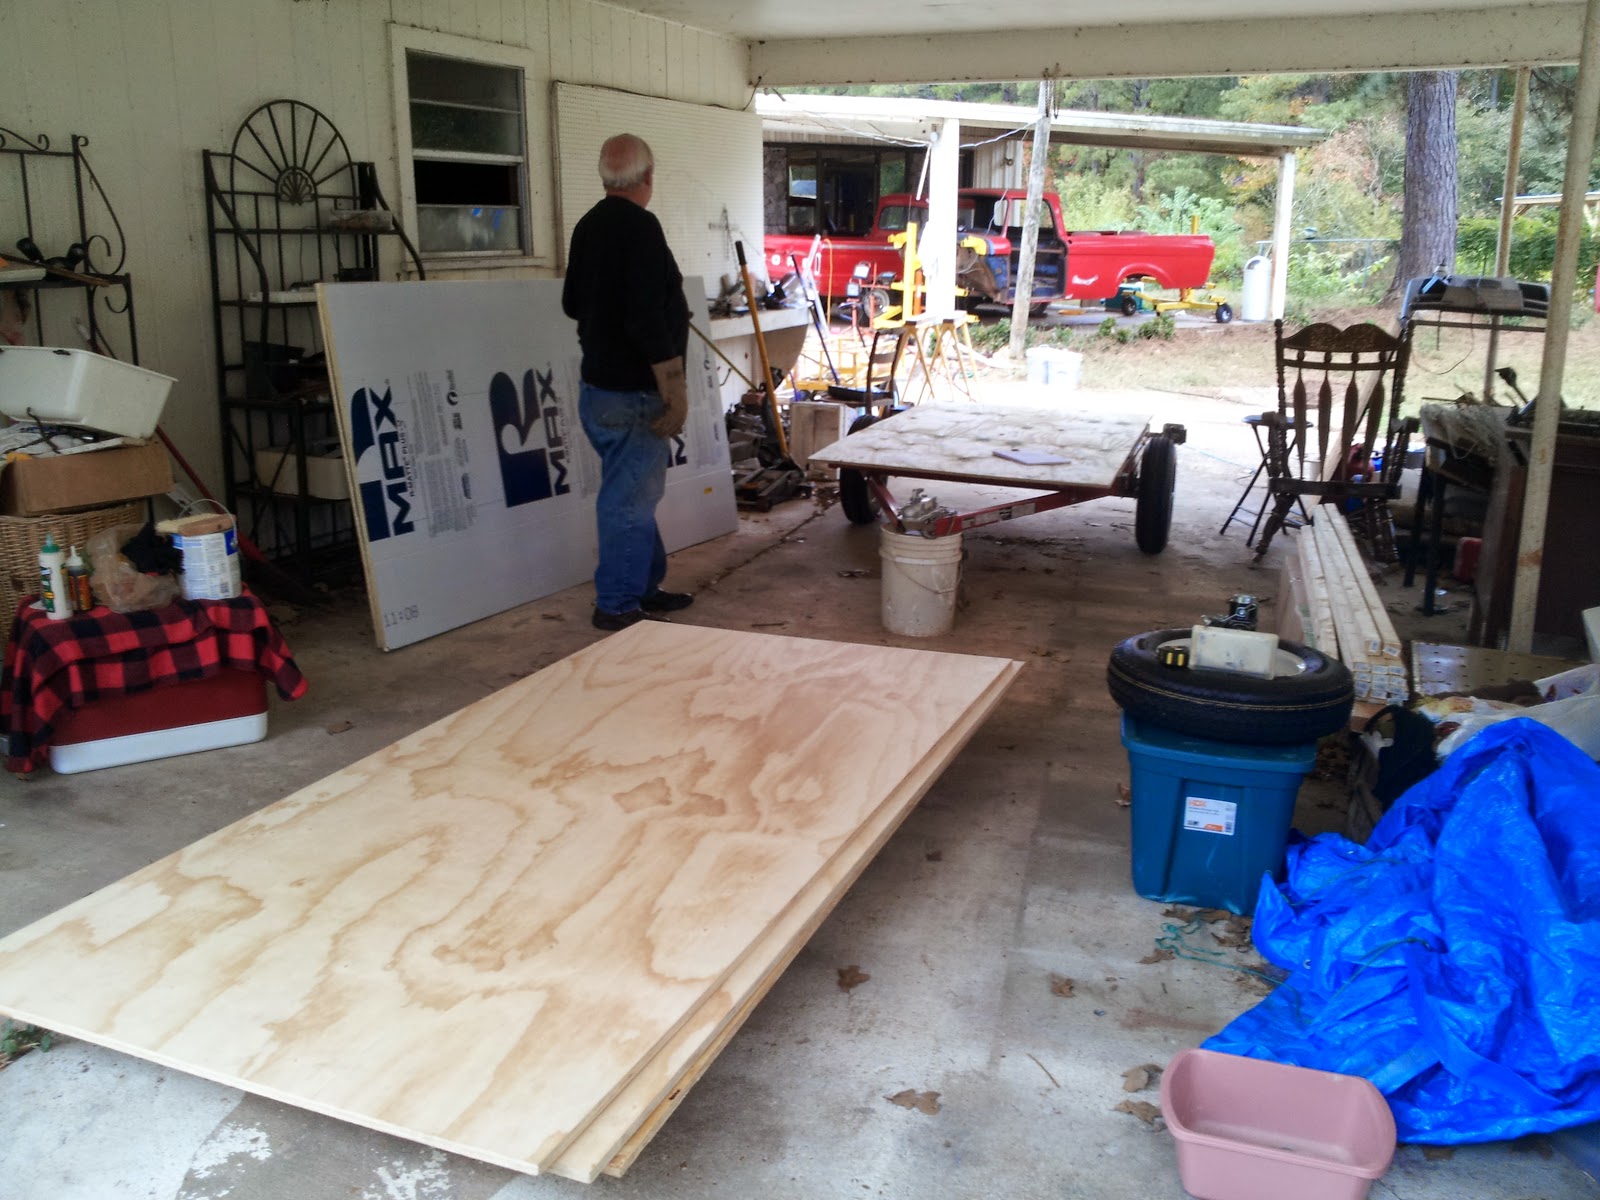
Yesterday, my dad and I spent some time going over plans and figuring out the first big shopping list. Eventually, we got to Home Depot and bought a bunch of wood, insulation, screws, bolts, washers, glue and roofing asphalt. This is enough to make the subfloor, floor, side panels and roof spars, along with some leftovers for other portions of the build.

The first load.

20141107_170029
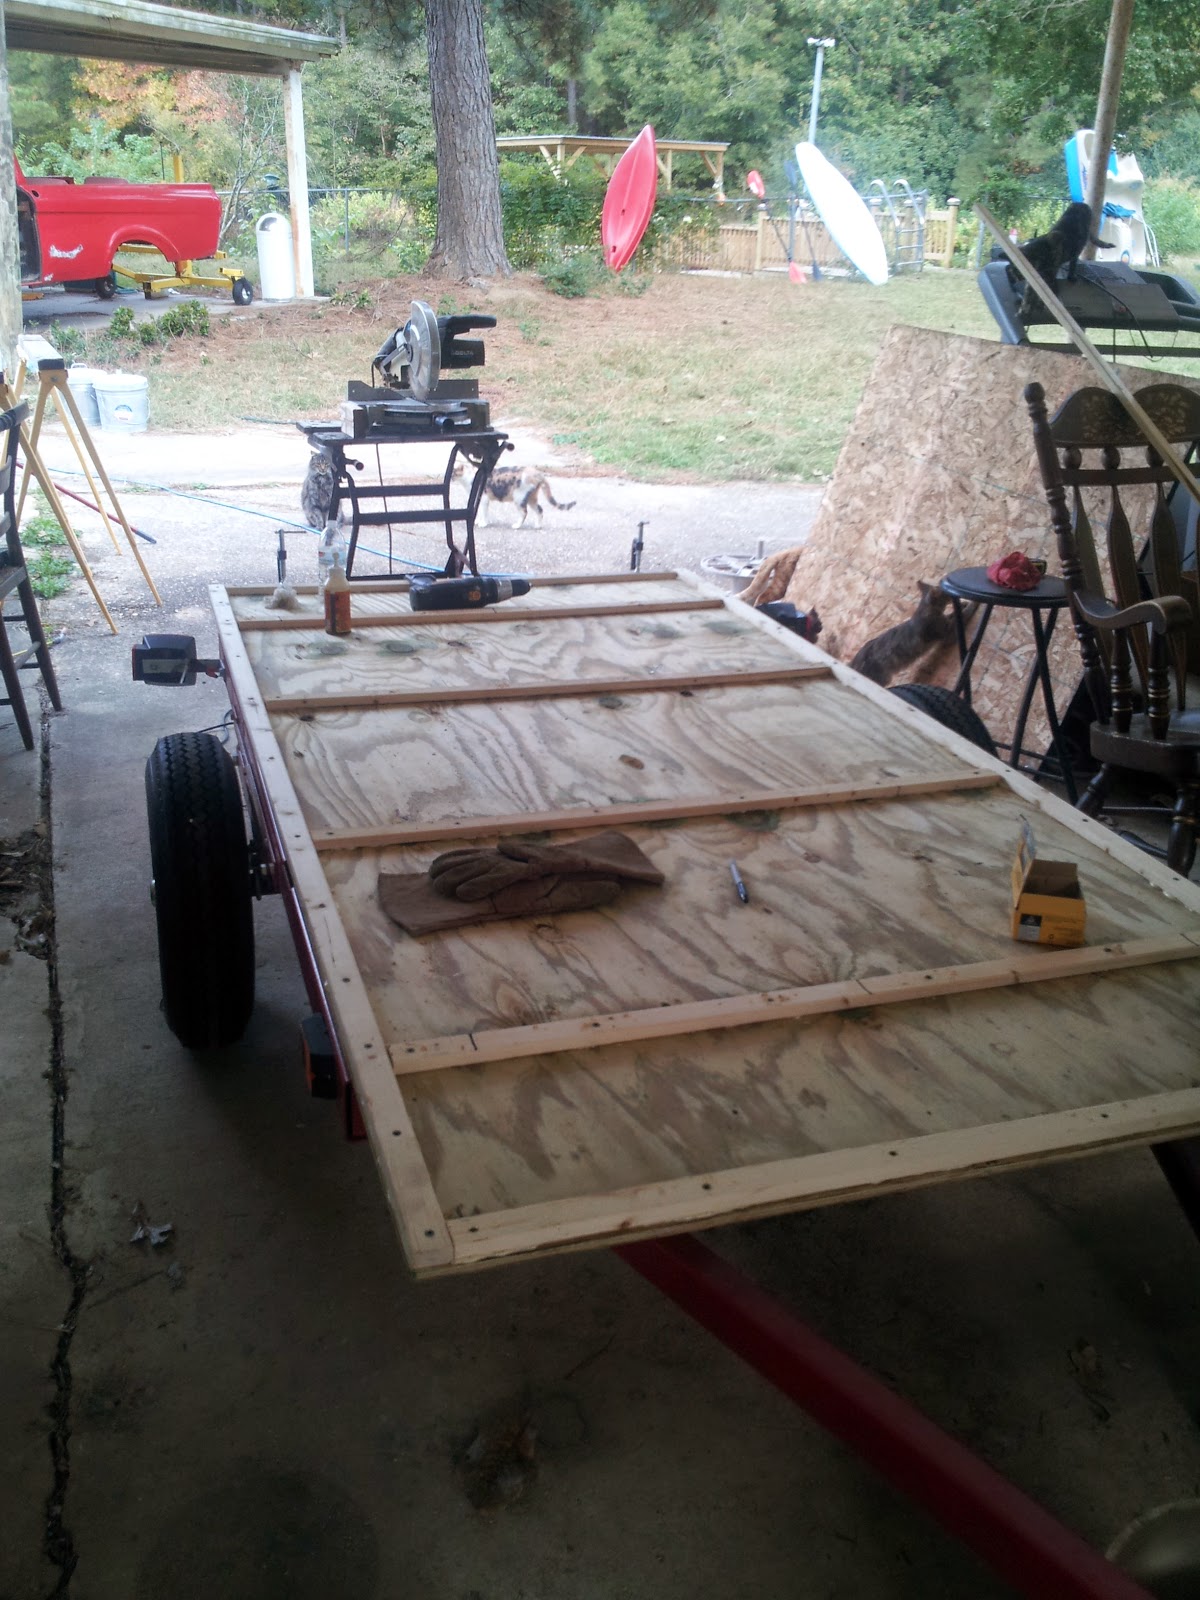
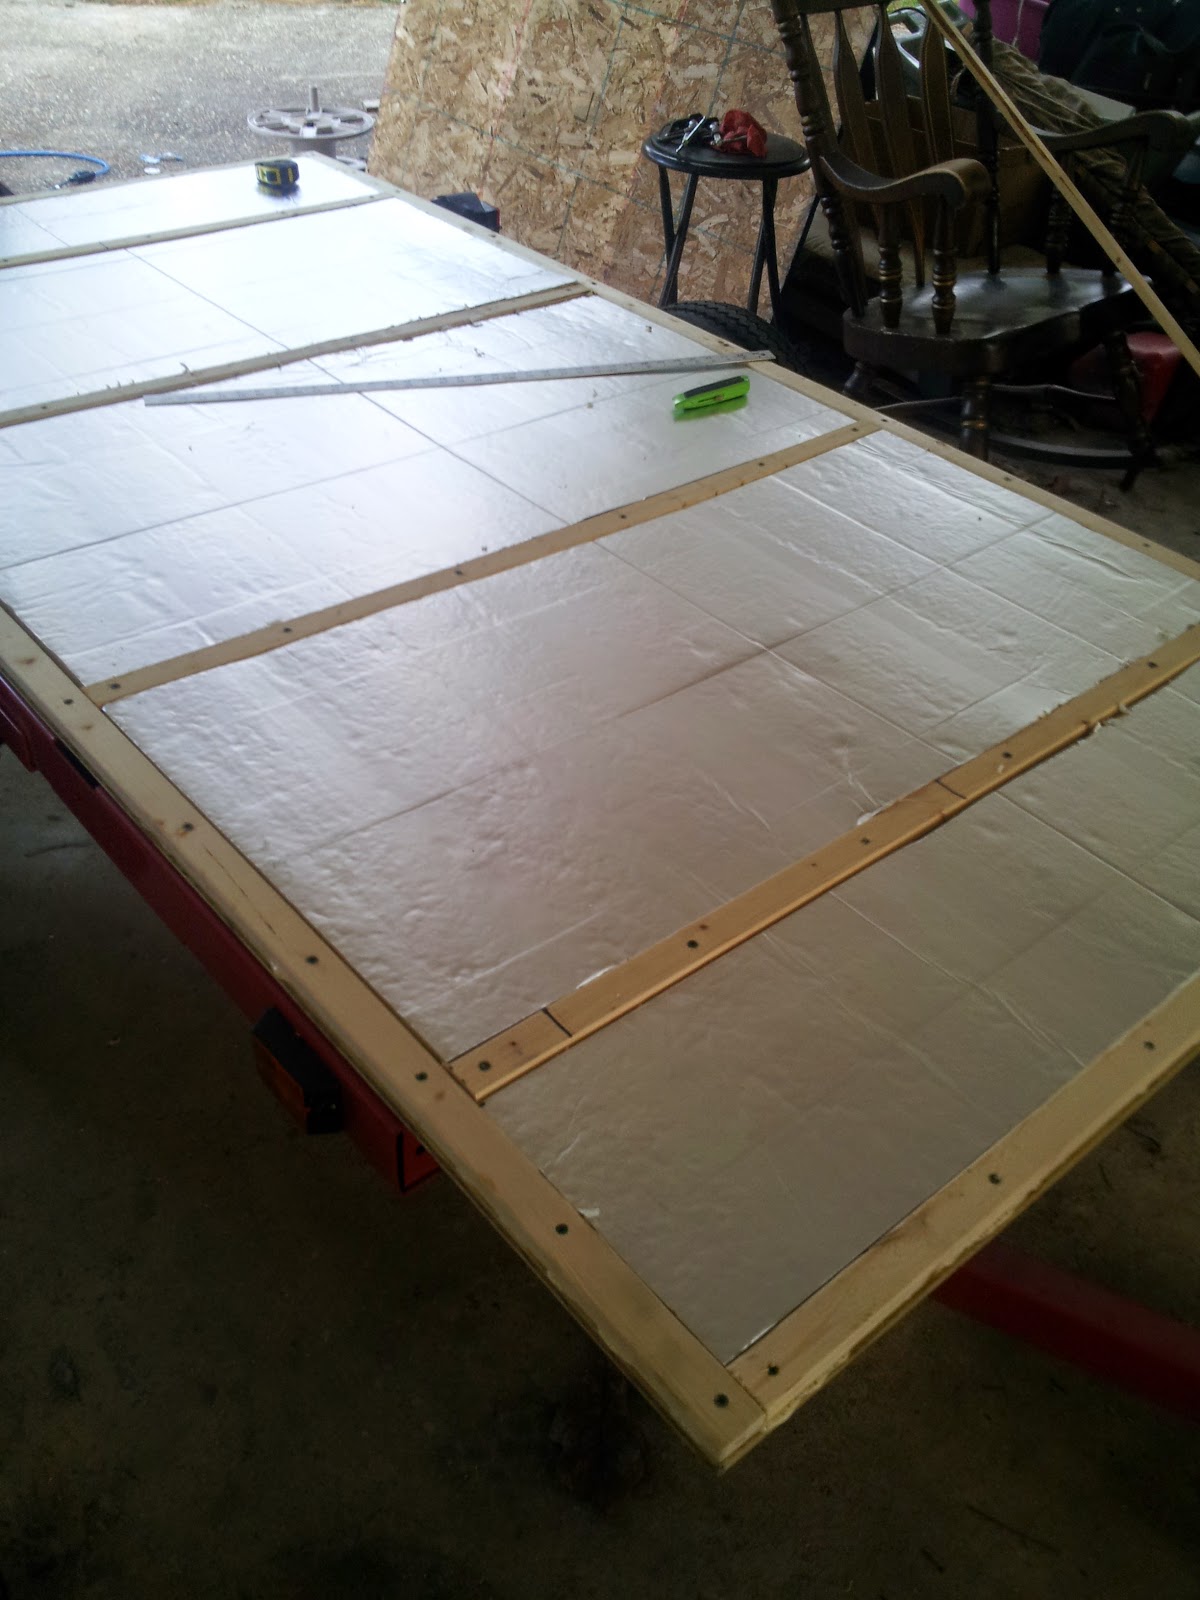
Today, we unloaded everything and got to work on the subfloor and floor.

20141108_133017
The trailer, bare and ready for a teardrop. (Also, Amos.)

20141108_135557

Materials unloaded, up out of potential rain drainage and the floor board down on the trailer (upside down). (Also, Dad.)
The general plans we’re following are here, but my trailer is 4′ wide and (now) 6′ long. While we’re extending it via wood/flooring back to 8′ (1 foot on each end), any width based dimensions in the Generic Benroy Plans will be modified from 5′ to 4′.
For the floor top, we’re using a 1/2″ sheet of YellaWood treated pine. The subfloor is made from 1×2″ pieces – 8′ on the sides and 45″ in between. There are 6 cross beams to the subfloor – one at each end and then one over each of the cross beams in the actual trailer frame.

20141108_141613
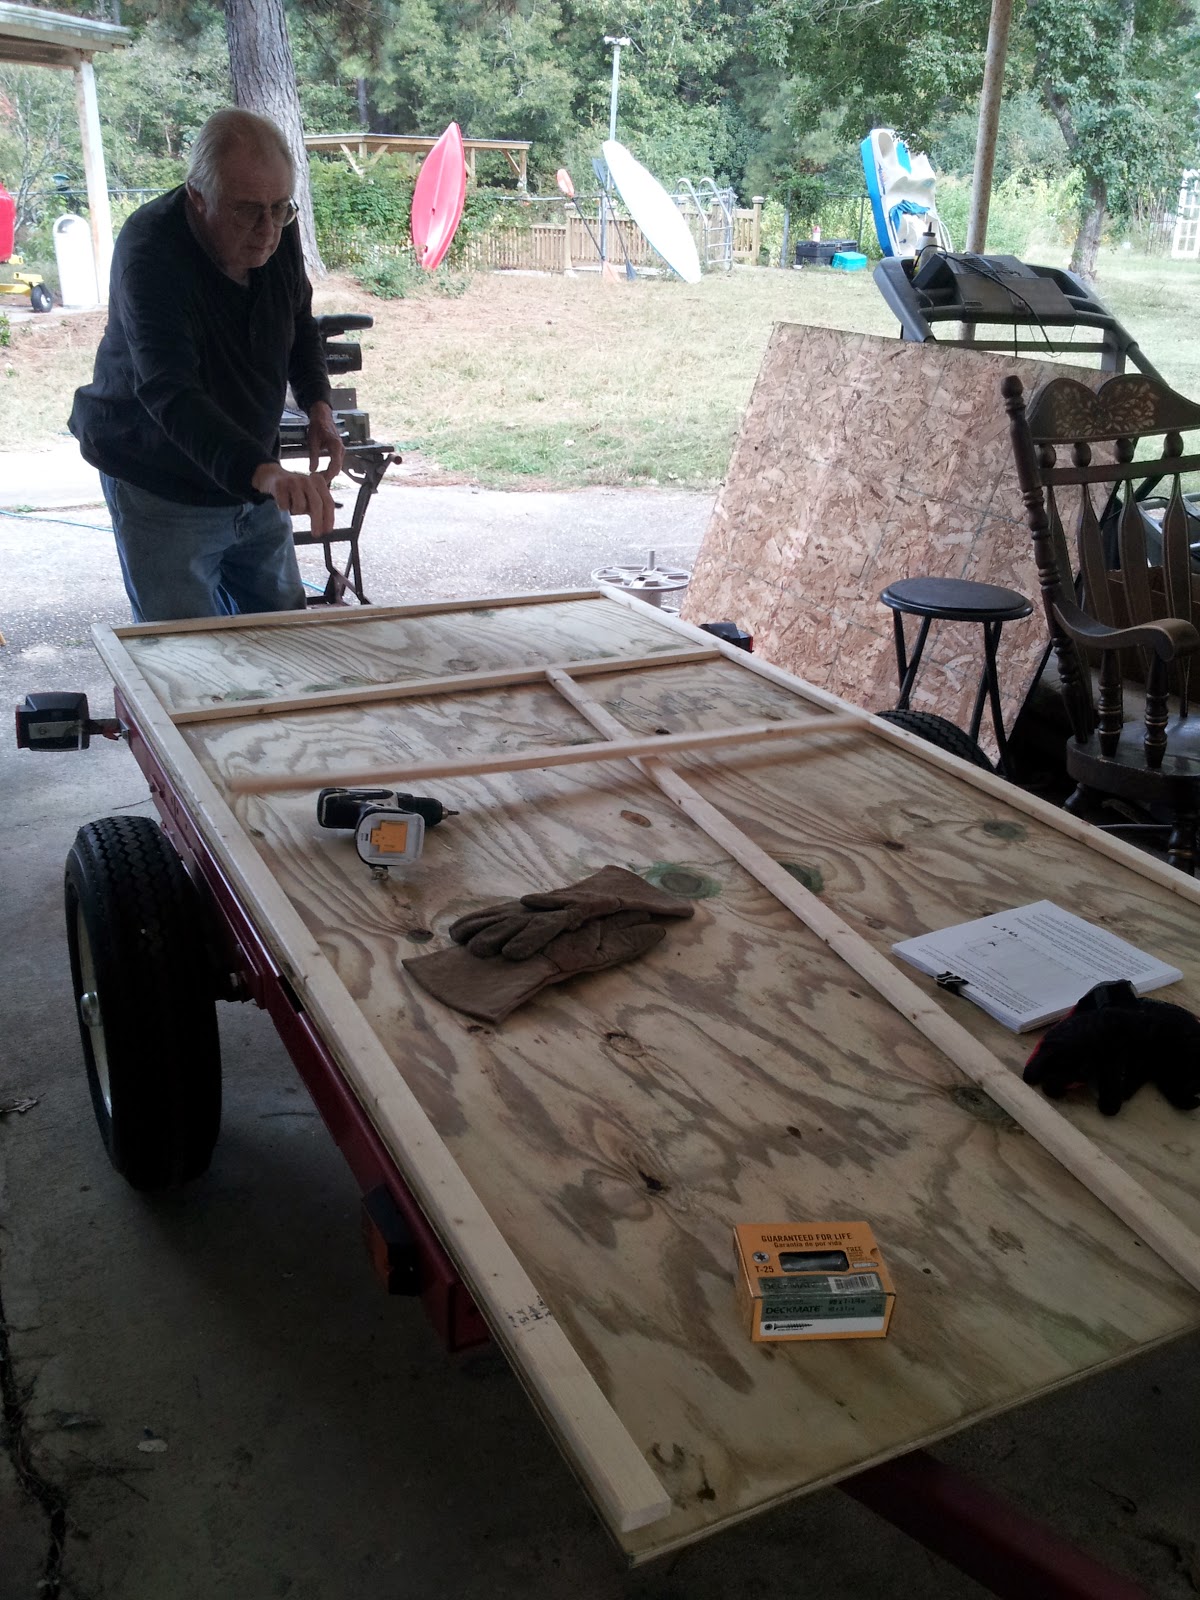
1×2 subfloor frame being measured and cut. (Also, Dad.)

The subfloor beams (side and cross) were first drilled with pilot holes (after I split one on the first screw), glued to the floor top (underside) with Gorilla Glue and then attached with Deckmate #8 x 1 1/4″ star drive coated screws.

20141108_142711
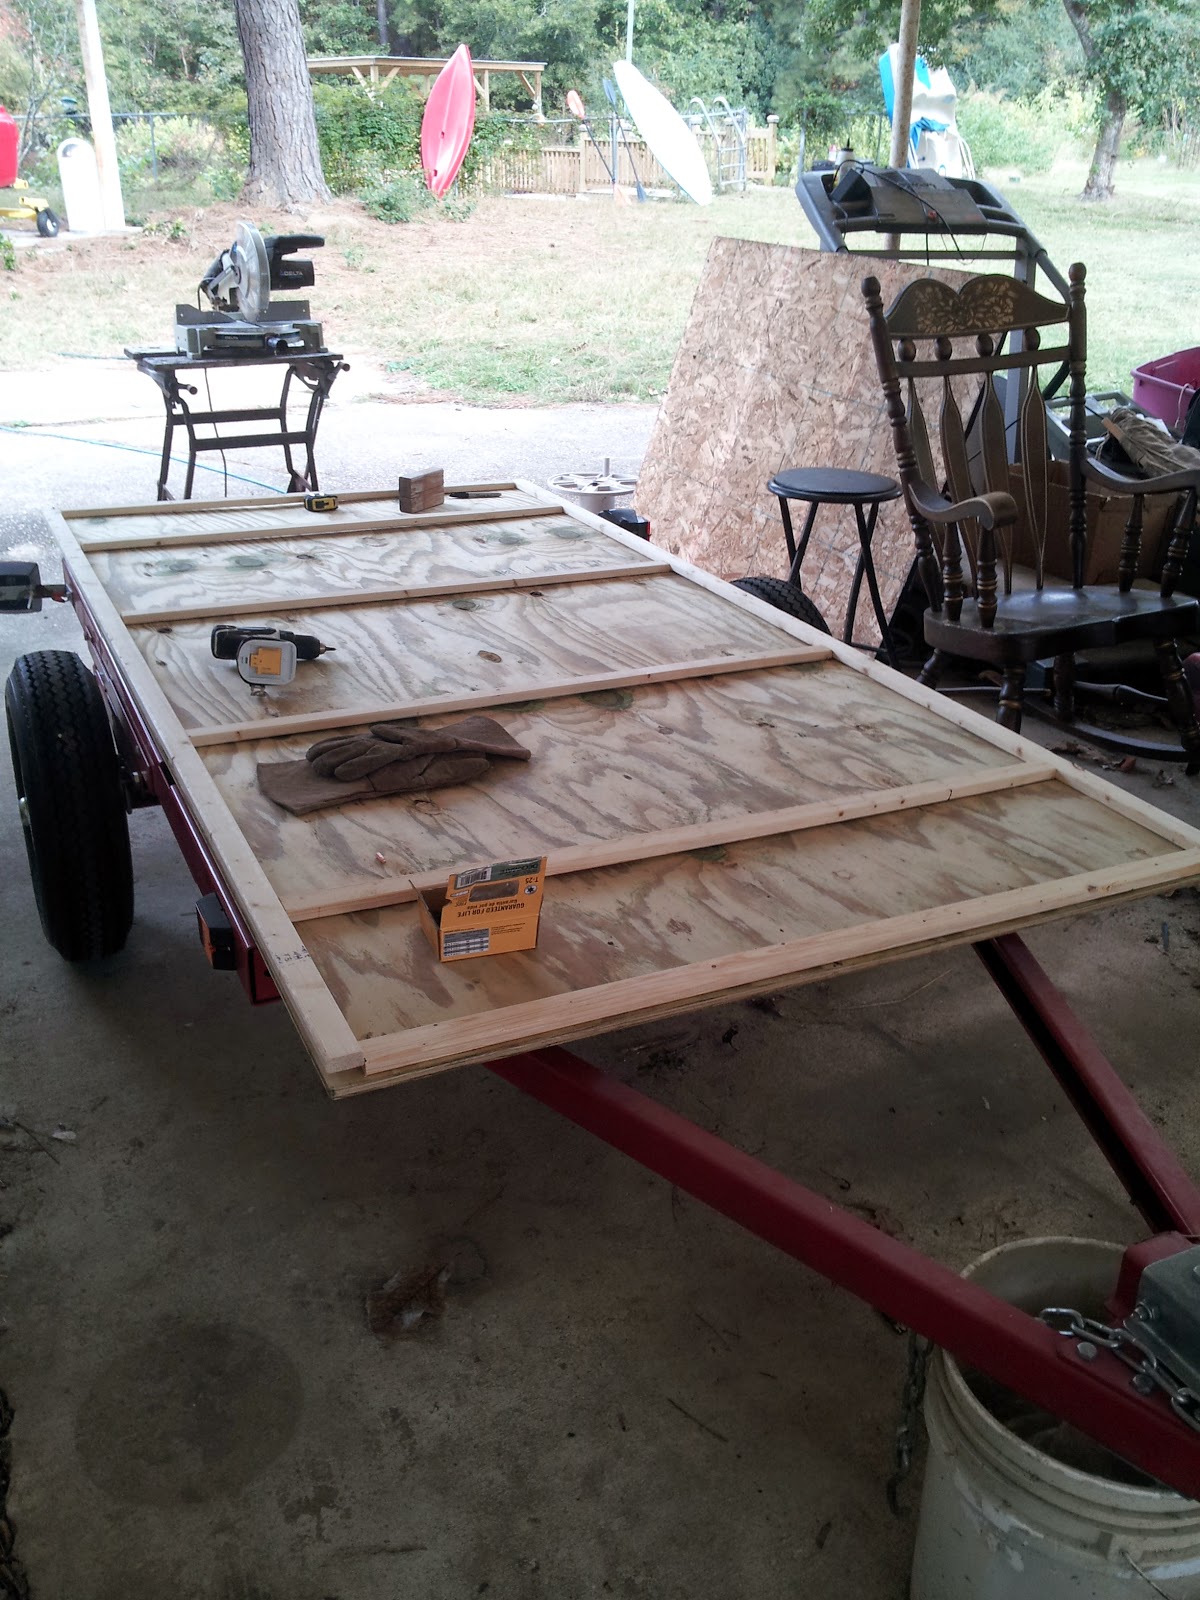
Subfloor frame ready for screwing and gluing.

20141108_155618

Subfloor frame screwed and glued.
Remember, you’re looking at the underside of the floor (not that the top side is very pretty – it’s filled with ugly green knots – but those will be covered by some sort of flooring yet to be determined). We had some plans for the evening so the last part we managed to finish today was cutting the 1/2″ Rmax R-Matte Plus-3 foam insulation board (EPS) to fit in the openings between the cross sections.

20141108_161328

EPS insulation cut to fit subfloor openings.
Tomorrow’s first order of business will be to apply the roofing asphalt to the subfloor (under the EPS, apparently), screw in the EPS and then set that aside for a day to dry. I think I’ll do another coat of the roofing asphalt on top of the EPS as well for good waterproofing measure.
While it’s drying, we’ll get started cutting out the side panels and also redoing the electrical wiring for the running and rear lights on the trailer so there’s enough length with the extension back to a length of 8′ and the soon to be installed hitch or tongue extension.
<3 – Ansley