
Teardrop Taking Shape
Posted in Sabbatical
It’s been a productive few days with the teardrop build. We’ve done some construction including weatherproofing the subfloor, cutting the teardrop sides and re-wiring the trailer for new running and brake lights.
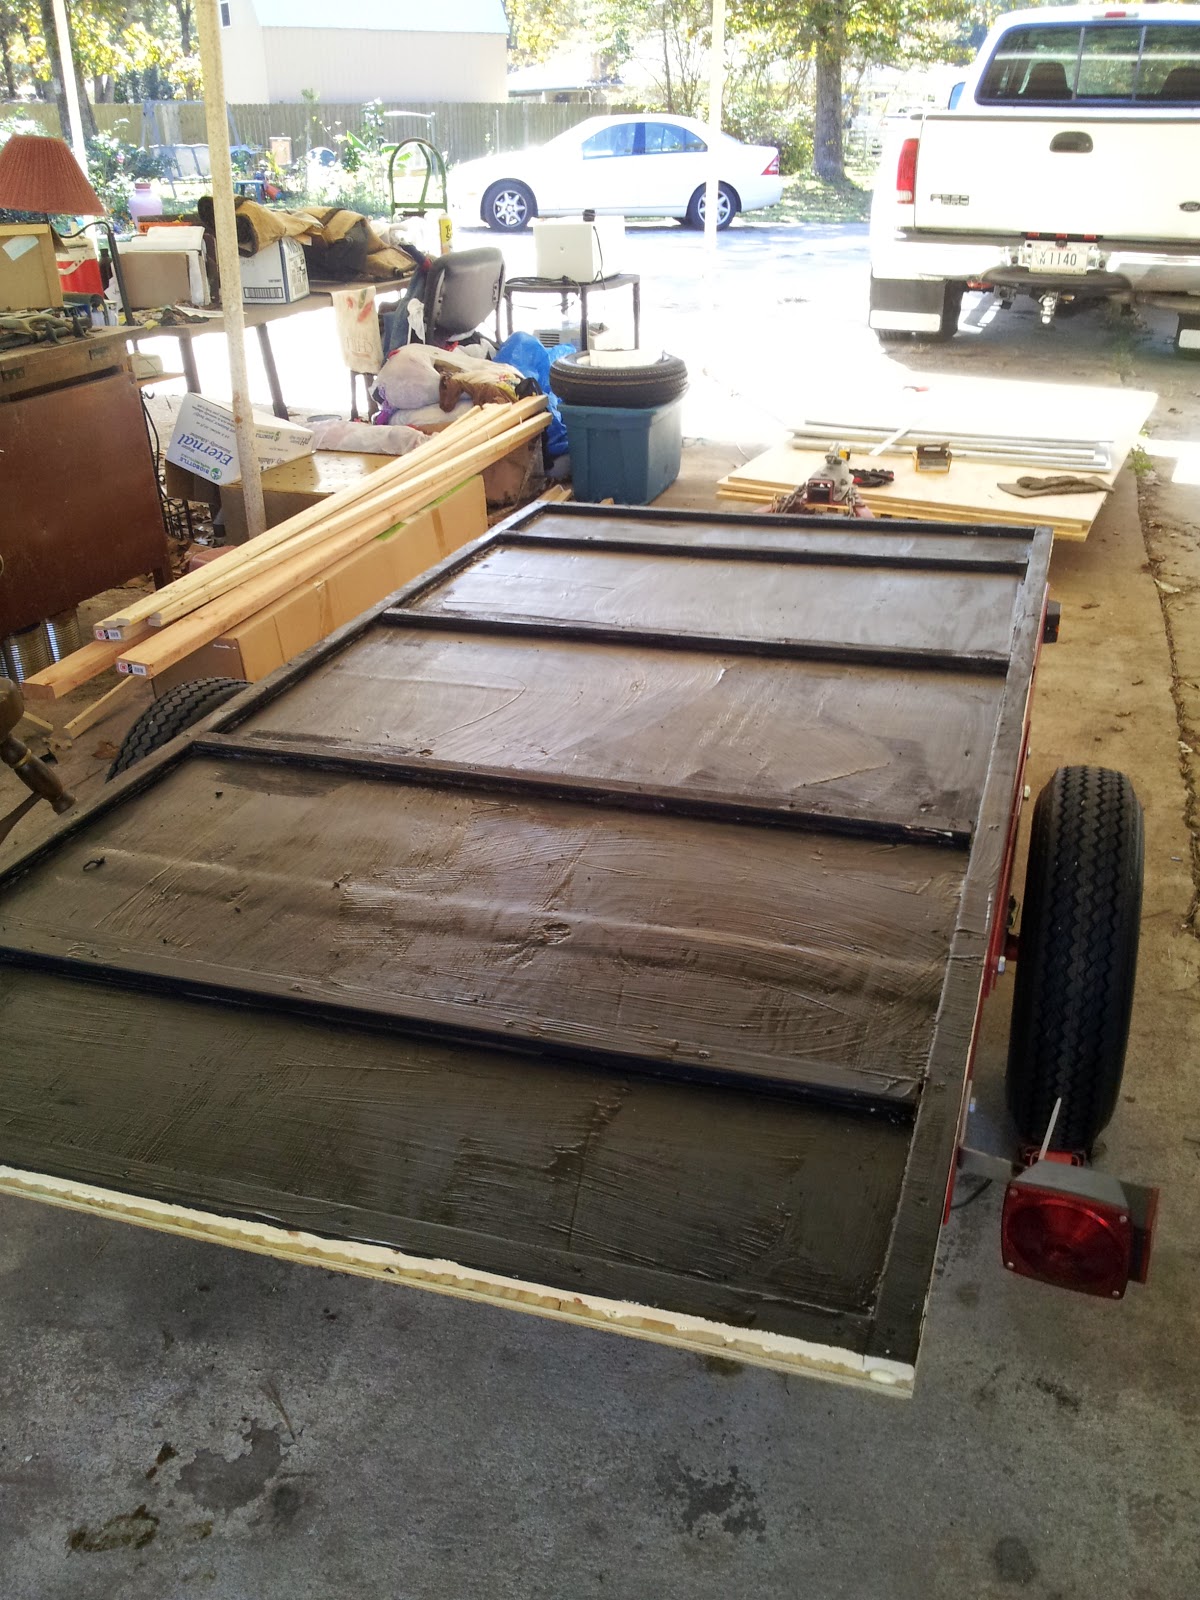
Rather than roofing tar, we went with Henry Asphalt Emulsion Sealer & Damproofer to coat the underside of the floor and subfloor.
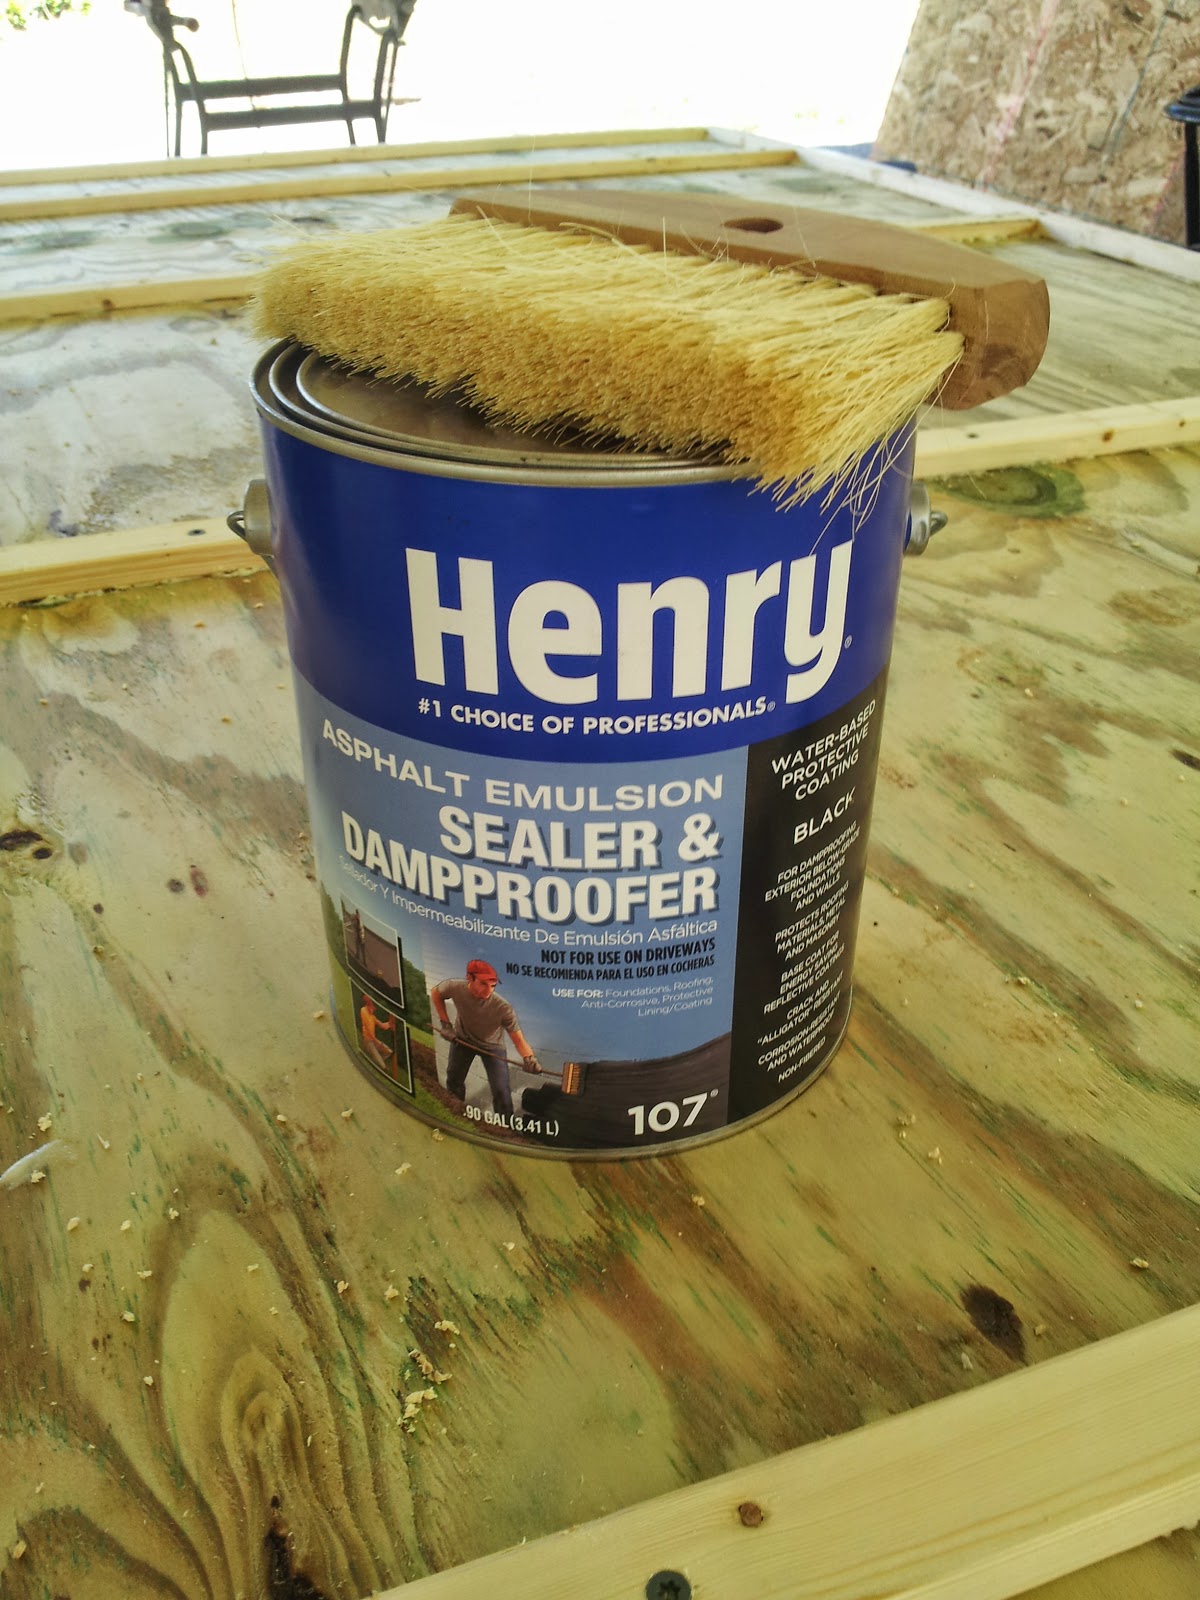
I was very glad that it didn’t actually smell like asphalt. I gave it two coats on the floor/subfloor.

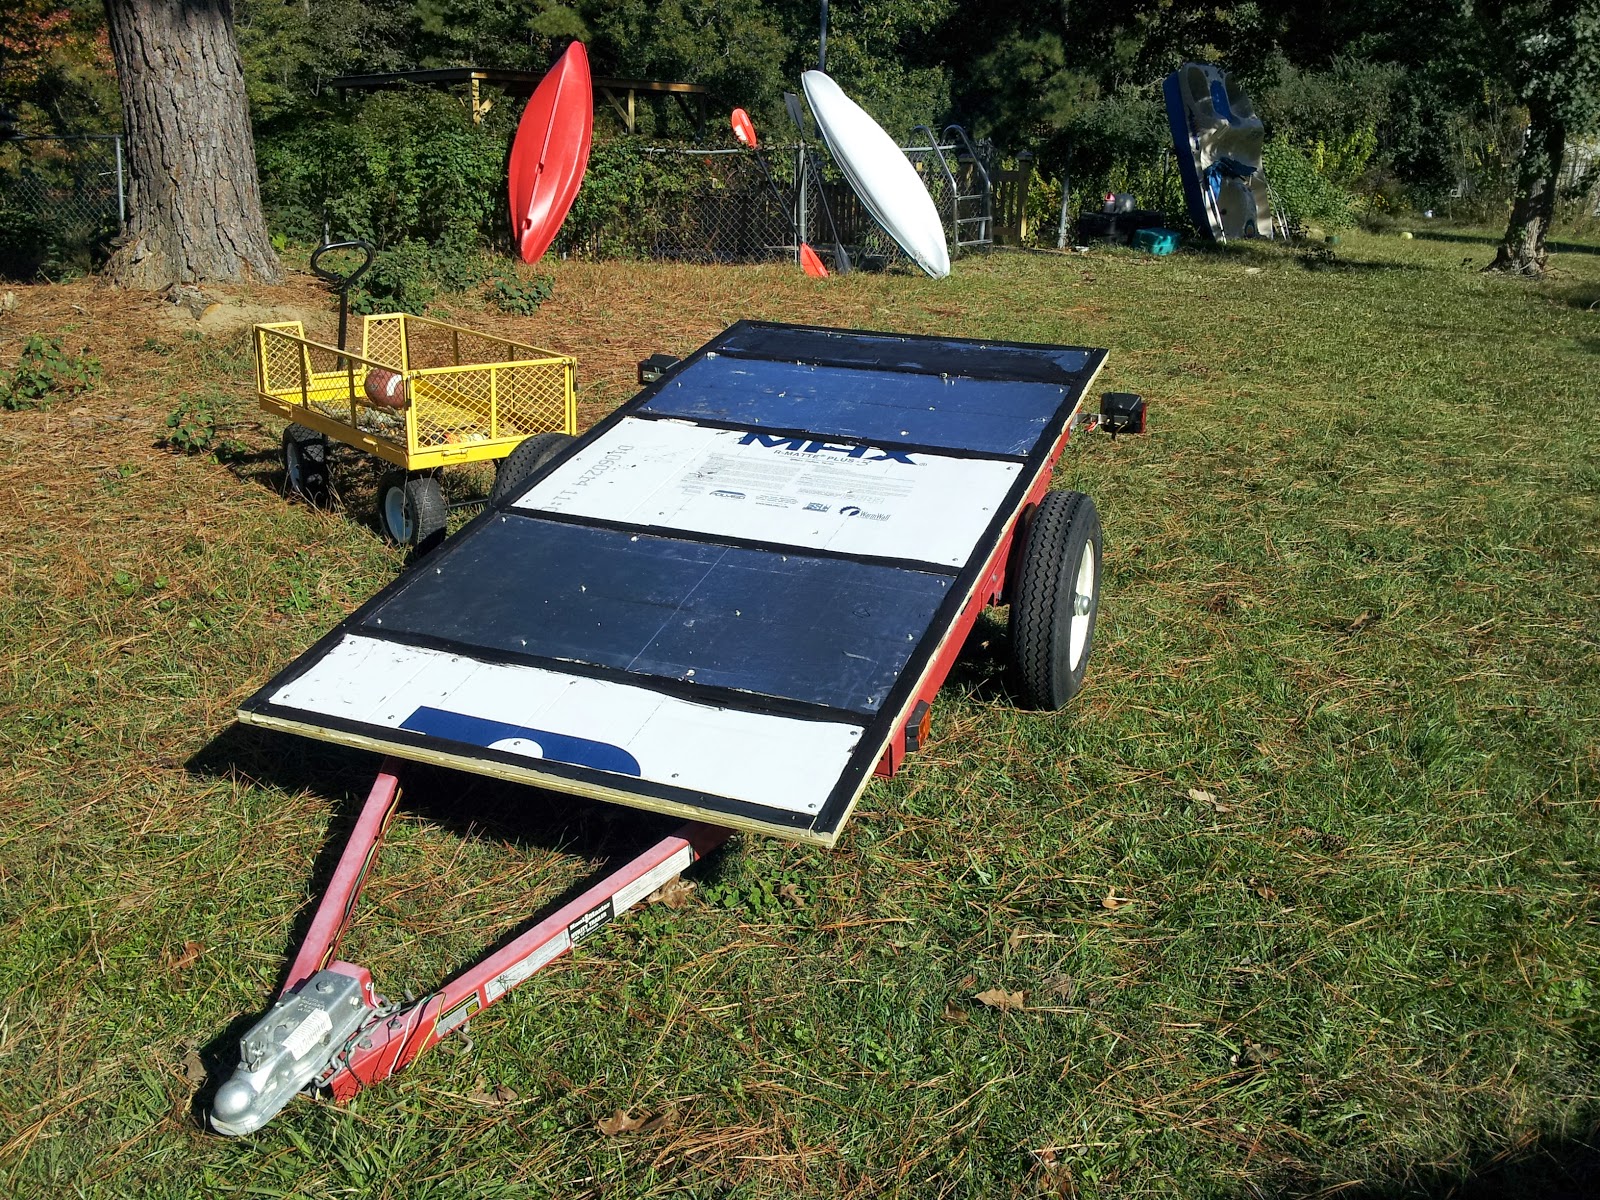
Next, we bolted in the R-Max insulation panels. I had planned to do another coat of the roofing waterproofer but it wouldn’t stick to the panels. Then, we set it out in the sun to dry while we got started on the side panels.
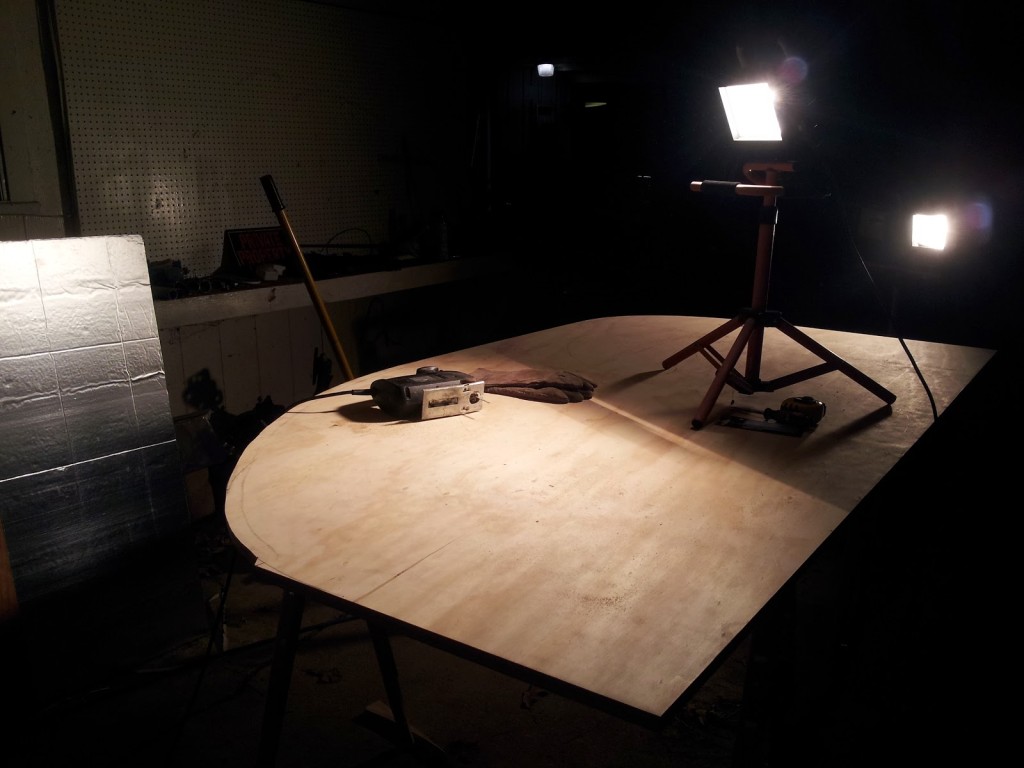
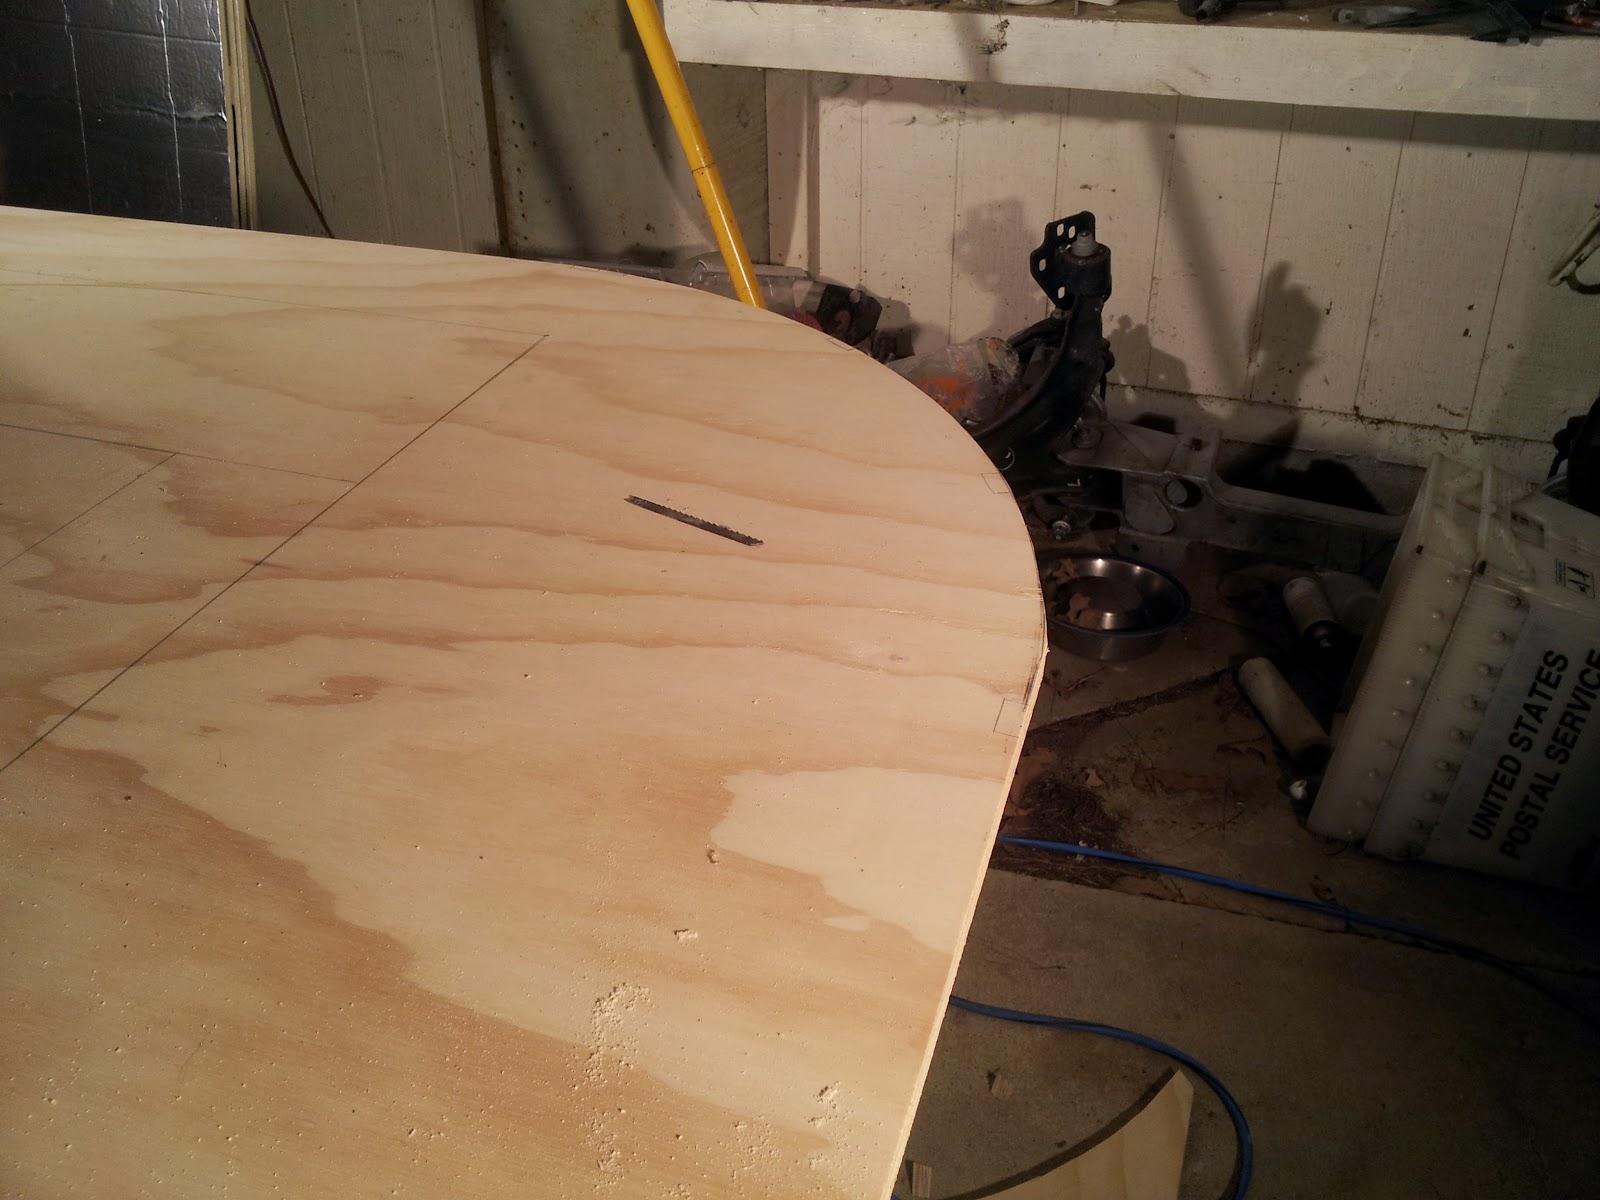
Measuring, drawing lines and making our own pole radius beams for the curves took the majority of the time. The lines included the teardrop shape as well as the door and window.

Then, we cut. Well, Dad cut the first panel, with the help of some handy lighting.

The first curve is done. That will be the front of the trailer.
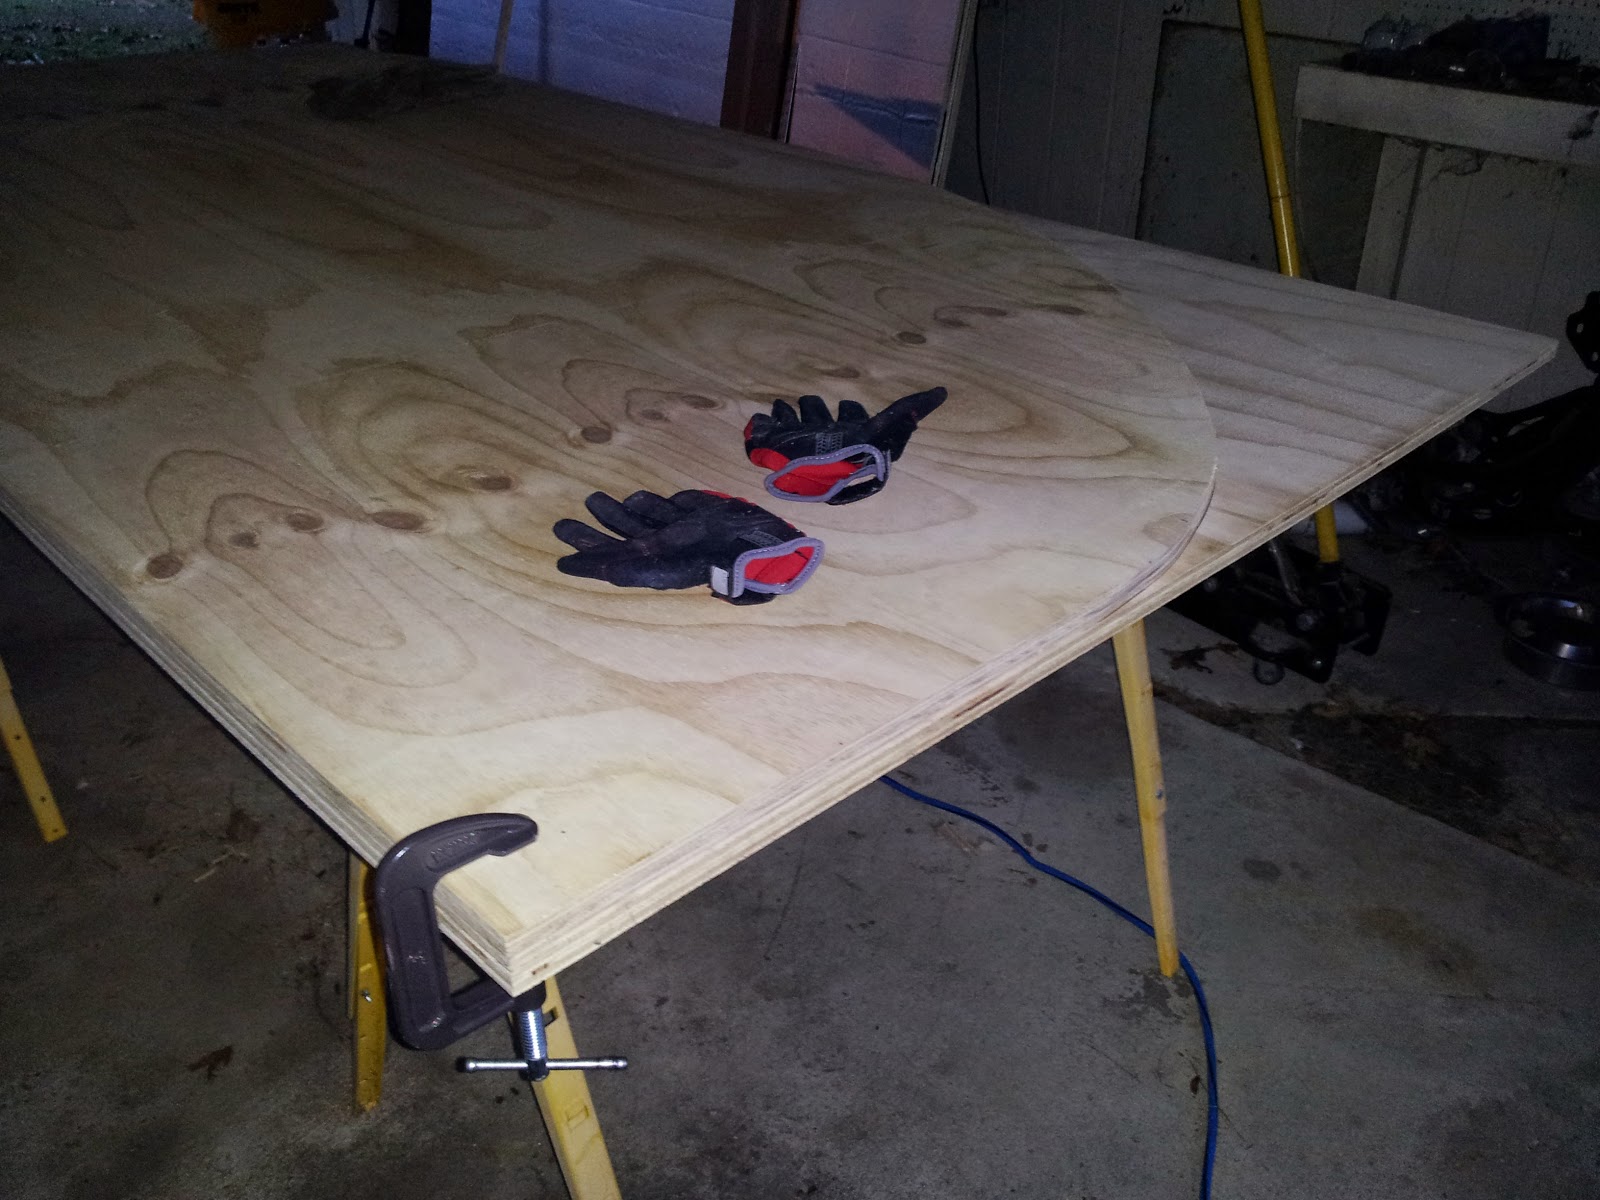
The full shape complete – minus cutting out the door and window which we’re going to wait on until the windows arrive – and also for measurement when we test putting the sides up – the door might just be right over the wheels!

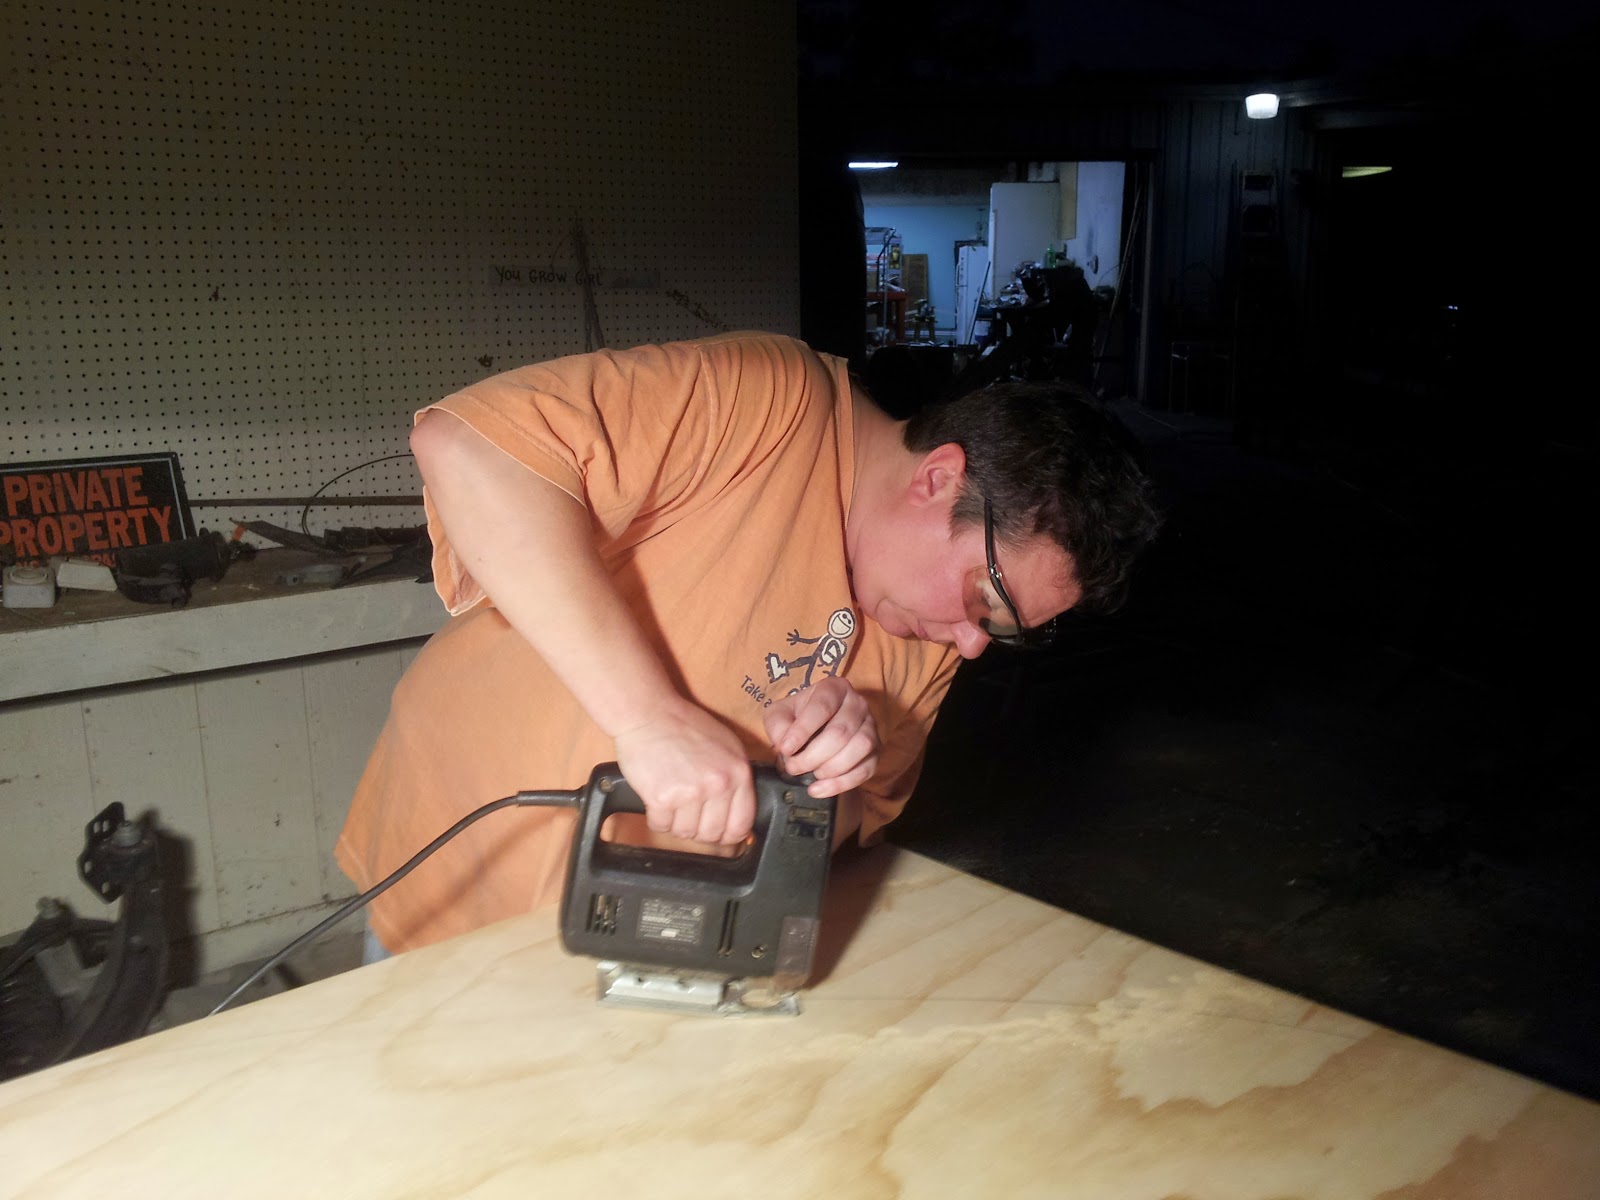
Next, we traced the outline of the first side on the 3/4″ ply for the second side. It took a few brain cells for us to make sure that we had the right direction so the prettier side of the ply would be out (as the inside will be covered).
Dad cut the first side so I took on the second one. It was good to see how he did it first – cutting a triangular wedge up to the line so you could get a good angle on the curved line.

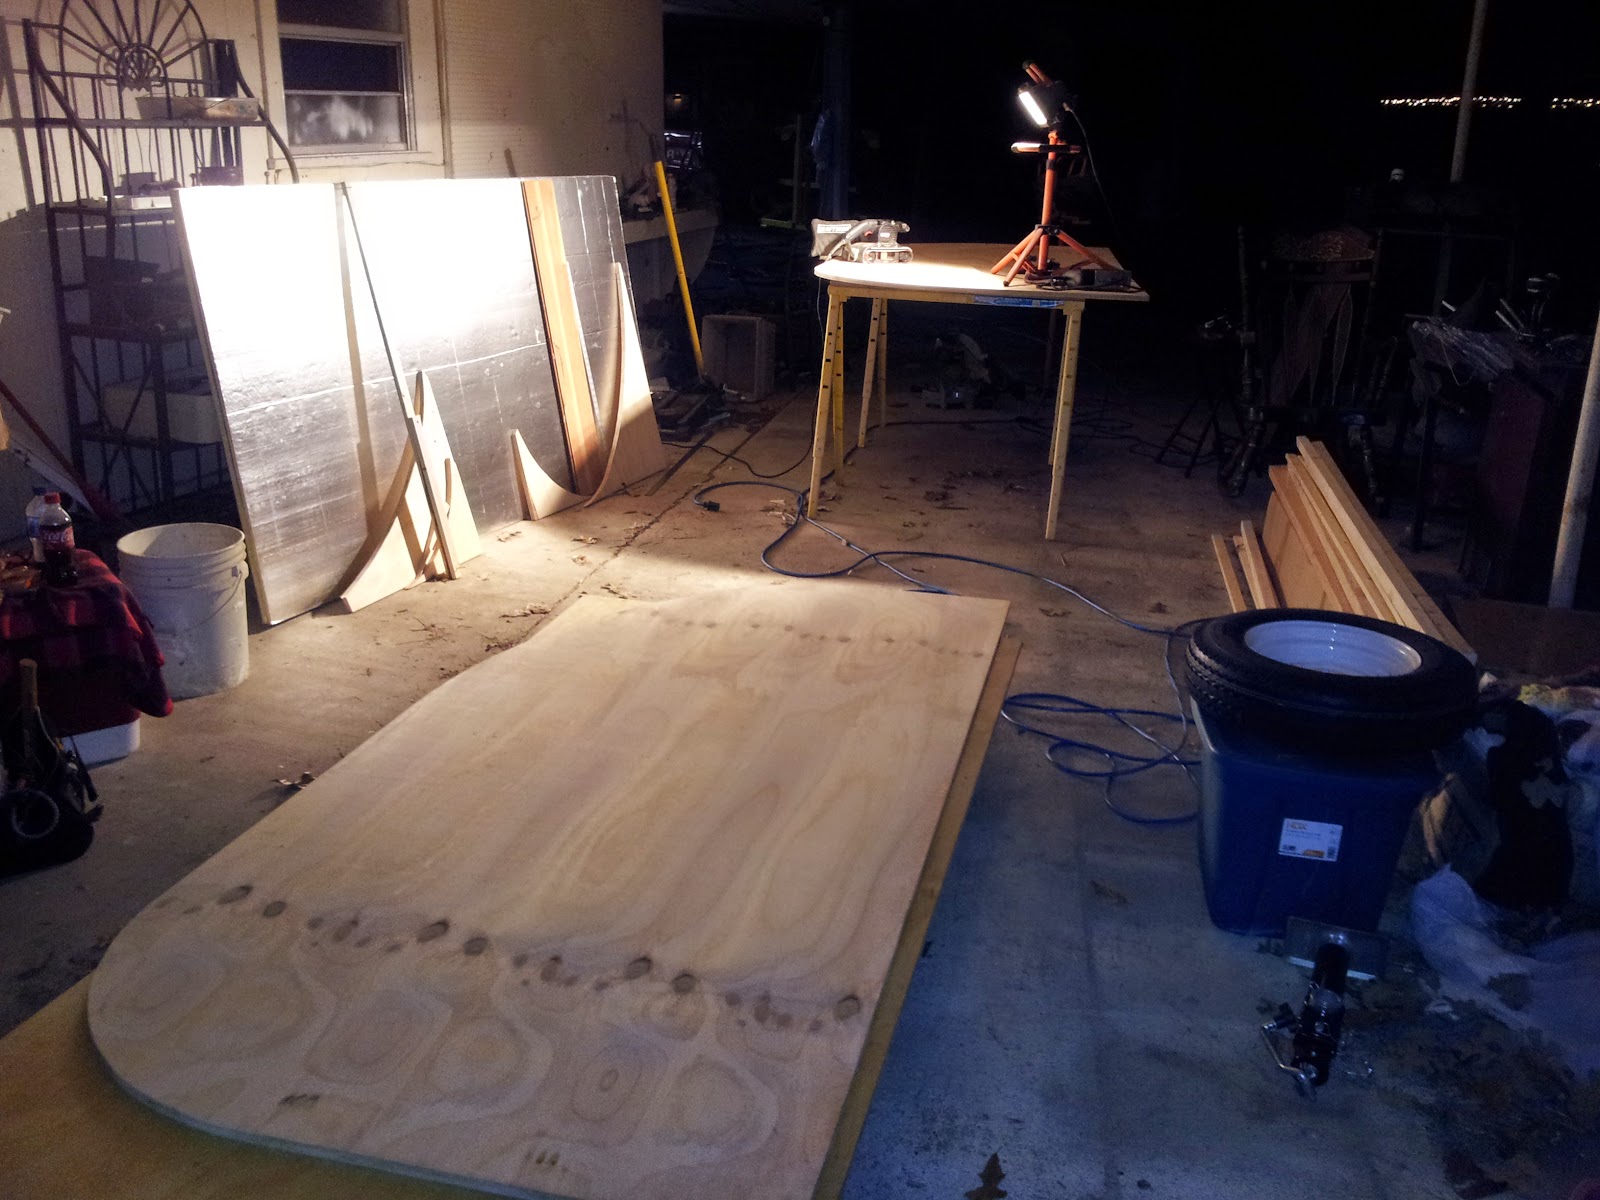
Both sides cut and ready to go (after window cuts on both sides and door cut on the passenger side).
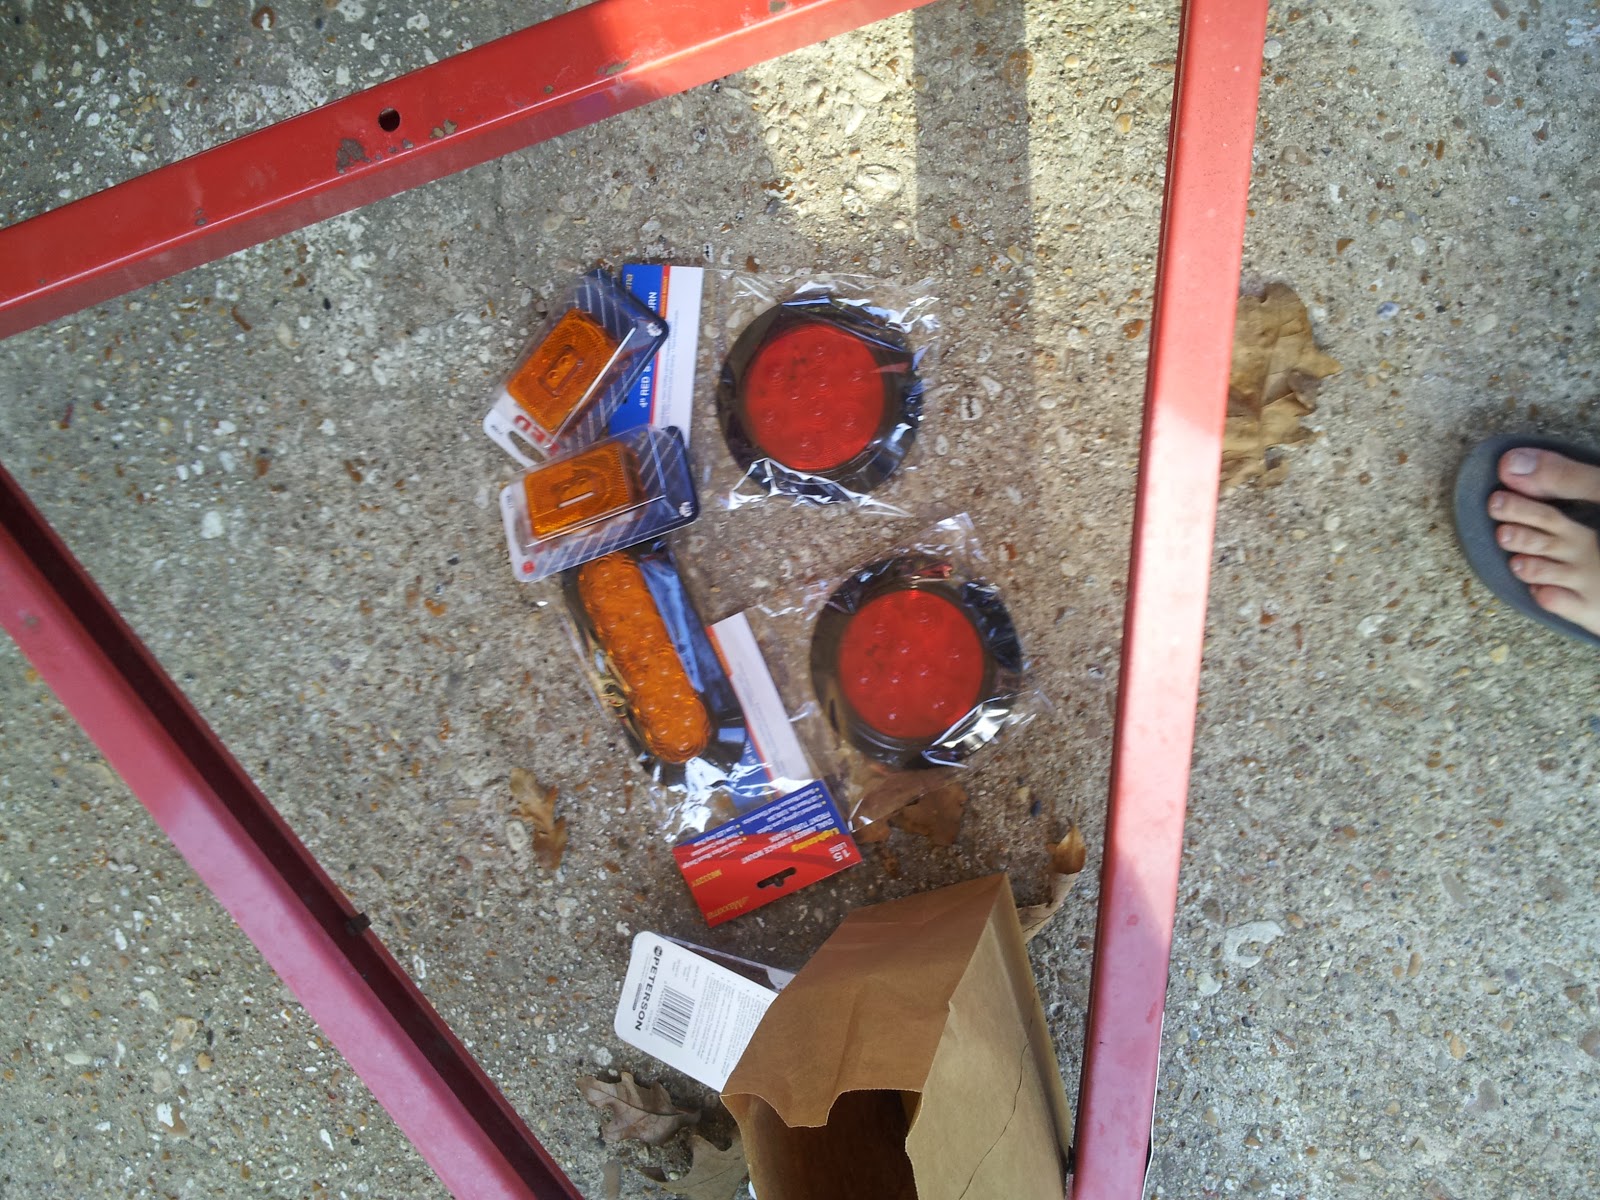
We also bought new running and tail lights, rewired the trailer, installed the running lights (the tail ones will be in the galley hatch) and then tested them all to make sure everything worked well.
Next up is installing the rear running lights (need to trade 2 amber lights for 2 red lights), clipping up all the wiring and then installing the floor on the trailer.